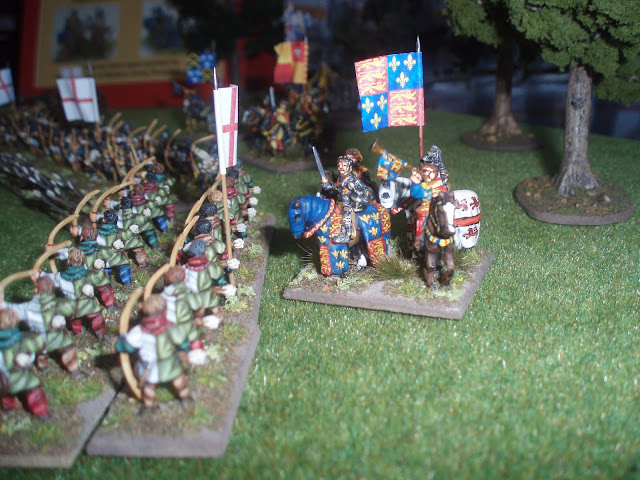
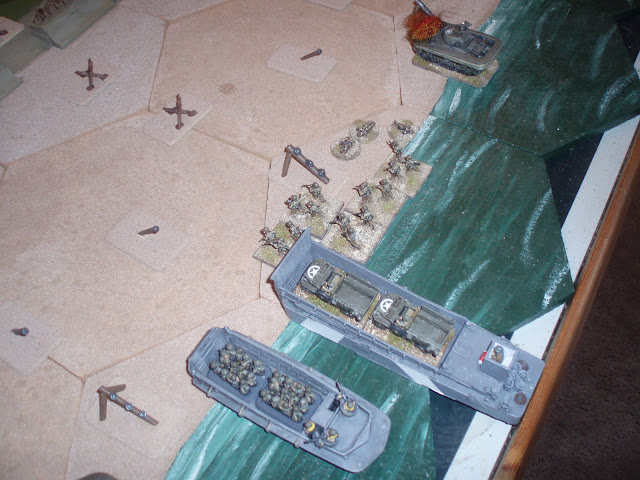
The second game in the Firestorm Campaign was fought last weekend and Omaha proved a tough beach to take.


Thanks to Mike, Steve and Will for a very enjoyable game


US Forces had eleven turns to capture their objectives via the defences at WN66 and the E3 draw. The Americans had an early success with the naval bombardment knocking out the beach front gun bunker and causing fires on the bluffs overlooking the draw providing an effective smokescreen. The effect of the pinning fire also enabled the first platoon ashore to get to the sea wall and start demolition work against the wire.
Then in turn 2 the Germans woke up and let rip, with the 352nd on the bluff chucking out twenty two D6 per section of ten men needing 6's to hit. Needless to say the US troops on the beach started to take heavy casualties and only got off the beach on turn 6. The DD tanks stayed on the surf line risking drowning in the incoming tide to trade shots with the 5cm gun in WN68. The German gun eventually came out the winner with crew taking to their rifles when they discovered they didn't have any HE to lob at the US infantry.
Things were looking bad for the Yanks when the US Navy got into the battle with their AOP plane calling in a bomardment on WN66 and taking out a section. The fire from the defences slackened and the Rangers got into "Bingham's" house at the entrance to the draw. They eventually led the assault on WN68 and its troublesome gun, forcing the German commander to consider falling back on his reserve platoon and defend the last objective in the last moves of the game.
Unfortunately for the Germans the US Navey again grabbed the initiative and broke the final stand, allowing the Yanks to grab a win on the last turn of the game.
Thanks to Mike, Steve and Will for a very enjoyable game


 The Odin Mission by James Holland, the first of the Jack Tanner series. This is the WWII Sharp, which features Sgt Jack Tanner in a mission set during the ill fated Norway campaign in 1940. Really good read, with plenty of historical detail to capture the feel of that campaign. A must for holiday reading.

 Books focussing on the German Infantry forces in late war Europe at the platoon and company level are very rare, so this book looking in particular at the fusilier battalion of the 272nd Volksgrenadier Division was a great find. The book was able to draw on a unique discovery made after the Berlin wall came down of an old suitcase containing the battalion records of this particular unit that would have been kept by the company clerk. In most cases these records were destroyed at the end of the war, but remarkably these survived to enable a phorensic reconstruction of the personel that were recruited into one of the first Volksgrenadier divisions that was hastily thrown into the fighting in the Hurtgen forest.
 This month gave us a chance to get the sailing ships out and playtest the rules from the Two Fat Lardies, "Kiss me Hardy". The scenario was the free one available on the Yahoo discussion group which pits four British 74s against four French 74s and two 80s. The victory conditions being who could inflict the most damage to the other side. The two forces sailed on to the table in line ahead, with movement, firing, strike tests, boarding attempts and damage checks being carried out in the move as governed by the turn of an appropriate card. I really like the card system as it removes the need to write orders, and events occur in a totally random sequence in each move. The rules are simple to follow without being simplistic, and we picked them up really quickly. We all thought they would make it easy to play with large numbers of ships on the table.