The first club game of 2011 featured an AWI clash using the "Hold the Line" board game rules and fighting the Long Island scenario.

On August 22
nd 1776 General Howe landed a British army of 15,000 men at
Gravesend Bay on Long Island. On the 26
th he marched with 10,0000 men of his force towards the key geographical feature on Long Island, the long narrow ridge known as the Heights of
Guan. It was pierced by four passes. Howe feinted against three of the passes and General Putnam the US commander accordingly positioned most of his available troops to cover them. Then on the night of the 26
th Howe's main body marched through the one unguarded pass to turn the American flank. Our game started at that point and the first picture shows the British line on the left facing the Americans on the ridge, with the British Light troops ready to enter the nearest pass (Jamaica Pass).

The British force had to destroy seven American units before the games end (22 turns) whilst the Americans were trying to evacuate seven units after the half way point, or eliminate six British units.

Initially the British quickly moved their light infantry and dragoons around the American flank, taking out a unit of militia on the way. This forced the American to fall back off the ridge on that flank and
attempt to refuse it. Meanwhile the remaining British units attempted to close as quickly as possible, some using force march to pin the remaining US troop on the ridge. The Guards on the British left flank assaulted the militia and destroyed them.

The early success achieved by the British was cancelled out by their inability to keep their army together. Their eagerness to close with the enemy and shoot and assault left them with to few command points to bring up their remaining troops thus causing the half the British infantry to be left on the base line.

At the halfway point in the game it was 2 victory points to nil in favour of the British, and following a quick half time beer much talk about getting stuck in and finishing the Yanks off. Things didn't quite go to plan. Suddenly the Americans started to get the better command die rolls enabling them to move more troops in as reinforcements, and just as importantly cause weaker units to be evacuated. In addition the variable time control dictated by rolling a d6 and reducing the time left by the score started to move in favour of the Americans. Before the British knew what was happening the Americans had a 4 to 2 victory point lead and the games end loomed.
In a last desperate attempt to close the gap the British launched an all out attack on the defences of the Brooklyn camp, with a Grenadier unit breaking into the fort and destroying a continental battalion and capturing General Washington. The American army had however escaped to fight another day, winning the game 8 to 5.
The rules played very well and everyone had them mastered very quickly which enabled us to get through the moves and finish the game in good time. Thanks to all involved for another fun time.
Jon


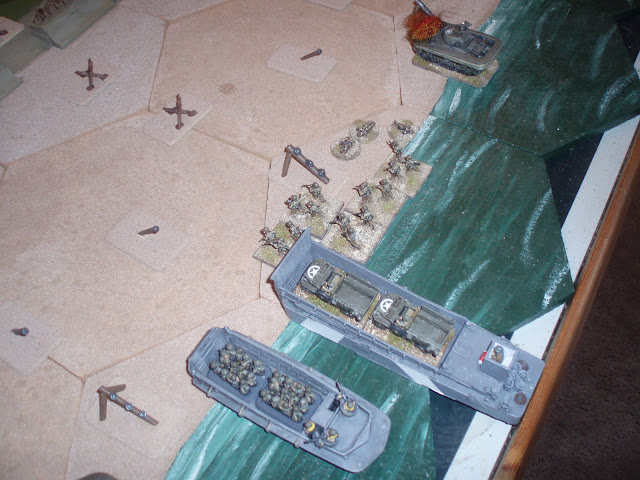
 By turn 6 the British infantry was able to make their final assault into COD having taken out most of the German machine gun positions, which with the reduced return fire allowed them to charge into the position and clear it with the grenade and bayonet.


 Painted Plastic Soldier Company Ltd 15mm rigid plastic WW2 Soviets
 Size comparisons: Painted PSC, Unpainted PSC, More Painted PSC, Painted Battlefront and the fat boy on the end with the tuck box is from Peter Pig !