Labels

Saturday, 17 September 2011

Hellfire and Back, "Dust Up" in North Africa

Last weekend Steve got his desert forces out to try out one of the new missions in FOW's "Hellfire and Back" early war in the Desert book.

The forces pitched British and German forces in a tank on tank shoot out.The force list as below with Steve taking the Panzers and me the Brits.


The map shows the terrain, set up of forces, the reinforcement deployment areas and the objective positions. The objectives are "hot" from turn one so are open to a rapid dash, provided they can be held uncontested. At least half the platoons are held as reinforcements entering the table after turn 3.


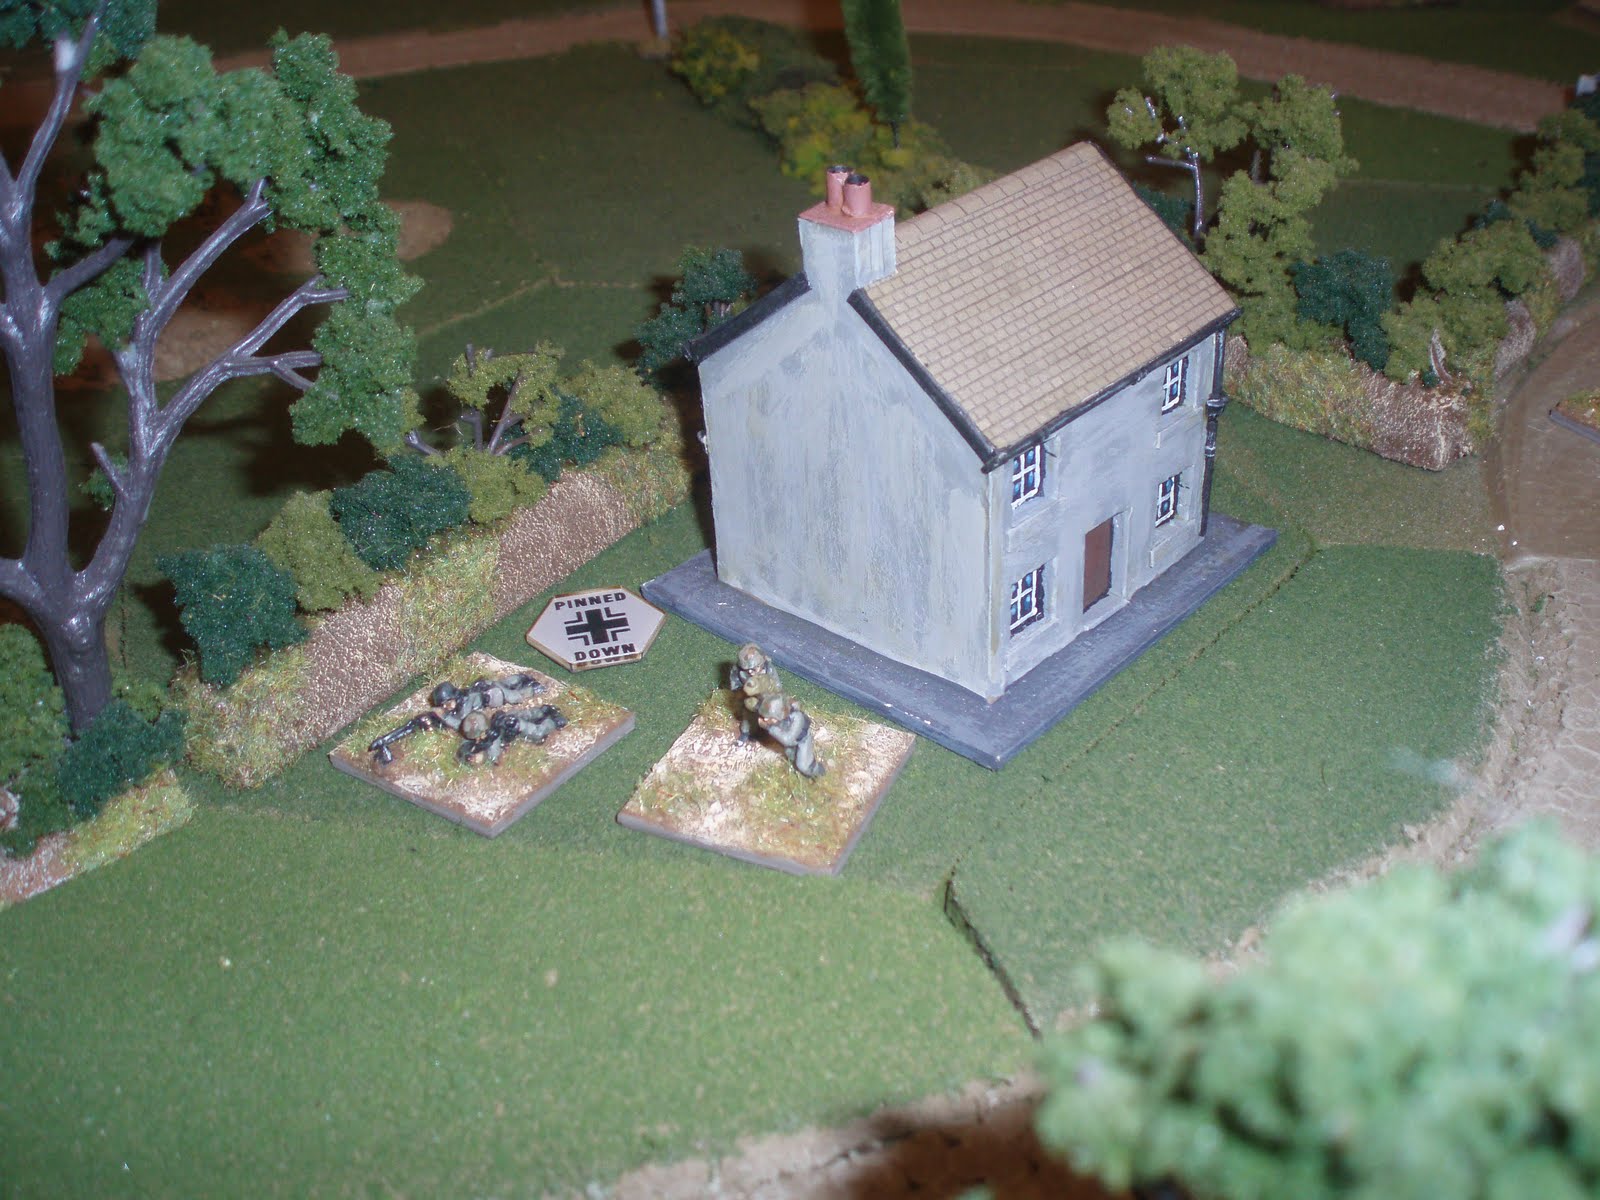
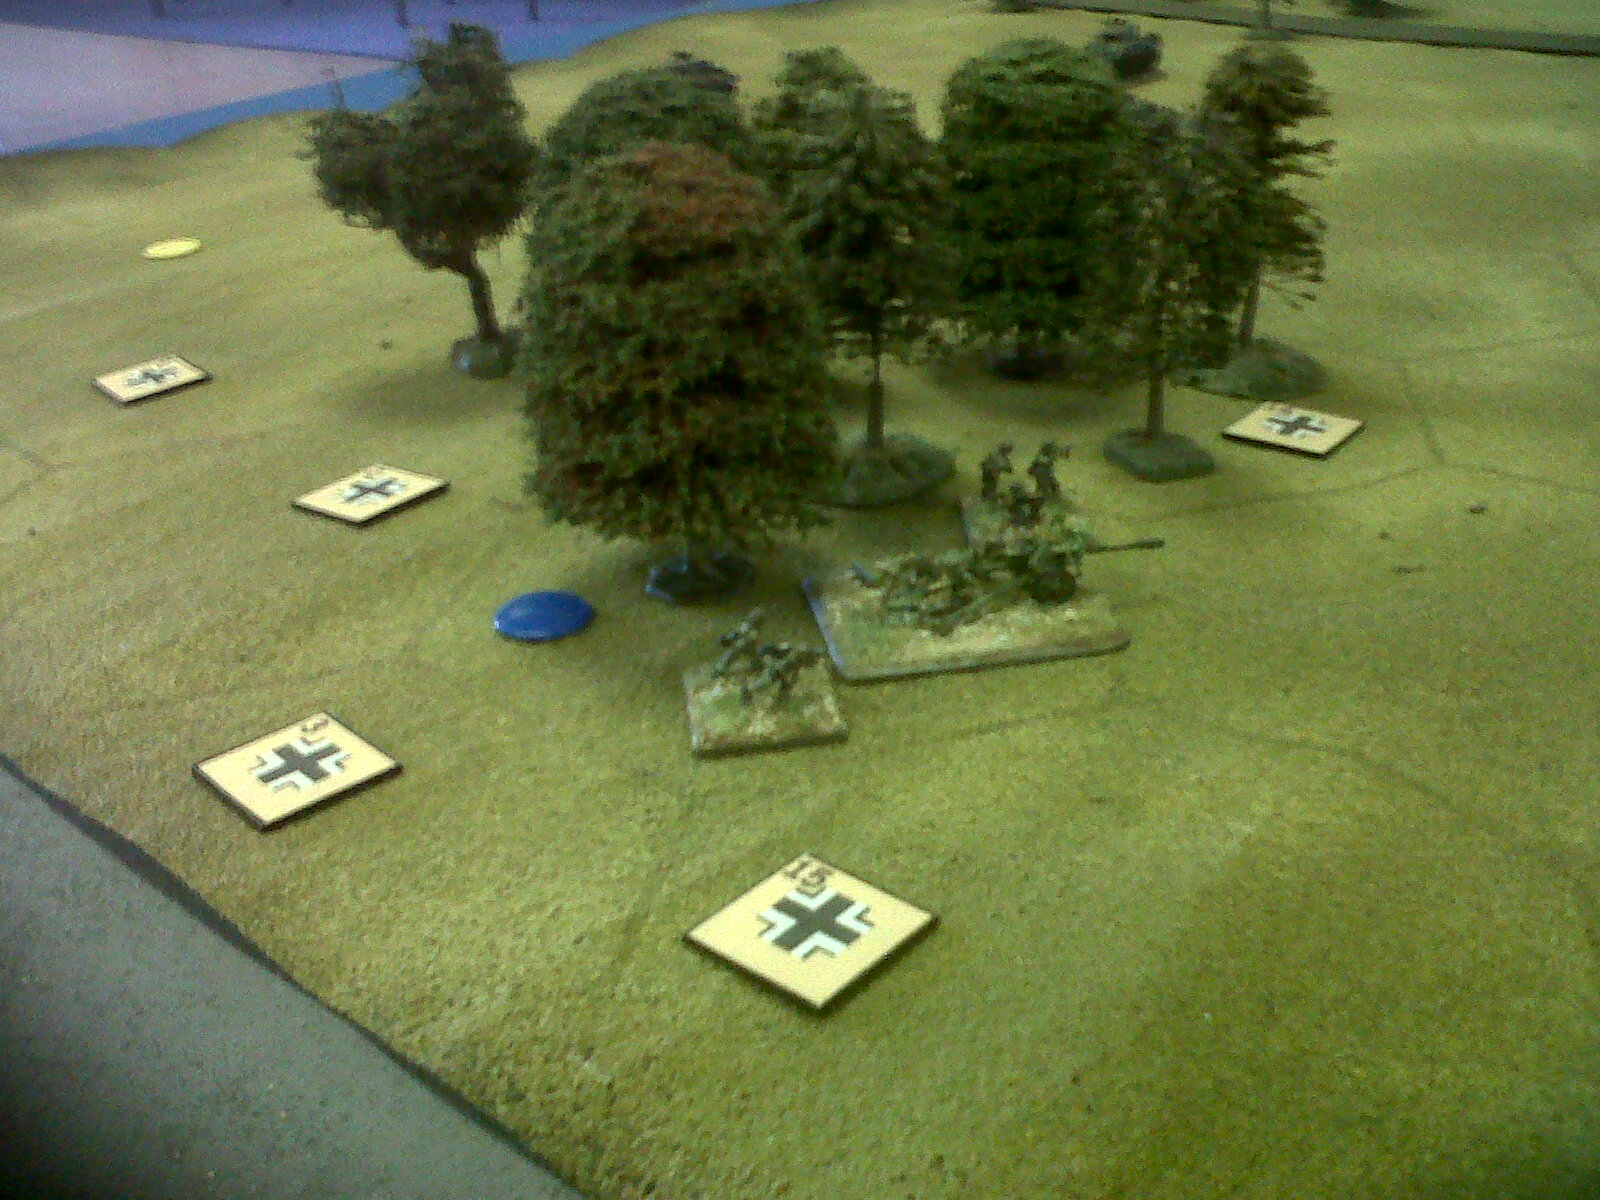
I Chose to lead with my artillery, 2lbr portees, Honey Company HQ and a troop of Honeys. Steve led off with his artillery, Panzer Kompanie HQ, Panzer II platoon and his PaK platoon. However I soon realised the error in my deployment choice when the Germans got their first reinforcements and the British drew a blank. Steve immediately placed his infantry platoon on my flank threatening my gun line as my Honey troop "swanned off " into the desert seeking death or glory, see below.


I had however taken the precaution of dismounting my AT guns and digging them in around my artillery position, so this provided them a modicum of cover from the German small arms fire that came their way. My company HQ with their two tanks also enabled some return fire with their machine guns.

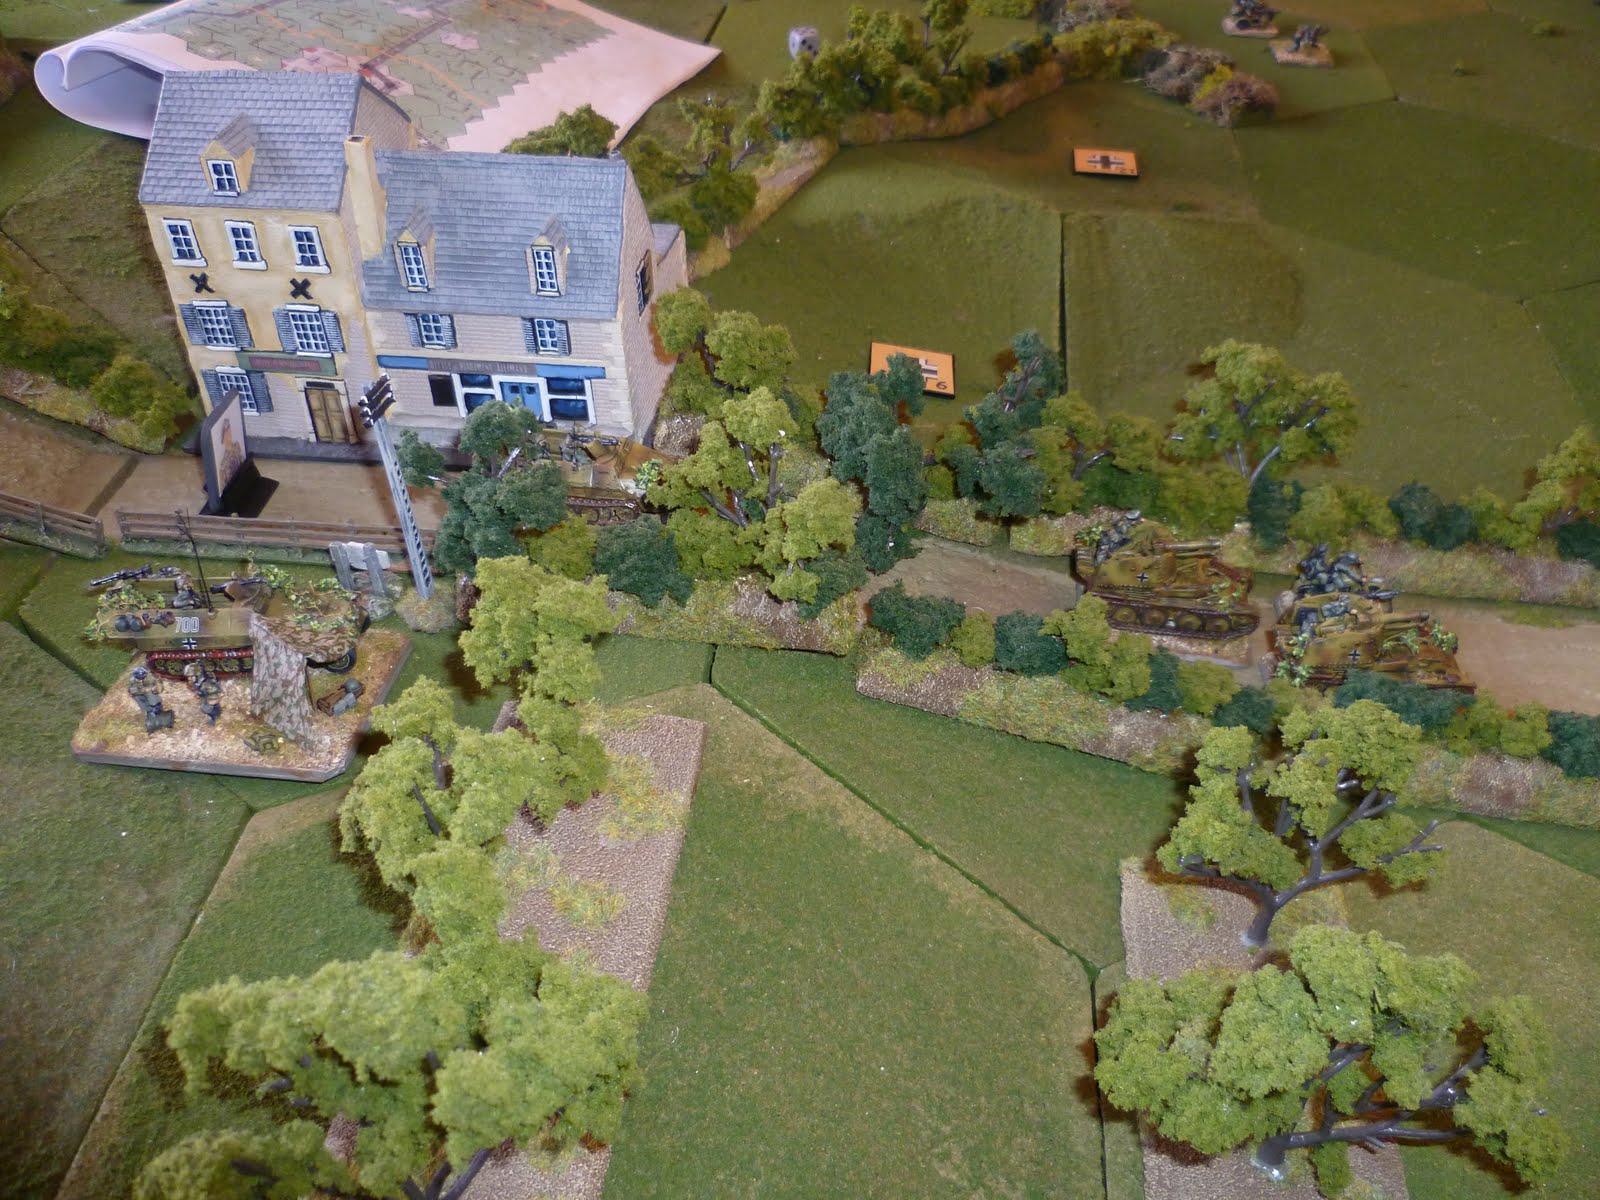
In the centre a temporary standoff occurred as Panzer IIs and Honeys eyed each other looking for an opening with the Brits all to aware of the PaK front formed up behind the German armour. I took the unhistorical option of choosing discretion and not wading in. Perhaps Battlefront should have early/mid war British armour having to take a control test when in close proximity to the enemy, to see if they fail to resist charging in, rather akin to British cavalry in the Napoleonic period.


However on turn 5 events took another twist with the reinforcing British armour turning up on the German flank. Now it was Steve's turn to have his gun line threatened. So putting the pedal to the metal, my Honey platoon charged in on the 105's knocking out a gun and forcing another to leave the table in retreat. In addition I was in behind the PaKs and Panzers causing a temporary halt to their advance on the objectives.


The appearance of the British armour led to a classic tank on tank pell-mell battle with flaming wrecks appearing on both sides. I chose to reinforce this fight with the third Honey troop, ignoring the German armour that was building on my own flank, consisting of the Panzer IIIs and IVs who were jousting with my Company HQ and 2lbr/25lbr gun line.


With the game moving into turn seven, events took another twist. The Brits had a remarkable stroke of luck with the 2lbr AT guns knocking out two Panzer IIIs causing the platoon to fail its morale check. This changed the balance in the middle of the table as the other German armour was primarily engaged in dealing with the two Honey troops in their lines. I made a dash in the centre to grab the middle objective with the remaining Honey troop, looking to smoke them off with my artillery to enable them to stay on uncontested.

However it was not to be, the fickle dice gods enabled me to fail to call the guns in on three rolls and with my AT guns failing a morale check and bugging out in turn eight we called it a day.


In FOW the mission uses the Fair Fight rule comparing lost platoon counts on the losers column of the Victory Points table, which gave Steve a 2:1 win. The VP points system in FOW is very simple and probably fails to give a good indication of how clear a win was, so I have included an alternative approach which I saw on another blog and have adopted (apologies, I cannot recall where). This looks at the value of units damaged and destroyed to calculate an advantage, which called the game a draw. Either way both Steve and I agreed that this was a very enjoyable mission, and gave us plenty to talk about re set ups and initial troop placement.


Thanks to Steve for a great game.

Monday, 25 July 2011

Direct from Detroit, 11th July 1944

Hi all,
Steve and I fought the third game in this six game linked campaign, adapted from the Skirmish Campaign book, "Heroes of Omaha and Panzer Lehr". The first three games are fought over the same table simulating the fighting that went up and down the road from Les Hauts Vents (see the google map, bottom right, on the campaign summary sheet)on 10th & 11th of July.
This third game simulates the counter attack by US 3rd Armoured Division to take Hill 91 and Les Hauts Vents and roll back the advance of Panzer Lehr's right thrust. The map below shows the US and German front lines prior to this action, with the hill top shown on the southern edge.

The picture of the table shows the set up after the troops were deployed, the variable set up being that because Steve's Panzers won the last encounter, his defences could include the house in the centre of his front line. As can be seen the Panzergrenadiers occupied the front line backed up by the Panzer platoon and Company HQ with the HMG section.
The terrain in this action was not conducive to armoured attacks, with plenty of bocage, limited roads and rain sodden fields which would cause wheeled vehicles to check for bogging. This together with occasional minefields left blocking gateways from the previous two battles severely limited my US troop deployment. Thus the tanks went into the fields, with the armoured infantry moving on my right where unimpeded gateways allowed access to the half tracks, with some tanks, the HMGs and recon advancing down the road.
I was also hoping the US artillery would lend a hand so had my Sherman OP and Company commander on the hill to my rear able to spot for my guns. The only hazard with this plan was that historically the artillery was inaccurate on the day, and to reflect this problem Steve got to place two alternate positions for the strike, which would fall on my positions should I roll a 1 or 2 on a d6!!!!


The US force looked well balanced with all arms capability and plenty of recon.

The German force although small in comparison to the Americans was formidable with Veteran morale, dug in, plenty of Panzerschecks and Panzer IVs sitting still on the defence able to blaze away at my advancing armour. Also they could rely on a PaK40 taking pot shots at any US vehicle in fields on the US left flank with an open edge. This simulated 352nd Infantry Division on Panzer Lehr's right flank.

The picture below shows the slow advance in the hedgerows as my road column advanced on the German position with my flank support

The recon boys did an excellent job revealing two Panzergrenadier sections and allowing me to quickly bring HE and HMG fire to bear, causing a few casualties and pinning their positions.


This initial combat was successful beyond the American expectations as the mission checks this caused the Lehr grenadier platoon to take saw Steve throw two ones and a two on a d10 in the first couple of moves (low being not good). The grenadiers panicked and left the position. The road looked open for the taking. That's when the wheels started to come off the US attack!
The picture below helps illustrate the point. My Shermans looking to take advantage of the Lehr collapse advance on the hedgerows. At this stage in the campaign US Sherman's didn't have Cullin forks and therefore they have to crash over the boccage, forcing them to bog check.

Steve's response to was to rely on the Panzer IVs overlooking the valley to start to thin the US armour.

The result was that across my front the Shermans started to burn.

Not only that but my armoured infantry started to take hits as they tried to stalk the panzers with bazookas.

Eventually the US artillery started to get involved, not without bombarding my own positions twice, but it was not enough to stop the Panzer attack which caused my armoured infantry to flee and a Sherman platoon to quit with them.

However at turn seven the game was still in the balance and with a roll of a 6 on a d6 the game continued for another two turns, with US shells falling on the German ridge. With both sides teetering on Company morale checks, the shelling managed to kill the German company commander and his 2IC failed to take over when he fled the field.

It was too little too late for the Americans and the panzers managed to hold firm to the game end, with the remaining US armour not daring to engage in any further long range tank duels.

The result was one Sherman and one M8 armoured car totally destroyed and four foot groups killed or wounded giving the Germans 6VP for casualties inflicted (The damaged Shermans and routed groups do not give casualty VPs). In addition the US failure to take the hill gave them a further 5VP plus 4 attachment credits to be used in future games (gulp). The US gained 3VP for the German casualties (two foot groups and the company CO).

The position at the halfway stage has Panzer Lehr sitting on a commanding lead of 10 victory points with all to play for for the US forces against the second Lehr attack which was aimed at Le Dezert (see map). The next three games are scenarios looking at the battles along this route.
Thanks to Steve for a very fun game that had lots of swings of fortune throughout the day.
Jon

Sunday, 12 June 2011

Epsom Linked Campaign Game 2

This month we played the second game in Gary Martin's linked campaign on the Epsom offensive. This campaign is available on the Battlefront website.


The first game in this campaign was played in March and resulted in the Scots gaining a narrow win and penetrating the 12 SS defences. This result affected the set up for our next game, the attack by 11th Armoured Division on Hill 112. Due to the rapid advance of the initial attack by the 15th Scottish troops the SS units defending atop the hill were caught deployed but not dug in.

The forces involved were

On Table 12 SS Division

1 Platoon Gepanzerte Panzergrenadiers - full strength

1 Platoon SS Anti-tank guns - 3 x PaK 40

Reserves

1 SS Panzer Company HQ - 2 x PzIVH

2 SS Panzer Platoons - 8 x PzIVH

On Table 11th Armoured Division

1 Squadron HQ - 2 x Sherman V

2 Tank Troops - 6 x Sherman V & 2 x Sherman VC Firefly

Reserves

2 Tank Troops - 6 x Sherman V & 2 x Sherman VC Firefly

1 SP Anti-tank Troop - 4 x M10 Achilles

1 Motor Platoon - Full strength.

The map shows the terrain and initial set ups. Given the openness of the terrain, we set the SS troops as "stealthy" to reflect their excellent abilities at camouflage. This required them to be spotted even when in open terrain. Two objective were placed by each player, with the German objective placed just behind the wood on the left flank of the German set up zone and the British objective just to the left of the wood.

Once the Germans were set up on blinds the British armour deployed. Given the position of both objectives the British units would look to assault the German left flank. The cover of the hedge line on the British left flank was used to set up the Squadron HQ and both Firefly's to over watch the attack by the six remaining Sherman's. The Pak40s were a considerable threat as the British armour prepared to roll out across the fields and they got the first shot in, lightly damaging two Sherman's of the assault group and badly damaging the 21c Sherman in the command group.


The picture below shows the initial attack going in. The two blinds next to the objective hex proved to be dummies. The real threat came from the wood on the right containing Panzergrenadiers and a PaK40.


The only chance for the British armour was to get onto the objective quickly before the German armour showed up. The Germans guns had fired first, so now the British tanks concentrated their fire towards one gun in particular that protected the German left. It was a difficult shot which even after a successful hit gave the gun team a save throw of anything but a ONE on a d6. The German commander then managed to conjure up a ONE. However the gun team counted as a foot group and was intermingled with other Panzergrenadier foot groups, so a "My Choice" dice was required to see who, German or British commander, would determine that choice. The result went to the Brits. The picture below shows the knocked out gun with the German objective marker tucked in bend the wood.

Below is the other side of the wood with other units that were unable to immediately stop the British attack.

The only gun that could possibly stop the British tanks getting onto the objective in turn 2 was the third PaK on the corner of the orchard which could get a flank shot in on the next turn. The British Command tank took care of this threat by placing a well aimed smoke round adjacent to the gun thus masking off the British attack.


At the start of turn 2 the British armour were set up in the fields opposite the German left flank.

Would they be able to get onto the objective, and once there hold until the start of turn 3 to seal the win?

Both sides were busy rolling for reserves and taking mission resolve checks between turns, with both sides forced to wait another turn for reserve arrivals.


The British tanks moved onto the objective, forcing the German commander to consider counterattacking with his infantry in the open to clear the British tanks. However the Sherman's got the drop this time and badly damaged the Platoon Commanders halftrack that had tried a couple of potshots with its 3.7cm gun.


The start of turn 3 found the British tanks still firmly ensconced on the objective and able to claim a win, all be it a narrow one following the German fire placed on other British units on the table. This caused considerable damage and further failed mission resolve checks.


We decided to play the next three turns to see how things might have turned out, and look what turned up on turn 3, "gulp"

The German reserve die rolls proved more successful than the British with two Panzer IV platoons appearing for only one Sherman troop. The result being a lot of burning Sherman's at the end of turn 6, with a small conciliation of the PaK40 platoon failing its third and final mission resolve check and leaving the field.

So the game ended in a British win, but only just. Wellington would have summed it up as a "close run thing". The score for the campaign is 8 vs 6 to the British after two games, so all to play for in the final game, the German counterattack by 9th and 10th SS Panzer Divisions.

Apologies for the quality of the pictures, I left the camera at home so we used Nathan's phone to capture the key events.

Thanks to Nathan for fun game


Jon

Monday, 16 May 2011

Morning of the 902nd, 11th July 1944

The second game in the mini-campaign from the Skirmish Scenarios book "Heroes of Omaha and Panzer Lehr" was fought this weekend which picks up from the first game where Battlegroup Heintz had held off the US 3rd Armoured Division whilst waiting to be relieved by the 902nd Panzergrenadier Regiment, Panzer Lehr.
The campaign position is even with both sides gaining five victory points in the first battle. The hill position at Hauts Vents in visible in the lower right corner of the map.
Panzer Lehr arrived at Point 91 in the early hours of the 11th July 1944 and prepared immediate plans to assault the US lines in the hours of darkness to enable their forces to close with the Americans, hoping to take full advantage of the confusion and intermingling of the opposing troops and thus avoiding US air attacks when the daylight came.
Steve, taking the role of Oberstleutnant Welsh, commander of the 902nd Panzergrenadiers, having the option to delay the attack until dawn, followed the historical plan and opted to attack at 0400 hours in the dark.
This decision meant that the action took place at very close range, no more than 240 yards (four hexes) and very often more likely to be at 60 - 120 yards (same to next hex).
The table and set up map show the starting positions and the objectives buildings at the top of the picture that Panzer Lehr had to capture. If they also took the manor house seen right at the extreme top of the picture on the North edge, they would gain four attachment credits, which would come in very handy for the next game. In addition because the US forces in the Hauts Vents game failed to capture their objectives, the Panzer Lehr have an optional flank set up area on their right flank.
The German battle group was very powerful with two armourd panzergrenadier platoons backed by mortars, tanks, SP guns and flamethrowers. In addition Steve managed to get the Recce platoon as his additional attachment enabling him to scout ahead of his main force.
The US forces represented the infantry of the US 120th Regiment, 30th Infantry Division, who had been battling in the hedgerows for several weeks since D Day. They were thus subject to an attrition die roll at the start of the game to represent this state, forcing me to remove a stand on a die roll of 1-2. This removed six groups including an HMG before a shot was fired. In addition, because Steve opted for the night attack option, my M10 TDs and additional recce platoon would now arrive in d4 turns as immediate reinforcements. It was obvious that with this reduced force I would not be able to defend the whole position and so I looked for obvious choke points such as gateways and enclosed fields where I could set up all round defence and turn neighbouring fields in to kill zones.

As expected, the Lehr recon platoon lead the intial probing of my defences. We had all un-spotted units recorded on the maps, or as blinds on the table until they were confirmed as troops. This gave the uncertainty that the actual commanders had to deal with when fighting in the bocage at night. In the picture above can be seen the Company commander and 2IC vehicles parked up on hill 91, with the two Grille SP 105 sIGs supporting the following Panzergrenadiers

The Grilles probed a bit too far down the road and one vehicle was disabled and the crew abandoning it after a shot from one of my defending M4 Sherman's.

The picture below shows one of the Panzergrenadier platoons that came on on the US flank deploying and carefully approaching the field my US platoon were holding.

I had placed the Sherman's in the corners of the field so they could contribute to any fire from my infantry. The US Company CO can be seen in the centre and off to the left are some Panzergrenadiers finding the only hex of mines placed to cover the gateway on that flank

The picture below shows the German positions at the bottom of the field. The terrain and darkness made it difficult to maintain command, and the US infantry were able to hit this platoon the hardest causing them to fail two mission resolve checks, without quite being able to break them with a third failure
With the Panzergrenadier section stuck on the mines and losing a casualty, I opted to close assault them taking them out but losing a casualty myself on my own mines. The casualty markers are testament to this battle. The Lehr platoon leader has moved up to clear his casualties in an attempt to stop his unit breaking.


Meanwhile on the other flank the main Lehr force was labouring across mud and bocage to turn the right of the US positions. I could only use my Tank Destroyer platoon to delay the inevitable and try and exact a toll on the advance. The burning Panzer IV was one success and caused the German armour to stop and wait for the infantry to catch up with them and lead the assault into the objective buildings.

With the arrival of the Panzergrenadiers the full armoured force was ready to assault the manor complex.


By turn eight and only one turn to go before checking for game end or an extension, the US forces were being forced back into the buildings. The Sherman's added their combined firepower to keep open the road back to US lines.

As the Lehr closed in for the kill, and a final lunge to capture the manor turn nine ended and a d4 was rolled, with 1-3 indicating an extension of that number of moves, and a 4 ending the game. The die gods took a hand and a four was duly rolled. The game ended with 8 victory points to the US and 10 for the Germans, but the manor was not taken. One Sherman and one PzIV were knocked out and one M10 and Grille were disabled and abandoned. The US infantry executed a textbook withdrawal in the face of the enemy losing eight stands of infantry, and surviving two mission resolves at below 50% strength, also losing their platoon commander in hand to hand fighting. Likewise the Lehr platoon that suffered on that flank were in on the objective, taking out one of the annoying M10s with a well directed barrage of Panzerschreck shots.

And the next game will be on the same table but with the full weight of US 3rd Armoured Division looking to counterattack and roll back this prong of the Panzer Lehr assault.
Thanks to Steve for a great days wargaming, good times.
Jon