A blog for the Devon Wargames Group, which meets on the second Saturday of each month at the Whipton Institute, 16 Whipton Village Road, Whipton, Exeter, EX4 8AW.
Doors open at 10.30am.
This year is the 200th anniversary of this famous action in which the Shannon captured the Chesapeake in just 15 minutes of bloody action.
The frigate battles of the War of 1812 were often one sided affairs when rash Royal Naval captains went up against the American super frigates only to find that they were heavily out gunned by these "pocket battleships" of their day. The Shannon vs Chesapeake action was, in those terms, a much more even affair with both ships carrying a similar broadside and crew compliment.
Captains Broke and Lawrence
The action though quick was bloody. The Shannon lost 23 killed, and had 56 wounded. Chesapeake had about 60 killed, including her four lieutenants, the master and many other of her officers, and about as many wounded. Captain Lawrence was mortally wounded by fire from Shannon’s fore-top and was carried below before the Chesapeake was boarded. His last order upon being wounded was "Don't give up the ship!".
Shannon opens fire aiming to take down the rigging on Chesapeake with chain shot but the range is to far
Our re fight turned out very similar to the historical encounter. The ships were set up as in the original fight with the Chesapeake up wind of the Shannon, both ships on topsails and mizzen sail sets. The breeze from the North.
The Chesapeake increased sail and, having the wind, bore down on the Shannon. As the two ships closed the Shannon opened fire with chain shot on the Americans rigging, but misjudged the range and the fire fell short. As the Chesapeake closed, the Shannon tacked into wind and the two ships exchanged broadsides, as the Chesapeake passed downwind of the Shannon.
As both ships close the range the first telling broadsides are exchanged
The Shannon now had the advantage and increasing sail kept the range down and swung in behind the Chesapeake at close range giving her a triple shotted stern rake as she passed. The American ship staggered under the fire but amazingly suffered no critical hits or lost masts. As the British frigate swept past the American fired off a desperate reply with minimal effect except that one shot took away the Shannon's wheel, forcing the ship to maintain course whilst effecting repairs.
With the range increased due to the damage to Shannon's wheel and the Chesapeake having the wind, the Shannon, after effecting repairs, was forced to tack back towards her quarry to try and end the duel. However the Chesapeake wasn't finished yet and succeeded in causing further hull damage and knocking out the repaired wheel yet again.
Shannon with the wind gauge bore in for a close range triple shotted stern rake, badly damaging the Chesapeake
Eventually the two ships closed and the Shannon was able, yet again, to swing in towards the stern of the American fouling her as she passed. The next boarding phase would decide which ship grappled first.
After several rounds of medium range cannon, the Shannon grapples
With the two ships locked together the Shannon got the opportunity to board and requiring 4 on three d6 promptly rolled a 12 sealing the Americans fate and forcing a strike.
The Chesapeake strikes.
Thus ended what was a very close run fight with both ships suffering over 50% hull damage and with the Chesapeake slightly better off at the end. The deciding blow was the stern rake from which the Chesapeake never recovered causing her a much reduced gunnery effect.
Thanks to Nathan, Ollie and Jack for a very entertaining game.
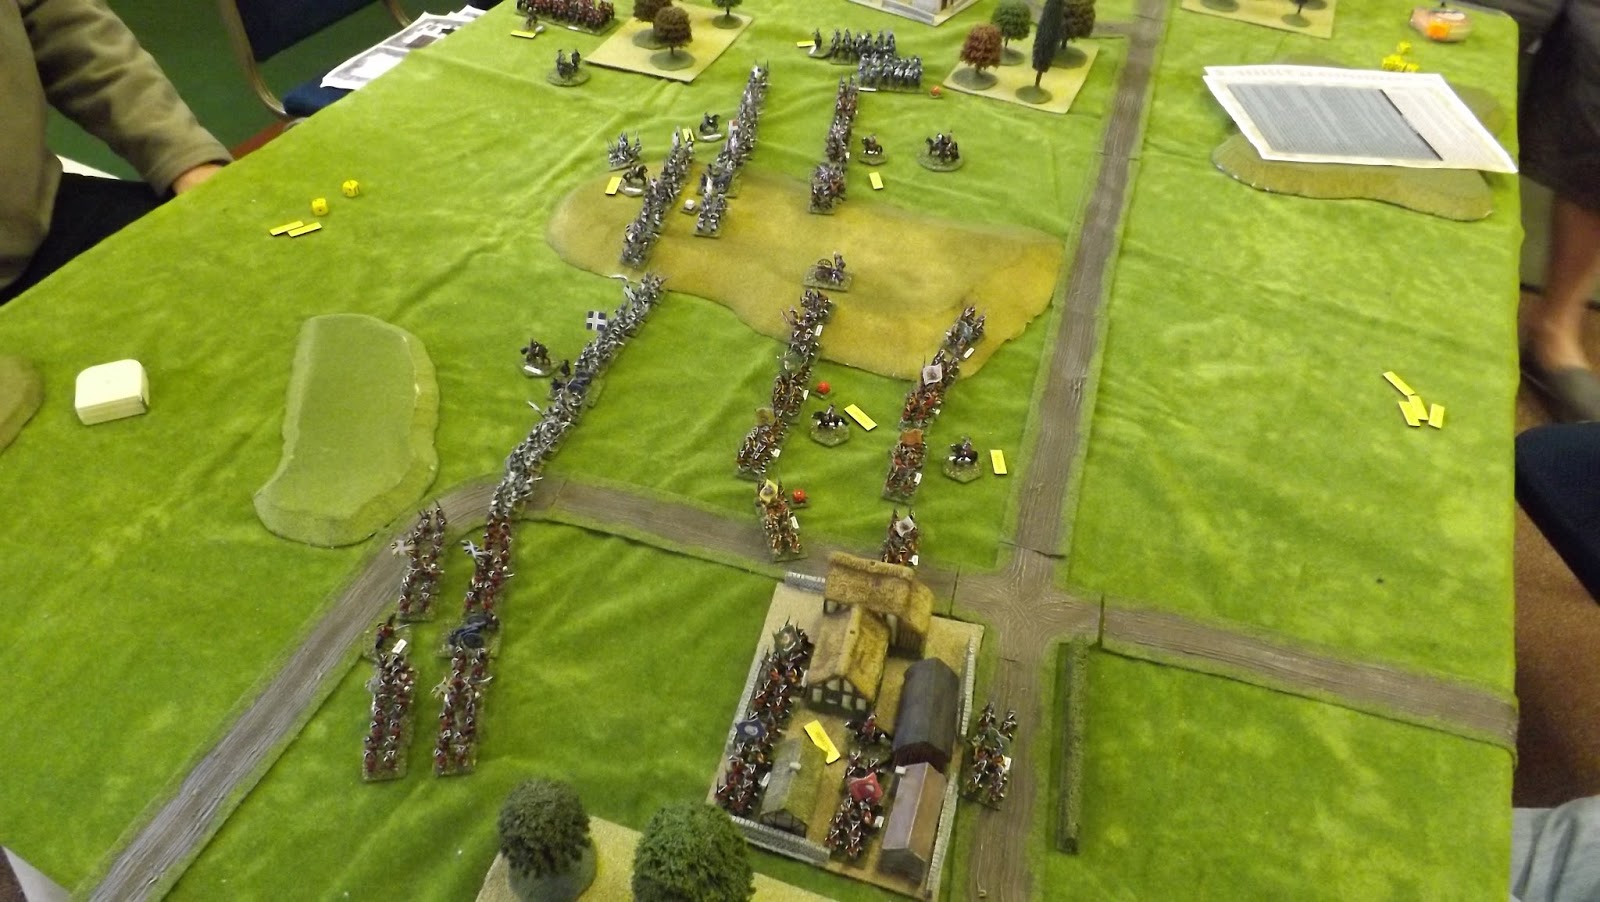
About 18 months ago I decided to have another crack
at 15mm 7YW so I scoured the world for suitable rule sets, they needed to be
base driven, not figure, To have command and control, give the right period
feel to the game and suitable army lists . Now I like a good army list me but
can I say in my defence that I don't hold with super maxed out armies so for
every Maison Du Roi there has to be some appropriate low life as well. The final
choice was Koenig Krieg, so I bought the PDF from Siegeworks and went to check
under the bed for the remnants of the armies I had from 20 years ago.
I found
some Austrians, quite a few Prussians and a goodly amount of Russians, Obviously
the thing to do was to immediately buy Allies and French from Old Glory and get
under way. With the figures painted and based up I gave the rules another
thorough read through and then started the " how do I" questions to make sure I
had a good grasp. Confident that I could bluff my way through a game I found
suitable volunteers and organised one of the September games at the Devon
Wargames Club.
The View from the Anglo-Hanoverian lines
The armies were 1000 points a side and each had 6
brigades as any more makes using Sub Generals compulsory and for the life of me
I cannot see what their purpose is apart from annoying you.
Each had 4 Infantry brigades of various strengths
and class, 2 horse brigades and some Light guns .
The Franco Swiss lines
Koenig Krieg is split into 3 distinct phases:
First is the Command and Control Phase; Any retreating unit automatically rally's, replace leaders, mark any unit which is out of command, move Generals and place Activation markers on each Brigade leader.
To be in command you have to stay within 4" of your Brigadier, if not then you have to throw 1-2 or 1-4 depending on how many combined legs you have.
Swiss line flank the French Guard
Second: March and Volley Phase. Each Brigade gets to activate, Infantry have 1 action and Cavalry 2, so you can either March or Volley, double if away from the enemy, change formation or stand still. Now to decide the order you roll off against your opponent and then choose to move or force the other side to move, this is key to the game. Let me explain why I like this, in most Horse and Musket games there is a great unwillingness to be the first person who moves into firing range and therefore gets shot. This way if the opposing brigade has already activated then you can close in and see what happens next turn.
Perform any morale as it happens and repeat until all brigades have moved.
Third Close Combat Phase. All units with 1" or 2 " ( depending again on accumulated legs) get activation markers. Again you roll off and again the sequence is critical, defenders can shoot as you charge if they have a marker, so do you wait and see if you can force them to spend it before getting stabby, if so then I can counter this by retiring out of combat range .
There is exploitation after winning a fight and army morale every four turns to check on but enough rules.
Hanoverian Line brigade
Both sides advanced, the Allies put their poorer troops into a village and hoped that no one spotted this blatant ploy and the Dragoons on both sides headed towards each other. Eventually both lines were just outside firing range and as usual no one was too keen to close in especially against the three British Foot Battalions .
Cavalry melee on the British right flank
The fight for the centre ground
The dragoons clashed and the Allies forced the first French unit back and then exploited, Throwing 5 or 6 makes cavalry go uncontrolled and off they went in pursuit . However in KK retreats are either 8" or 12" ( Leg qty again ) and as movement is only 4" for everyone you don't get to ride down routers, however the French had taken a bashing and lost again the next melee and retreated off the board followed by the Hanoverians in hot pursuit.
Both sides start exchanging volleys
Overview as the two lines close to musket range
The French cavalry threaten to roll up the British flank
Strangely the exact opposite happened with the second dragoon squadrons but fate had something planned for these two units . The infantry had realised that you can move in if the opposing brigades had already activated, so firing was imminent. The British machined gunned down the poor French in front of them (16 man units as opposed to 12 , 1 dice per 2 men , British kill on 4+ as opposed to 5+) but the French chipped away and this brigade, although badly damaged, still held ground all be it a lot further away and in less numbers (50% of a brigade lost counts on Army Morale even if you are still fighting on). I was worried about the British power before the game as in theory they could, with lucky enough throws, destroy a conscript class unit in 1 shot.
The French infantry move up to engage
Hanover vs the French Guard
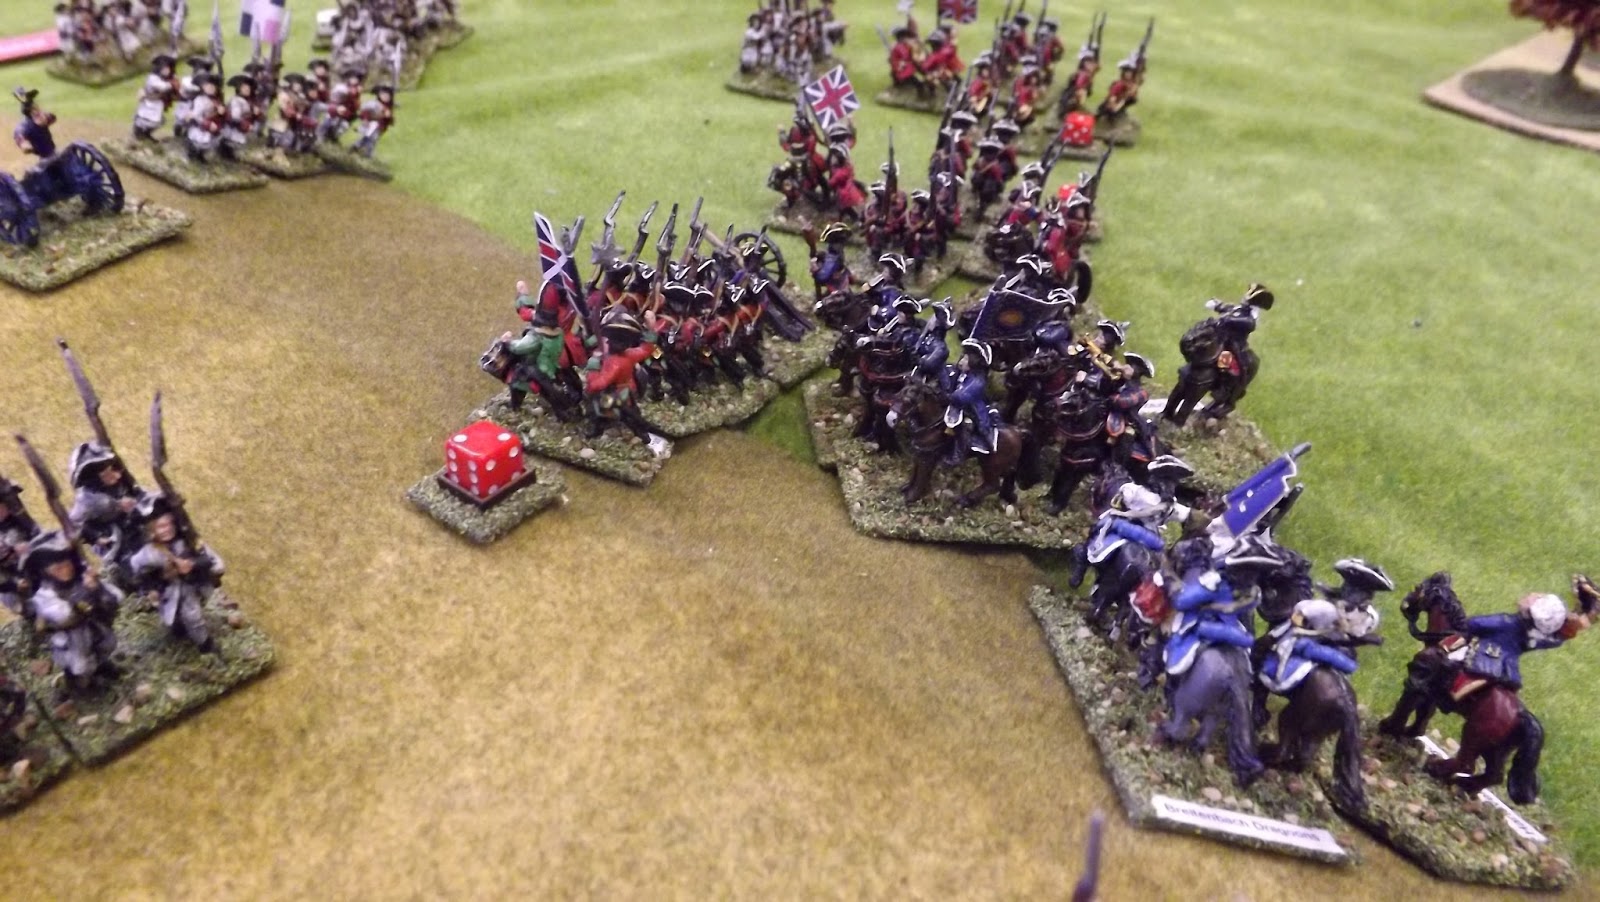
The other two brigades either volleyed each other or marched pointlessly around, however the second French dragoon unit defeated its opponent again and, being well controlled chaps, were poised to charge into the back of the British. The climax had arrived. In the close combat phase the Allies moved first, faced with French infantry in front and dragoons behind, the British foot formed square (yes it did happen in 7YW, just not as often),
The British reinforce the centre
The Allies moved again and the remnants of the Dachenhausen dragoons charged the French dragoons (any morale fail at any time for the Allied dragoons would take them off as they were down to one base) throwing the required 1, then in they went, the French of course, on taking their 'being charged' roll, throw a 6, break and being trapped were destroyed.
Prussian cavalry attack the French cavalry as they attempt to close in on the British
Now with two brigades wrecked to one Allied the French were on a 3 or less to keep going (Army Morale every four turns). Skipping to the end, some more people got shot, posh boys on big horses got scratched and the Swiss went home without getting their Muskets dirty. Allied Victory.
The French Guard start to wilt under Hanoverian musketry
The rules played well, gave the right period feel and there is a lot of strategy in the game not just rolling dice. Of course we must have got some rules wrong but we had a good game.
The British move to take control of the centre
Last bit.You include your Army commanders in the points total and you can therefore buy, for most armies, anything from Level 0 to Level 3 which is then added to the dice rolls . The Allies had a level 2 General and the French quite rightly was a Level 1 so the Allies had for most of the game +1 on every dice roll. This turned out to be decisive and the Super British Infantry were starting to look very sorry towards the end. Once you have shot four to six of them then they are then going backwards just like everyone else (currently only three battalions out of fifteen with more "low life's" on the way).
The French cavalry are destroyed leaving the British infantry able to advance
Well I have gone and done it, I've set the wheels in motion, I have now launched my Kickstarter to launch my dream and set up a Wargames Holiday Centre "WARGAMES HEAD QUARTERS"...
I have already put some of my money into this project and plan to plough in all the remainder of our savings to fulfil this business project, this is it, no more working for other people, its down to me and me alone!!!
The plan is good, I just have to get the remainder of the finances in place and away we go, hence the Kickstarter project, so if you or you know of anyone who wants to support me in this please support the project but more importantly please let others know of my Kickstarter set up...
I am also looking for collections of figures, terrain etc., for sale, hire etc., and would not be adverse to any comments, advice or help in any form or type, please just let me know, comment or email me, no idea is a bad idea...
~~~~~O~~~~~
Now this has been a dream of mine for a number of years, as it probably has been for many gamers and will be for future war gamers, but since being made redundant in April and with a great amount of encouragement and support from my better half and family, I am well into the process of putting together a business for a new War Gaming Centre the "Wargames Head Quarters" down here in Torquay, Sunny Devon, a war games holiday centre in all intents and purposes, but I will not be calling it that due to the name already being used elsewhere in the country.
The plan is to have a minimum of a 18' x 12' gaming area, this will be the minimum, table space is massively bigger than this at the moment, I have to re-gig the layout though, planning for larger, to facilitate 10 to 20 players a time, maybe more, and to have workshops for terrain building and painting service, a storage area, a soft furnished relaxation and briefing area, an office area, and a front of house sales room.The terrain will be of a durable, flexible nature to represent the battlefields of the Napoleonic campaigns, starting with Waterloo, Gettysburg and ACW battles, Normandy/France, the Sudan, and Zulu Natal...
Project room with tables installed yet to be converted for terrain and wargames use each table area ie between the blue posts is 7'x4', so there will be a minimum of 21'x 14' playable area... with much more scope for expanding if required...
Project room view 2 tables are yet to be cut down and terrained for use, but you can see the idea...
Project room area where the proposed soft furnished briefing room and board/smaller games room will be situated...
Very early stage pictures of the property that I am proposing to rent, it requires some TLC, but its sound and the framework is there in place ready to roll...
Bookings are planned to start the first weekend in February 2014 and run through until 1st weekend of November, there will be 40 full weekends planned, Friday PM through to Sunday PM, and 20 full weeks Monday AM through to Friday PM available, depending on bookings and club requests we may increase the full weeks to meet demand and or specific club or group requests.
I have found an ideal building for this, and plan to get started as soon as possible.
I will update as and when progress is made with pictures and information.
The periods I am planning to cover will be Napoleonic 28mm primarily then American Civil War 28mm, Sudan 28mm, and World War Two planned 15mm for bigger battles and flanking manoeuvres etc., & then into Zulu 28mm, ., and 28mm WW2 gaming for the close in actions, Wild West 28mm, Ancients & Medieval 28mm and, eventually to cover most periods and battles once set up and successful.
Allied Napoleonic Divisions collected so far, much much more on the way...
French Infantry so far...
French Cavalry so far...
Saxon Allied Corp...
Lassalle with the Chassuers...
ACW Union Corps so far... much much more on the way...
Rebel forces building up...
ACW Rebs on the march...
Sudan Brish force building up nicely... lots more egyptians required...
Sudan Dervish forces start to mass for the Mhadi and Osman Dinga... More required...
Allied 15mm tank formation building nicely...
Allied 15mm support elements start up force...
Allied 15mm infantry and some German Armour...
More Allied tanks and US Para force start up...
I am in the process of purchasing many more figures, collections and terrain to facilitate this plan to be ready to roll officially in February 2014, hopefully we can open earlier depending on the level of support reached, we may open late 2013 October/November...
If groups wish to come together, and want to play a particular period or battle we can arrange and accommodate where feasible.
Again if you or you know of anyone who wants to support me in this please support the project but more importantly please let others know of my Kickstarter set up...
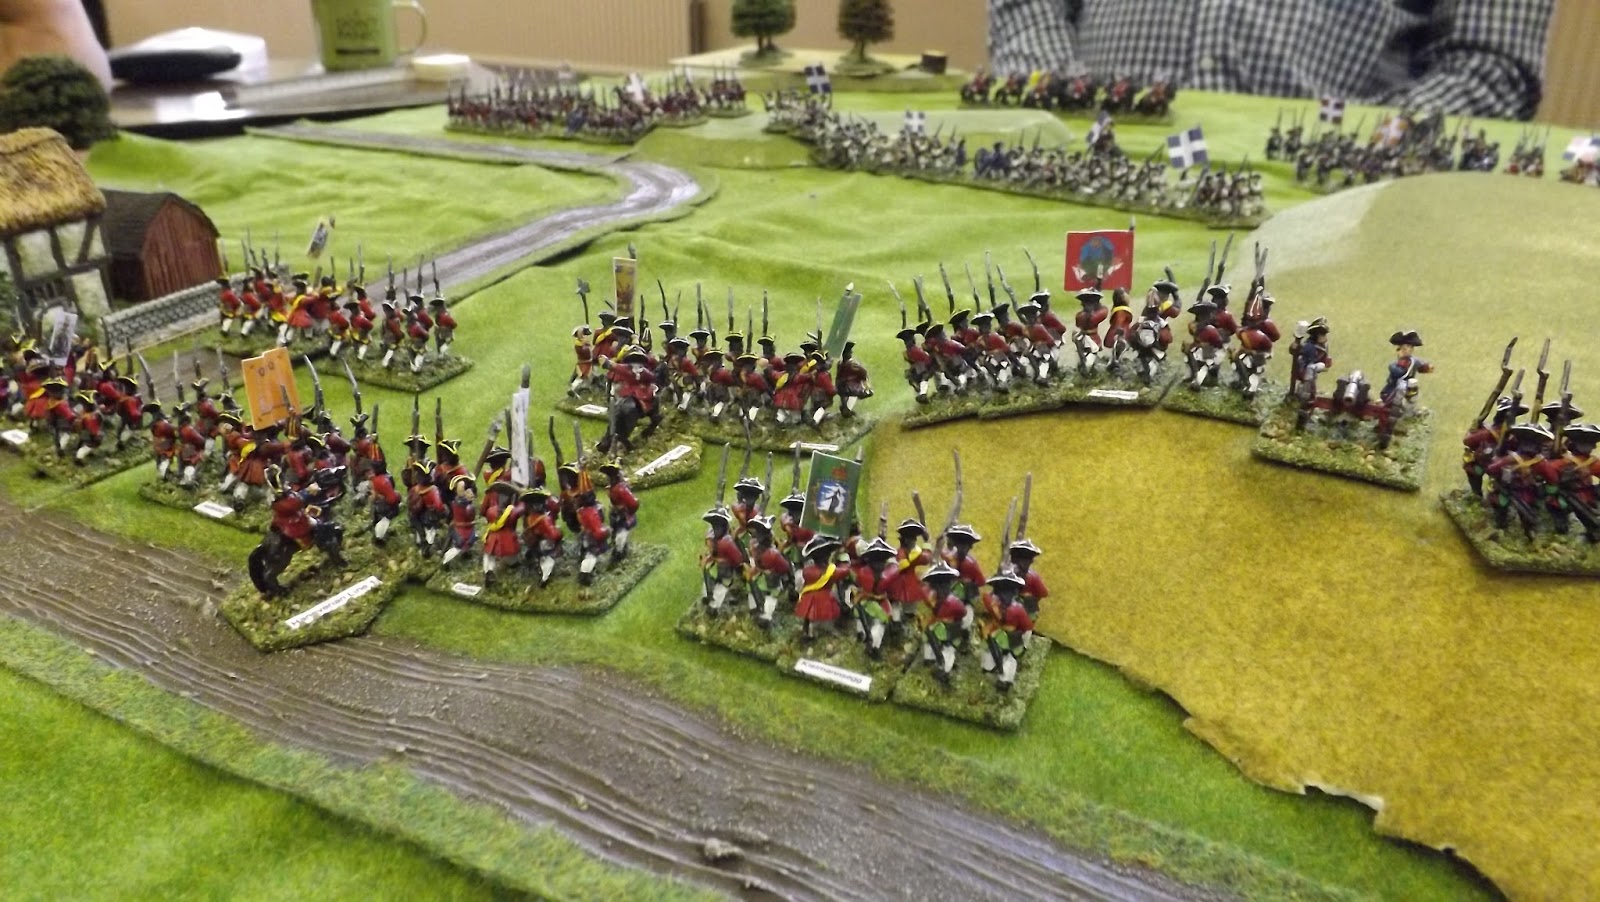
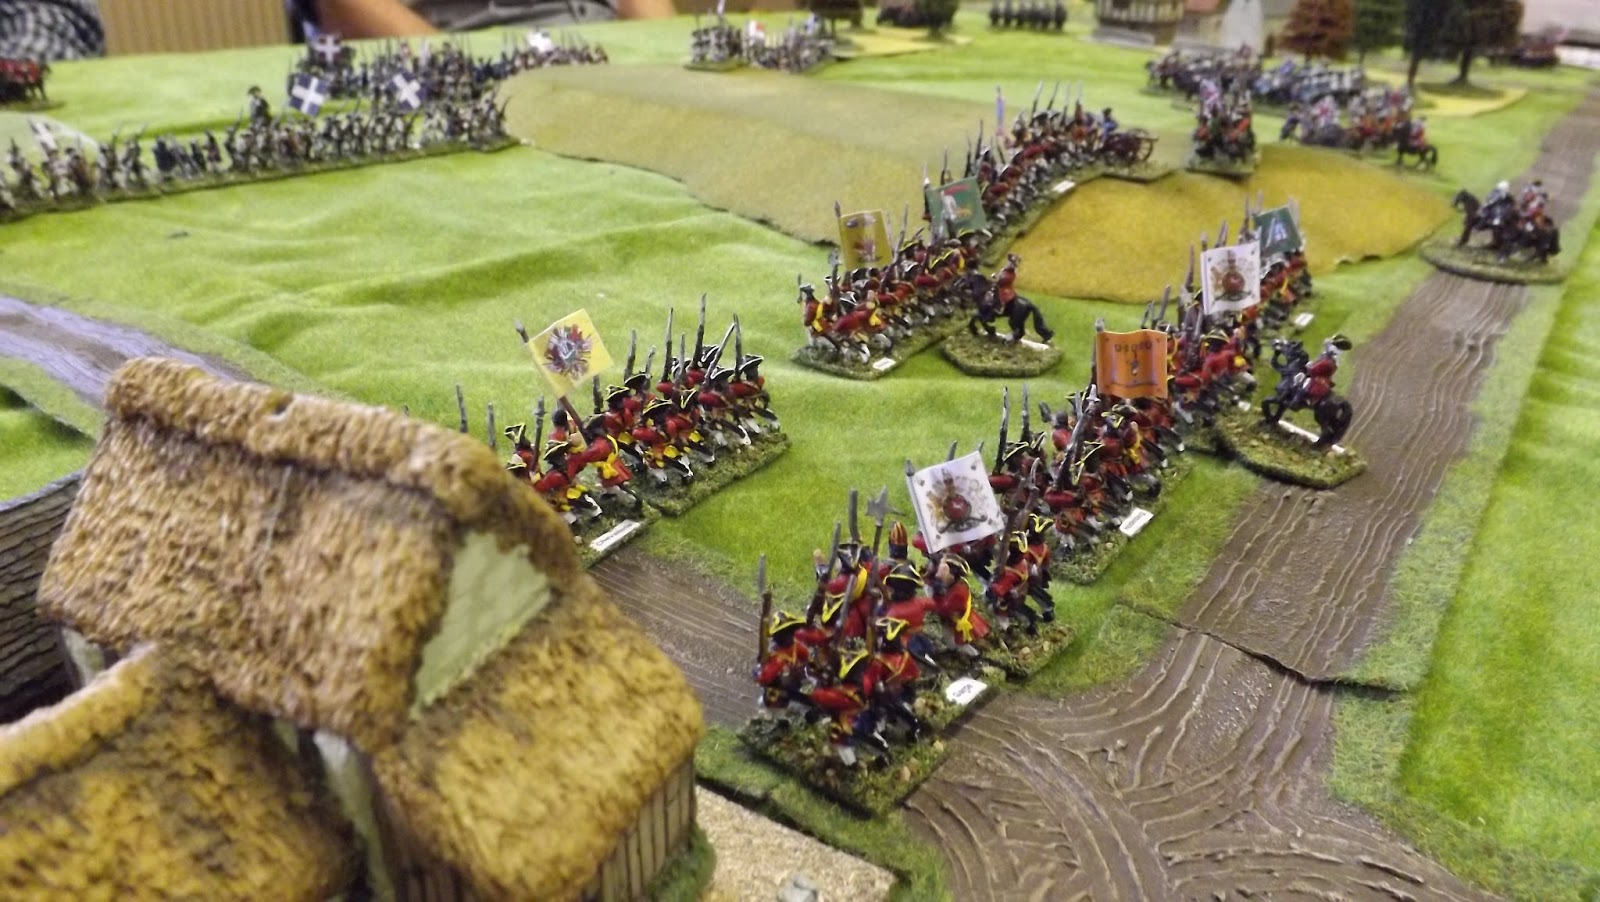
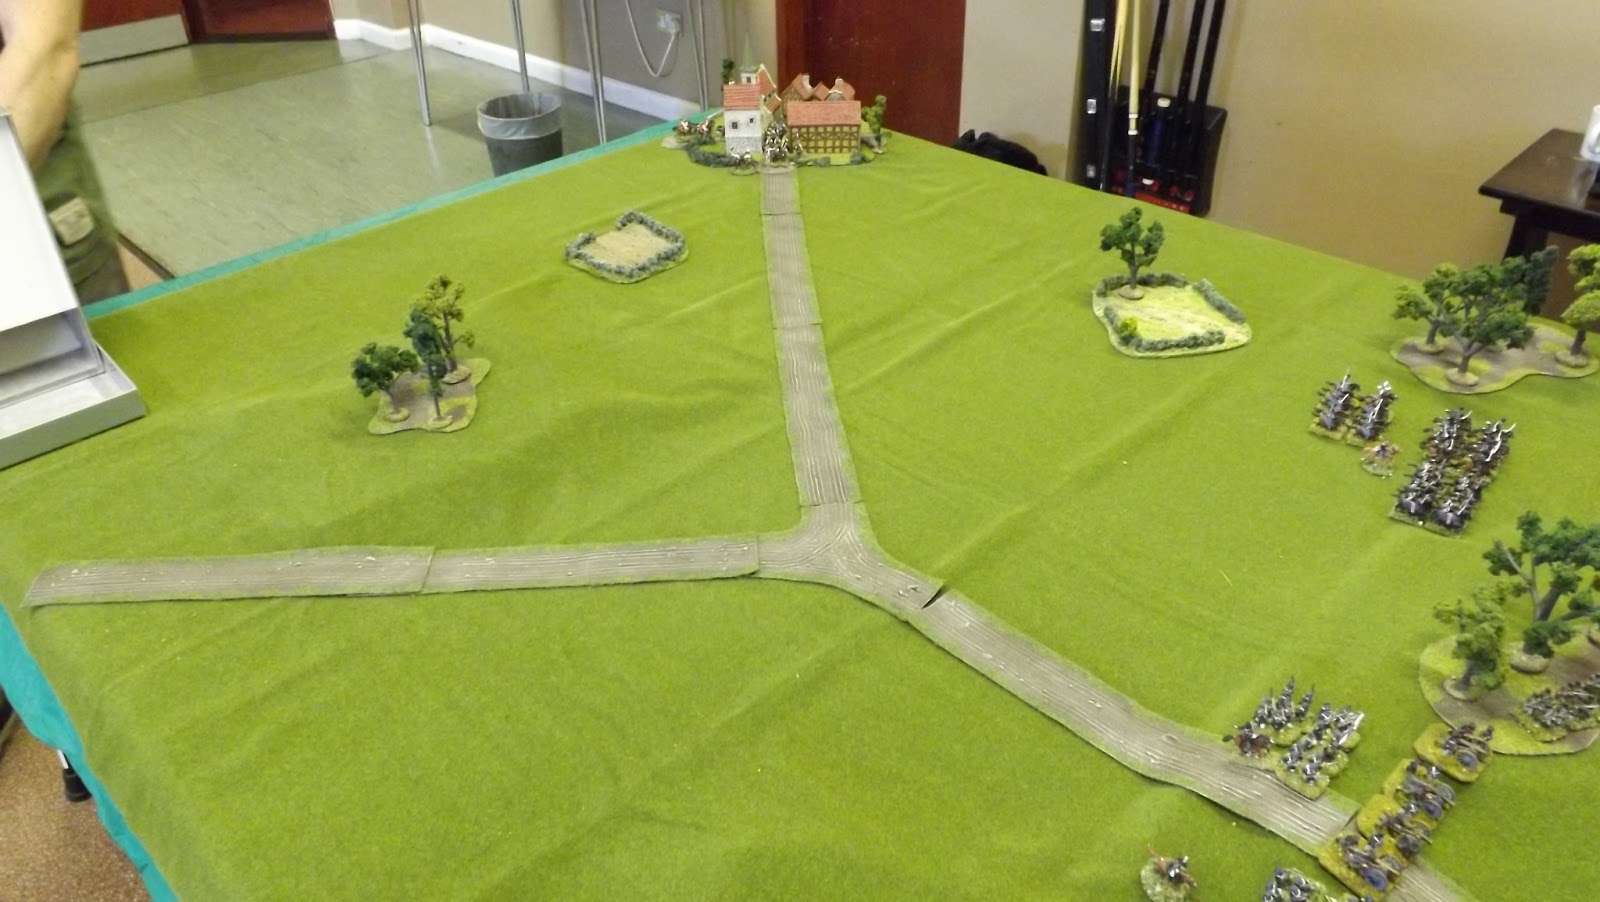
This weekend gave us the opportunity to get mine and Chas's Napoleonic collections out on the table to fight a scenario from Charles Grant's "Scenario's for Wargamers". The rules used were Napoleon at War.
Our scenario, named the Battle of Exeburg Hill, is a variation of Reinforcements in Defence No 15, which in our game had a Prussian rearguard on the main hill feature, about to be assaulted by a French main force. The reinforcements were the Austrians marching down the road from Exeburg to support their hard pressed Allies and prevent the hill from falling into French hands and thus undermining their overall defence in the area.
The scenario finds a Prussian rearguard defending the hill outside of Exeburg against a French force that has moved into position overnight to attack immediately at first light in an attempt to overwhelm the defenders before the Austrians can aid them.
The Prussian defenders get a look at what's coming their way!
The road to Exeburg was looking a long way away.
The first Austrian brigade set to march, Cuirassiers.
The Prussian Cavalry, whose job was to keep the road to Exeburg open
With the forces set up the French began advancing with their infantry towards the hill, swinging the cavalry out on their right flank to attempt to force their Prussian opposites back and thus impede the Austrian relief force.
Sound the Pas de Charge, "En Avant", "Vive L'Empereur"
Hold the Line
The French heavy cavalry brigade, three regiments of dragoons
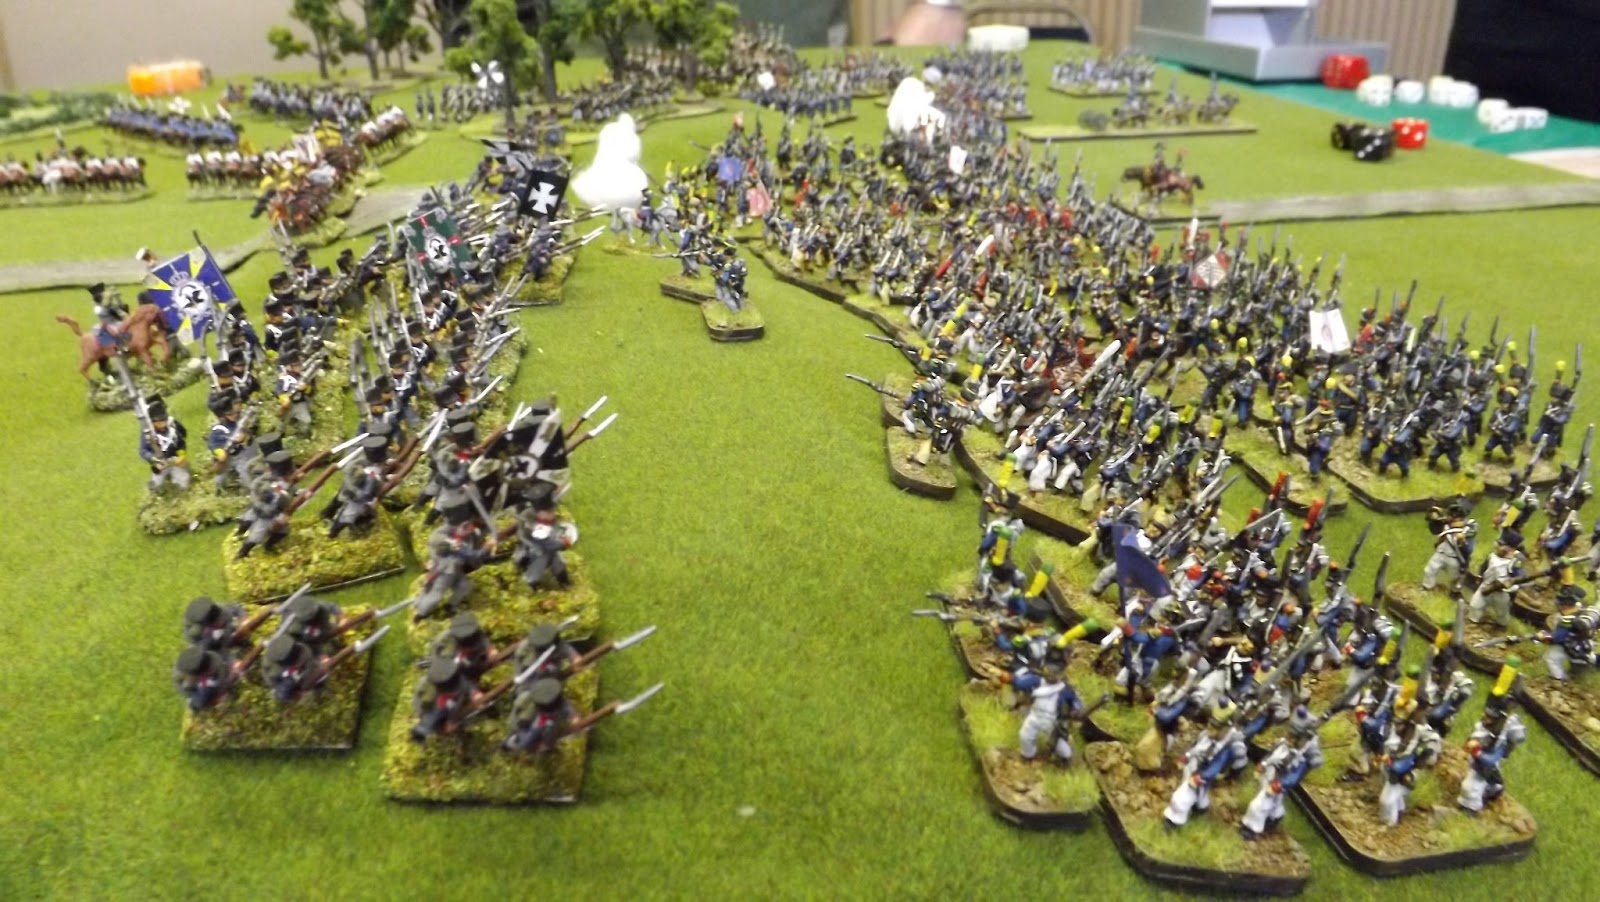
The French and Prussian guns played on the opposite lines as the infantry closed. As the first volleys rolled out from the Prussian lines the French Voltiguers screened the columns in their approach.
The French close in on the hill as the artillery open fire
With the Austrians approaching, would the Prussians hold?
Meanwhile the cavalry battle on the flank of the hill went backwards and forwards as regiments rotated in and out of the combat as each side struggled to gain the ascendancy. Where were the Austrians when you need them.
The French cavalry move to push the Prussians aside and close the road
The Austrians led off with their cavalry and by turn 4 they were starting to deploy behind the Prussian lines.
The Austrian cavalry rode hard to support the Prussian line
The cavalry were closely followed by the infantry
The battle on the hill reached a climax by turn 6 with Prussian and French units recoiling from the combats. Still the Prussians held. Suddenly a gap appeared in the lines on the road to Exeburg.
The French and Prussians come to grips
With a gap in the Prussian lines the French prepared to exploit the advantage. However the fighting had taken its toll on the lead columns and the Austrian commander confidently sounded the charge and the Uhlans thundered up the hill preparing to tear into the French masses.
Climax in the centre as battered French infantry fend off Austrian Uhlans
Now it was the turn of the French to brace themselves for what seemed like an unstoppable attack. However the lead French battalion was made of sterner stuff than many of the French command. They coolly unleashed a volley at the Austrian horsemen and awaited their fate. The Austrian unit then failed its saving roll twice (an over-strength unit) thus loosing a base to the musketry, and then failed its "Elan" test thus failing to charge home and fell back behind the ridge.
The Prussians resisted the first French wave, now braced themselves for the second
As the infantry battle was waging the two sides cavalry were going toe to toe. The French were getting the upper hand on the Prussians and forcing the Austrians to divert their cavalry away from the hill to stop the flank collapsing. However as the two sides threw in their battle cavalry with dragoons taking on cuirassiers the Austrian infantry started to arrive in force.
The cavalry battle on the flank became a seesaw affair with neither side able to get the upper hand
The French tried one more gambit to break the stalemate by bringing up the horse guns to support their cavalry. This forced the allied cavalry to trade space to avoid this fire but with the Austrian infantry now in place it was now a case of too little too late.
The game ended with 10 Allied units occupying the hill against 8 French, thus ensuring they retained control and giving a marginal but none the less complete victory to the allies in what was a very hard fought contest.
As the Austrians arrived in strength the battle came to a close
Many thanks to Chas, Vince, Ian and Steve M for a very entertaining days wargaming on a very hot day outside. Like most parts of the UK at the moment we are enjoying a summer heatwave and, with the doors and windows wide open, our venue became quite warm towards the end of the afternoon requiring much needed refreshments in the pub afterwards.