It was fifty years ago this year that the classic war film, "Zulu" was released in cinemas. I am of an age that means I can remember that event and feel I have grown up with that movie and the stirring deeds of valour it recreates. It was therefore with great delight that I got the chance to play with another of Nathan's great collection of 19th century colonial figures, namely his new 28mm Zulus and the beautiful Rorke's Drift buildings that Jason has been working on for the last few weeks and has featured on his blog.
Welsh Wargamer in Devon
 |
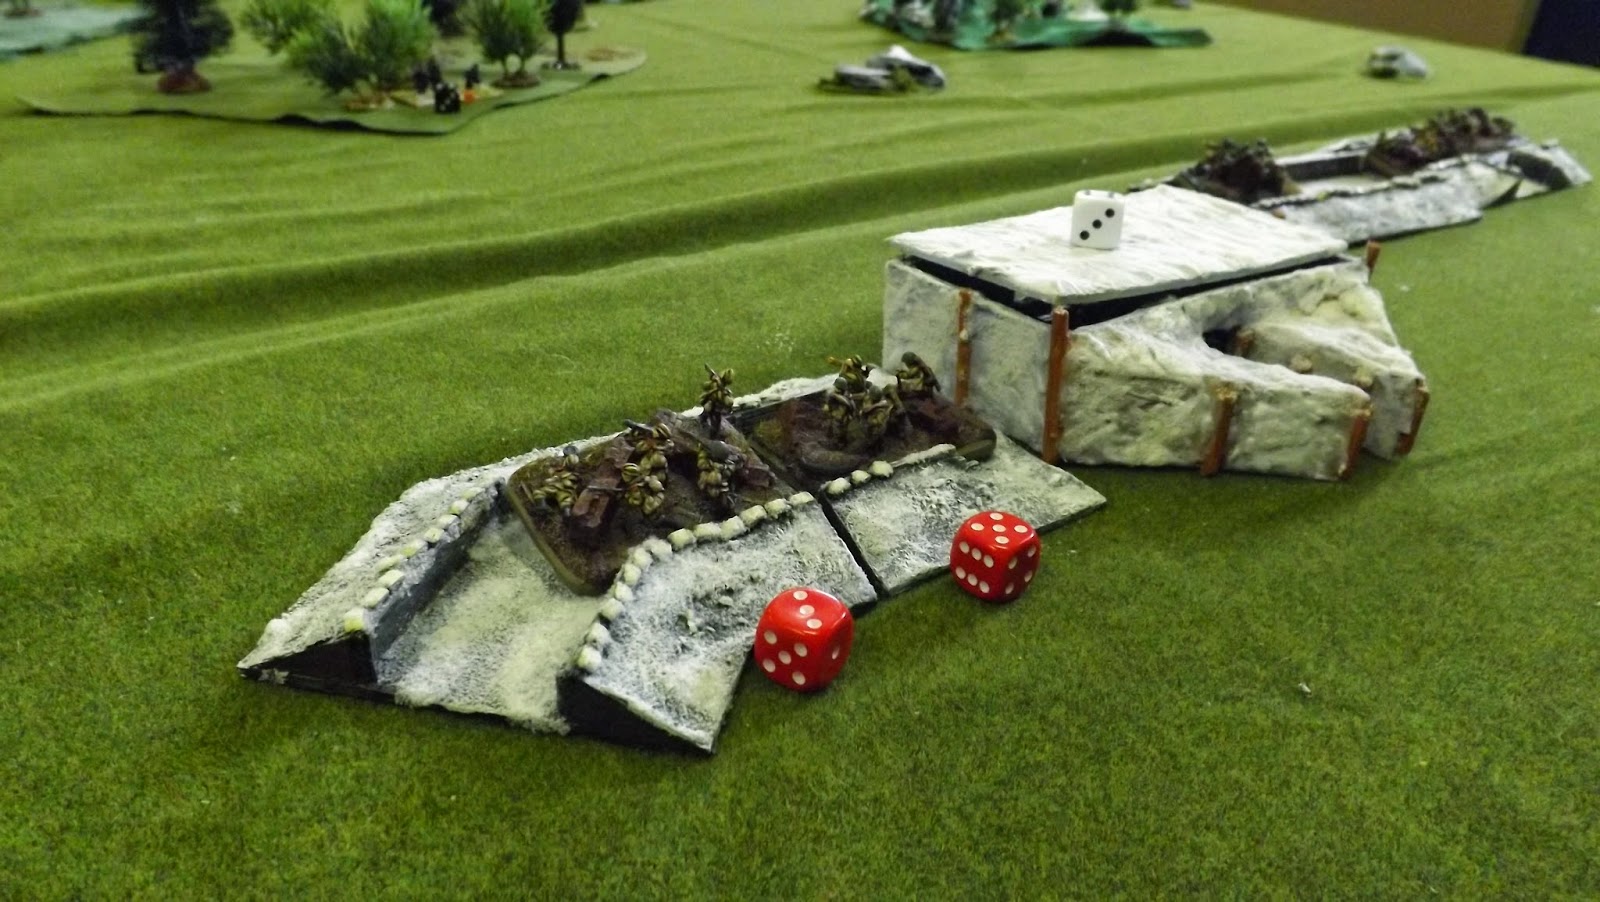
| Rorke's Drift with the perimeter set up on the hospital to the left and the commissary stores to the right |
So just as in the movie, the quiet before the storm, as the little collection of buildings that lie close to the river at Rorke's Drift forms the backdrop to our re-fight of Zulu.
 |
| The Warlord model buildings have superb detail and Jason had done a very nice job on them |
 |
| The view from Zulu lines |
With the stage set it time to introduce our actors in today's drama
 |
| "Zulu's, fouzands of em"!! |
 |
| "Why us Sarge? Because we're ere laddy"! |
 |
| "Don't point that bloody thing at me"! |
 |
| Colour Sgt Bourne off course, "face you're front and mark your target" |
 |
| Surgeon Reynolds, a bit of a mixed blessing! |
So with the introductions over, on with the game. The rules decided on for the days feast were a set I discovered on the web a few years ago, "The Boys from Isandhlwana" by Chris Pagano. Sadly I cannot find a link to them and they are copyrighted to Chris with restrictions on distribution.
 |
| The barricade is manned |
I had not played them before, but they made interesting reading, and Nathan decided to give them a go. The rules were designed to handle skirmishes and large battles, and I have to say, after yesterday's run through, seem to provide a fast and fun game that captures the ebb and flow of these kind of battles. What was very good was that the Zulu players had lots of decisions to make on how they moved and attacked rather than some rules I've played where they simply charge in and win the melee of get shot to pieces. As the British commander for the day I never felt we had the situation under full control and as you will see things got rather desperate at the end.
 |
| Buildings loop holed, doors and windows covered |
With the defenders set up, and not with any real idea where the attacks would come from, the British awaited the first Zulu moves. They did not have to wait long as impi formations appeared along all the avenues of approach used in the real attack. With the Zulus moving at six inches plus a d6, the various groups came on at different rates. The fire from the British, who rolling one dice per figure, were able to hit on 4+ on a d10, plus one for light and two for heavy cover, soon started to cause casualties. During the first rounds of shooting, Private 26851 Jones, knocked over and broke an oil lamp in the roof position of the stores building, and a small fire was observed.
 |
| The stores under attack with a fire started in the roof just visible. The men in the centre are building the redoubt |
As the Zulus swarmed around the stores building, men positioned at the windows and loopholes started to fall wounded or killed from close in assegei thrusts. On the other end of the compound the defenders in the hospital under Colour Sergeant Bourne were putting down devastating fire and driving the Zulus back to cover with each advance.
Likewise, on the forward facing barricade, the Zulus were under murderous fire from the defences.
 |
| The casualty in the middle of the compound was an unfortunate victim to Zulu sniping from the nearby slopes |
Early on, as commander, I had decided to commence work on a redoubt immediately after the attack commenced. Slightly disconcerted by threatened penetrations to the perimeter I stopped the work halfway through the build to order the men elsewhere. This decision would come back to haunt me.
 |
| The Zulus approach the forward barricades |
 |
| The fire from the defences hold the Zulus at bay |
 |
| Col Sgt Bourne conducts the defence around the hospital |
The defence of the stores was fast becoming untenable, and with the wounded evacuated, the decision was made to let the building burn, forcing the Zulu attackers to move around the build to get at the defences.
 |
| The stores under severe attack |
The scenario had a time limit and the British defenders were tasked with holding the position and destroying enough Zulu units to force them to gradually break off their attacks. The battle became one of attrition as every attack left both sides the weaker, and for the defenders fewer men to hold the perimeter.
 |
| As darkness falls the compound comes under increasing attacks and casualties mount. Note the unfinished redoubt |
As night fell and darkness engulfed the position, the Zulu attacks grew in in intensity with a variable number of their units able to make an additional six inch move. This combined with a reduction in visibility impacting on British ranged fire meant that more Zulus were able to attack the barricade at the same time, stretching the defence to its limit.
As the game moved to its end, the British command suffered a personal morale loss, as we could not see the garrison withstanding a further combined attack that the darkness was allowing.
 |
| As Surgeon Reynolds works on the wounded, men fall back from the barricades taking their wounded with them |
 |
| Another wave laps up and on to the barricade |
However the casualties suffered by the Zulus had taken its toll and although able to recycle some of their badly damaged units. They were now having a variable number of their units removed from the table reflecting the gradual fatigue and wearing down of their will to continue the struggle.
 |
| And still the British kept up a withering fire |
 |
| During the night the battle grew in intensity and the fighting was fierce |
 |
| With the stores now fully ablaze lighting up the night sky, the Zulus continued to press |
The fight reached its climax as the last major Zulu attack finally broke into the hospital compound. Lieutenant Chard gave the order for the defenders to fall back on him and behind the biscuit boxes, to make a last stand in front of the stores building, now a raging inferno.
 |
| With only a half completed redoubt, Lt Chard seen pistol in hand top right organises the last stand in front of the stores |
 |
| Chard's position seen from the Zulu lines |
The Zulus at this stage were making last ditch desperate charges to finish off the British garrison. Likewise Chard, now in sole command following Bromhead's wounding during the fall back from the hospital, was directing able and wounded men in desperately driving them back. On the medical front Surgeon Reynolds was working furiously in the RAP dressing and treating wounds, however it seemed we were losing quite a few of them under the blade, but those able to walk away were a much needed reinforcement.
 |
| Although the Zulu attack was waning, the defenders are forced to abandon the hospital compound and fall back on the stores |
With barely a handful of unwounded soldiers still standing and the wounded slumped up against the barricade the Zulus fell back and the garrison had held, just.
 |
| The end with the stores position held but only just, and at a terrible cost to both sides |
The links below are very interesting and give more detail on the actual events of the battle
Thanks to Nathan and Jason for providing a very entertaining day. I have never wargamed Rorke's Drift before, so yesterday's game was a great pleasure and the rules and banter during the day made the game a very film like experience.