|
| The little known North African Islamic sect called the Senussi (named after it’s founder Sayed Mohammed Ibn Ali el Senussi). |
Stephen H. picks things up from where he left off in March, link below, with another scenario looking at the Senussi Little War in Libya 1916.
Introduction:
This is the second scenario we have played based on Robert Giglio’s scenario book “The Senussi’s Little Miniature war 1915-1917”. The scenario concerns the rescue of the crew of H.M.S. Tara from Bir Hakeim, in the Libyan dessert. Until I discovered the Senussi campaign, I thought Bir Hakeim was a battle fought in 1942. I did not know about this small but consequential military action in 1916, where the role of the internal combustion engine was decisively demonstrated.
HMS Tara
SS Hibernia (Captain Gwatkin-Williams) was a ferry across the Irish sea. Requestioned as HMS Tara, she patrolled the coast from Alexandria to Sollum on the Egyptian/ Libyan boarder; for the crew it was a holiday cruise. On the 5th of November 1915, as the Tara approached Sollum, she encountered U 35, enroute to Bardia. A single torpedo sank the Tara and U35 handed over 92 survivors to the Turks. A few days later U35, returning the same way, stopping to bombard Sollum with her deck gun. Cairo decided to evacuate Sollum and news about the Tara’s crew dried-up.
Initially, the crew were kept as Turkish POW’s in Bardia. Captain Williams was offered internment in Austria but he preferred to stay with his crew. A Turkish doctor treated the Tara’s injured crewmen, but he had neither medicine or surgical instruments. The Bedouins had looted the pharmacy at Sollum before the Turks could secure it; the seriously injured crew men succumbed.
 |
'SS Hibernia (Captain Gwatkin-Williams) was a ferry across the Irish sea. Requestioned as HMS Tara'
Editors note - I recognised the description from Stephen's account of HMS Tara having visited the memorial to her at Holyhead Fort, Anglesey in the Remembrance Garden there, back in 2021, as mentioned in my post about our visit to Anglesey in 2021.
JJ's Wargames - North Wales Border, 2021 |
Bir Hakeim
As the campaign progressed the crews of the Tara and of another ship sunk by U35, HMT Moorina, were marched to the oasis of Bir Hakeim in the Libyan desert; there the prisoners suffered greatly from lack of food and illness. The war had disrupted the movement of camel caravans, so food was in very short supply. The crew were put to work cultivating crops but, in the meantime, lived on a diet of snails. This was not a deliberate act of cruelty, as the oasis farmer and the guards lived on a similar diet too.
Captain Williams had given his word to the Turkish commander of Breda, Nuri Bey, not to escape so long as he and his men were correctly treated. As the crew’s situation deteriorated Captain Williams used his celestial navigation skills to escape and tried to reach Solum, unaware that it was no longer in British hands. Captain Williams was re-captured by the Turks and returned to Bir
Hakeim.
There seem to be two accounts of how the British came to learn of the prisoner’s whereabouts and it possible both are true. One is that Captain Williams wrote to Nuri Bey about the prisoners’ conditions, but the Arab courier delivered the note to Solum, reoccupied by the British on 14th March 1916. Another is that Captain Williams, during his escape, came across an abandoned car. Realising that it was an unusual sight in the desert and that it might attract the attention of passing British troops, he left a note in the car.
Where is Bir Hakeim?
Both Captain Williams’ notes were addressed from Ber Hikim but nobody in the Western Frontier Force (WFF) knew where Ber Hikim was. Bimbashi (Major) Leopold Royle of the Egyptian Coastguard asked amongst the Arabs. An aged Arab named Ali or Achmed (depending on the source) said there was a place called Bir Hakeim and that he had been there once when a youth. Based on Achmed’s information, Bimbashi Royle estimated Bir Hakeim was 120 miles away. The Bimbashi had once journeyed about 80 miles in the same direction and said the going should be good. The Duke and the Bimbashi now came up with a daring plan.
Bir Hakeim was the site of an abandoned Ottoman Turkish outpost; the Roman’s had an outpost there too. The best English translation I can get for Bir Hakiem is “up-standing well”, because the well was built on the top of a mound. The well had to be constantly cleared of rocks and over the millennia the well mouth was atop of a considerable spoil heap.
The Rolls Royce Armoured Car
Initially the technologically savvy Navy introduced armed cars.
 |
| Rolls Royce Royal Navy Car circa 1912. |
In 1913 Rolls-Royce won the eight day, 1650 mile alpine touring-car trials hands-down, with a more powerful model of the Silver Ghost, the Alpine Eagle. In 1914 The Admiralty specified a turreted armoured car, to be built on the Alpine Eagle. Initially deployed to France, the ever more sophisticated trench works meant the need for armoured cars declined; the force was transferred to the army and sent to Egypt.
 |
| Obliging Austrian assists the Rolls-Royce team |
Major Hugh Grosvenor, The Second Duke of Westminster
Hugh Grosvenor was stationed in South Africa when his grandfather died. Returning to Britain, the new Duke resigned from full-time army service, to live the life of one of the world’s richest men. The Duke pursued his many passions, one of which was automobiles. At the outbreak of The First World War Hugh Grosvenor joined the army and took his Rolls-Royces with him to France (as you do). When the armoured car force was transferred to Egypt and Libya, The Duke was put in charge where he exhibited skill and dash, being awarded the DSO and promotion to Colonel.
Initially the use of the armoured cars was limited as rain had turning the desert surface into a muddy slurry, but when the desert dried out it became favourable for motorised operations. After the Turks evacuated Sollum and the Duke got his armoured cars though Halfaya Pass (Hellfire Pass), he was able to demonstrate their potential. Authorised to pursue the retreating enemy force into Libya with “reasonable boldness” his force swiftly overtook the Turkish/Senussis forces; The Duke’s armoured cars attacked their camp and roundly defeated the enemy. Thereafter the Senussi forces retreated into the desert and the threat from Libya was eliminated. With the information about the crew of HMS Tara, another opportunity to demonstrate the potency of mechanised warfare had arisen.
 |
| Major Hugh Grosvenor DSO, Cairo March 1916 |
Following his earlier success, The High Command needed little persuasion when The Duke proposed a mechanised force to make a lightning strike at Bir Hakeim. The Duke proposed a strike force of six Rolls Royce armoured cars and six armed Ford Model T trucks. Following behind would be a second force of supporting vehicles, ambulances for the rescued crew etc. At a steady 30 miles an hour, the column would reach the objective in four hours, rescue the crewmen and return the same day.
Private Samuel Rolls, Army Service Corp
S.C. Rolls (not to be confused with C.S. Rolls of Rolls Royce fame and no relation) was a mechanic from Coventry. Rolls was rejected by the Yeomanry because he could not ride a horse or shoot, so he joined the Navy’s armoured car force. Initially deployed to France, Rolls drove staff officers to and from the front line. In 1914/15 the trench network was poorly developed, so it was a hairy existence as the cars were often caught in enemy fire.
Transferred to the Army Service Corp and then to Egypt, he was initially the driver for The Duke of Westminster in Libya and then to T.E. Lawrance (Lawrance of Arabia) in the Hedjaz. Lawrance wrote about him ”our strongest and most resourceful man, the ready mechanic who largely kept our cars in running order”; I don’t think there is much more to add.
I recommend Samuel Rolls book “Steel Chariots in the Desert” in which he relates his adventures in both Libya and Arabia – a cracking story of adventure and daring-do.
Raid and Rescue at Bir Hakeim
The motorised column left Solum on the 17th March 1916 at 3am, expecting a four-hour run to Bir Hakeim at a steady 30mph. Private Rolls lead the way in the armoured car “Blast”. Achmed the guide sat uncomfortably in the back, as this was his first car journey. Next came The Duke driving his own Rolls Royce “Command Car” with Bimbashi Royle and Esmi the Egyptian interpreter; the rest of the force followed on behind.
At first things were uneventfully and progress good, but then the going became rocky, shrubby and with a series of ridges; the column slowed to negotiate the obstacles. At the top of each ridge Rolls would stop and Achmed would scan the horizon, looking for the “up-standing well” before indicating to go on. After more delays it was past midday and Esmi was accusing Achmed of lying or being lost. Still the Duke persisted and the column moved forward until the next crest, where the argument between Achmed and Esmi would resume. Finally, Achmed pointed into the distance saying he could see Bir Hakeim, but straining their eyes and focus their binoculars, no one else could see anything. The Bimbashi assured the Duke that Bedouins were renowned for their acute eye-sight. The Duke ordered the support vehicles to stop, climbed into “Blast” and ordered the attacking vehicles to deploy for action.
The attack pressed forward and, on summitting the next ridge, lo and behold, the oasis of Bir Hakeim lay before them. The cars accelerated and swept into the oasis. catching everyone by surprise. The guards fled and those prisoners who could walk, gathered around their rescuers. After 135 days of captivity emotions were running high; many of the prisoners wept at their unexpected deliverance.
Some of the rescuers, on seeing the condition of the crew and hearing of their deprivations saw red and sped off to dish-out summary justice to the captors. Despite the best efforts of the Duke and Captain Williams, the shooting did not stop until all the guards, their families and the oasis dwellers were dead. This was an undeniable stain, on what was an otherwise exemplary operation. With the arrival of the support vehicles the crewmen were fed and loaded into ambulances and trucks for the return journey to Sollom. The news of the crews’ dramatic rescue received considerable publicity in the British press, as good news was in short supply over the winter of 1915/16.
 |
| An image from ‘Prisoners of the red desert’ by Capt. Gwatkin-Williams – note the well mound from which Bir Hakiem gets its name. |
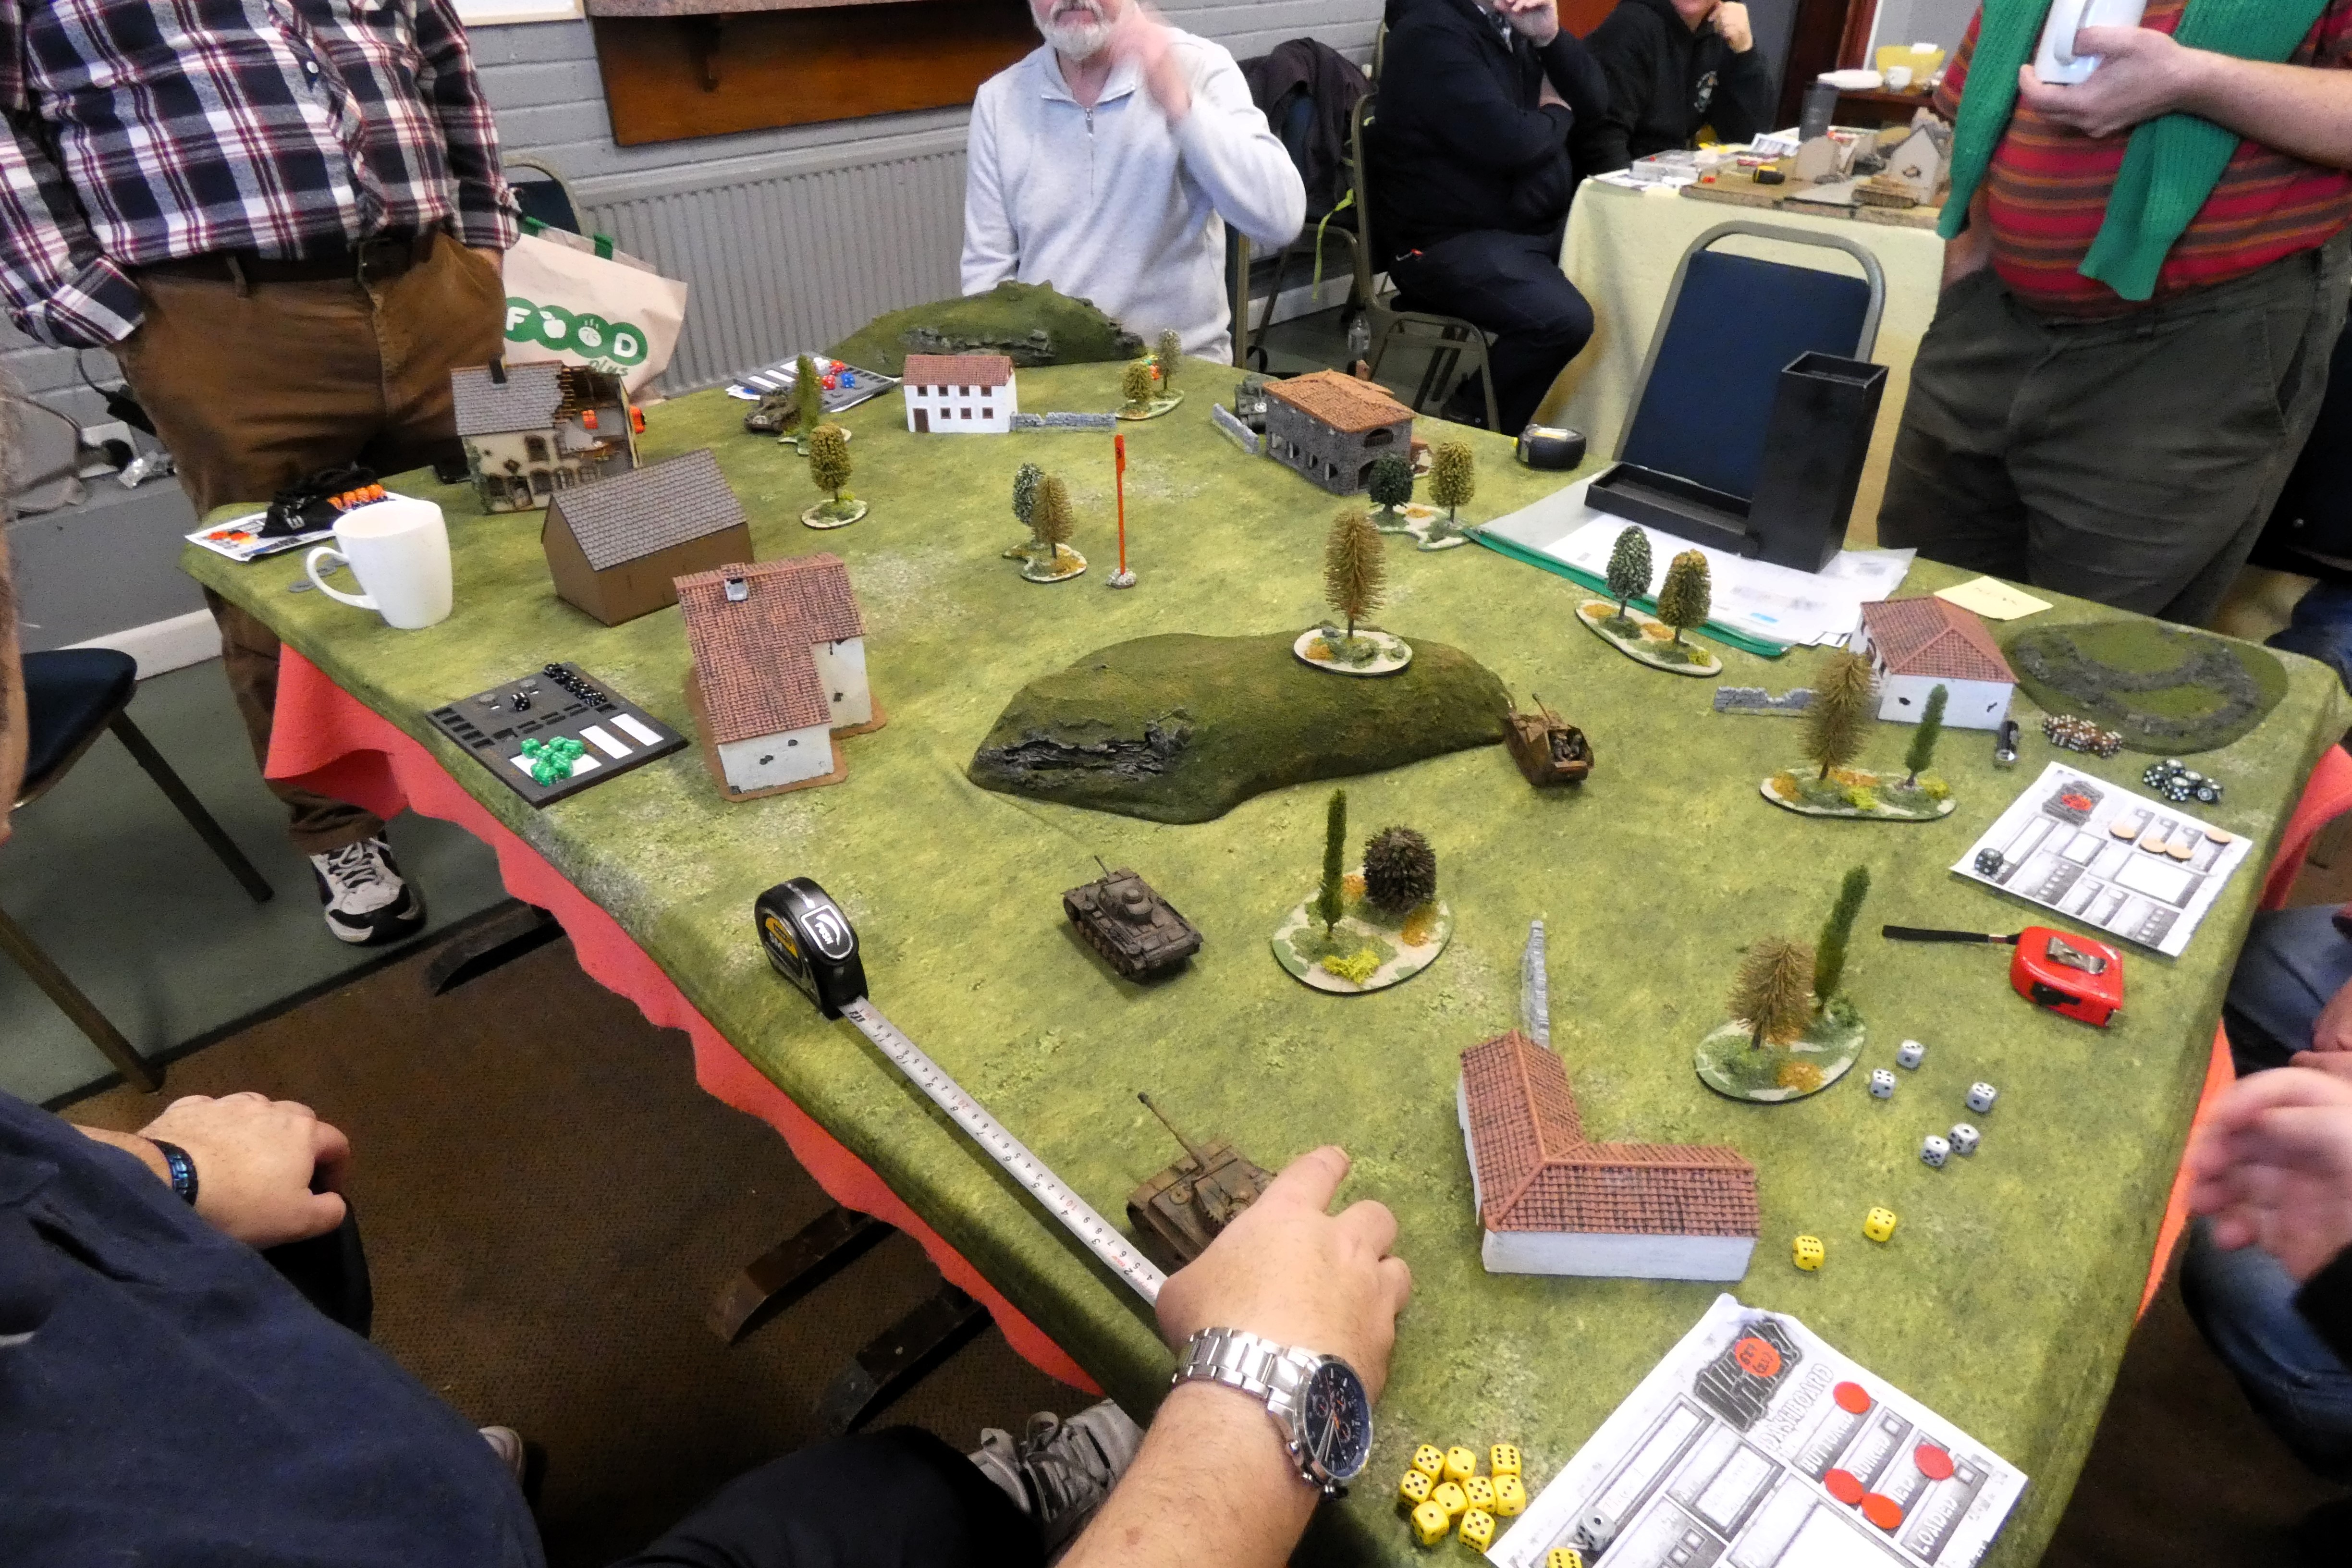
How the game works and how it was played.
This is a slightly unusual game as it does not have two sides. This game puts the players in the place of the various vehicle commanders and requires them to make decisions as they rescue the prisoners. Apart from terrain obstacles that need to be negotiated, Turks, Senussi or Bedouins, are controlled by the GM, and may or may not appear.
To complicate matters, since there are no radios, players cannot talk to each other and are limited to a six-word written message per game turn, which would have been made by semaphore in reality. Movement was determined by rolling one or two dice for normal speed, three dice for fast and one dice only for reverse. Shooting and any driving events were determined by rolling a D10 requiring less than the skill factor, after modifiers.
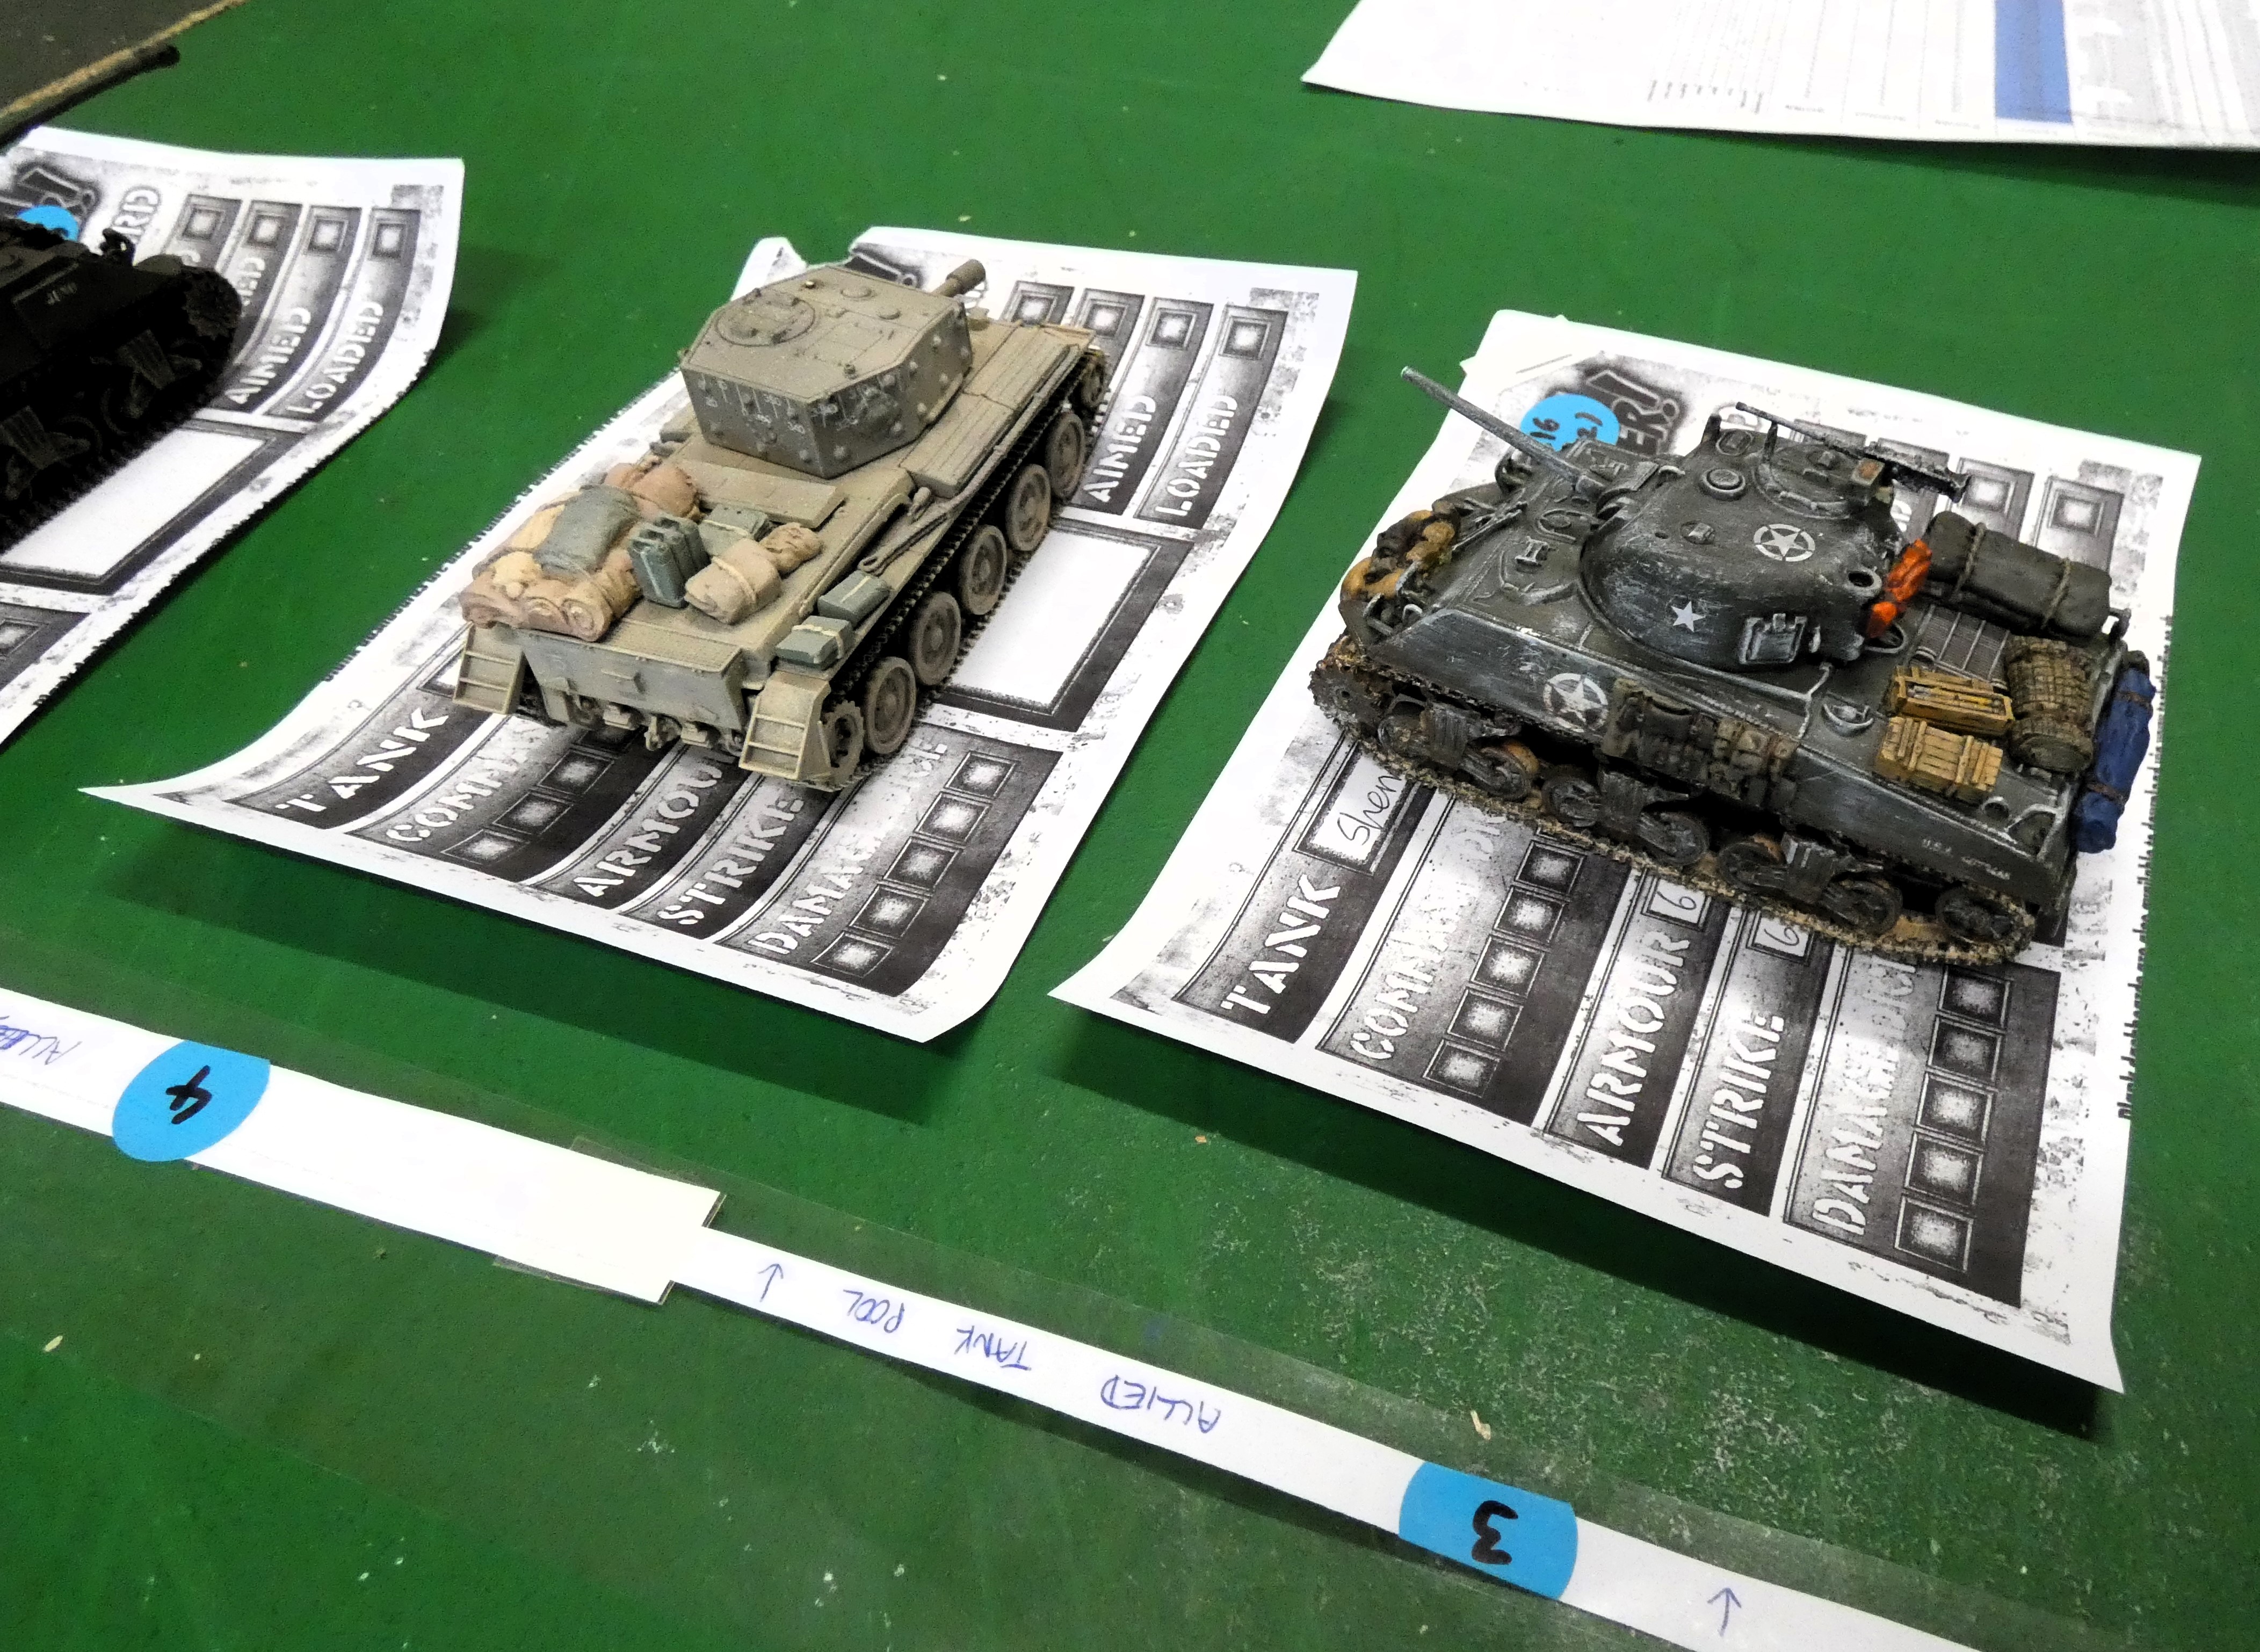
I had organised the game for six players and each one had two vehicles. The forces were:
1. Duke of Westminster, two RR A/c’s2.
2. two RR A/c
3. one RR A/c and a Ford
4. one RR A/c and a Ford
5. two Fords
6. two Fords
Each force had a stats card showing the skills of the commander, driver and gunners. Mark C drew the card of the Duke of Westminster, so he was in charge. Each turn begins with the players all rolling two D6 to establish initiative and players can pass and then interrupt later. However, when the player who won the initiative moves an event dice roll is made – events can range from nothing happens, vehicle falls into a hole or some enemy troops appear nearby.
The Duke alighted from his Rolls Royce command car and took command of “Blast” with Pvt Rolls at the steering wheel. The Duke positioned himself on the extreme right wing of the attack force with the other players positioned across the long side of the table.
All that could be seen was the next ridge along with scrub and rocks. The Duke rolled the first dice of the game to establish his initiative followed by the other five players, I can’t remember who won the initiative but being all gentlefolk, the first initiative was passed to The Duke and the advance began.
The first event roll was nothing and the players all rolled again for initiative and their movement. This time the event was a blown tyre on one of the Rolls Royce A/c requiring three turns to change the wheel. Fortunately, a Ford truck was nearby and diverted to lend a hand so the delay was only two turns.
As the game progressed turn by turn events stated to pop up, a Turkish machine gun and then a Turkish piece of artillery were surprised and eliminated before they managed to get off any shots, but the attackers luck was bound to fail sooner or later. Some Senussi cavalry put in an appearance and despite getting in a few shots, were soon seen off without any damage or delay to the advance.
Then John won the initiative, and he managed to drive his Ford over the edge of an unseen wadi. Fortunately the Ford managed to survive the experience but was now stuck at the bottom of the wadi.
Then John decided to get out in an equally spectacular manner; he drove to the end of the wadi and making a sharp turn managed to roll the Ford over 360 degrees. By some miracle both occupants were thrown clear but the vehicle was now pointing in the wrong direction.
While John had discovered the way out of the wadi at one end, at the other end the wadi stretched on much further and blocked the route of Taiwo’s two A/c’s. As Taiwo was trying to find a way around the newly discovered wadi and John had decided to reverse up the next ridge, the event roll produced a sizable force of Senussi warriors in the same wadi.
While they only had a 20% chance of a hit the volume for fire directed at Taiwo’s two A/c’s was bound to result in some hits and two were achieved by the Senussis. One hit punctured a tire and immobilised the A/c and the second caused a serious injury to the second car’s driver; Taiwo would have to sit tight and shoot it out with the two Vickers guns.
With the second crest summitted it was time to lay out the rest of the terrain, which was the oasis
itself with the camp site, guards and prisoners. Matt seemed to have difficulty understanding that the
object of the game was to rescue the prisoners and not just machine gun anybody he saw.
Speeding down the ridge towards the oasis one of his Fords fell into an unseen hole, but luck was on his side as with nothing more than a nasty jolt the Ford bounced out. By now Matt was on the receiving end of a firm semaphore message from the Duke reminding everybody to only specifically target enemy troops and no “spray and pray”.
More Senussi tribesmen started to appear and a previously unseen part of the oasis campsite was revealed, along with another Turkish machine gun. All the cars were closing in except for Taiwo who, with John, were finishing off the last of the tribesmen in the wadi.
The Duke ordered Private Rolls to accelerate along the top of the ridge line to put himself in a position to either machine gun the wadi or the camp. With a roar from the engine “Blast” surged forward leaving a cloud of dust chocking the second armoured car following behind. The Turkish machine gun in the camp got off a lucky shot at “Blast” and lightly wounded Private Rolls, but being the kind of fellow he is Rolls continued to drive “Blast”.
At last, the one thing I and been trying to engineer all game might come to pass, a collision between two of the attacking vehicles; between The Duke’s and the following Rolls Royce now enveloped in a dust cloud. But the dice gods would not have it and The Duke now adopted a commanding position on the ridge line, in support of the other vehicles closing in.
By now the Senussi were running out of options and the events roll did not provide them any more reinforcements, so the game was considered over. The only thing to do was to collect up the prisoners, who were relived to be free but not happy at the loss of some of their comrades and to search the camp for any valuable intelligence.
The search revealed nothing except a tribesman, who had been lying-doggo waiting to stab The Duke, who was despatched summerly. There was nothing further to do other than return to Sollum in time for a hot meal and a sea-bath. Everybody that is except Achmed, who was thinking about the purse of golden sovereigns that awaited him in the commander’s safe at Sollum.
 |
| Survivors of HMS Tara after their return to Britain in 1916. Anglesey County Record Office |
Thanks to the players. John R, Mark T, Tom, Taiwo, Mark C and Matt. Miniatures from various sources including Minifigs, Old Glory, QRF miniatures.
Sources:
Steel Chariots in the Desert, SC Rolls
The Sanusi’s Little War, R McGuirk
Senussi’s Little Miniature, War 1915-1917 by Robert Giglio
Various internet resources
Stephen H