

I thought of Libya and the Western Egyptian desert as part of the Second World War, I never knew The
First World War spread there too. I soon discovered a history full of cracking-yarns, daring-do and
larger than life characters; the bread and butter of wargames scenarios!
 |
| Baron Max von Oppenheim. Wealthy, gifted-orientalist, archaeologist, adventurer and The Kaiser’s expert on all things Islamic and Arabic. |
The Sanusiya
Muhammad al-Sanusi (or Sanussi or Sennusi), was born near Fez in 1787; he studied in Cairo and then Mecca where he became a Sufis. In Mecca his charismatic character drew him followers, upsetting the establishment. Leaving Mecca, he eventually settled in Jaghbub, an out of the way oasis settlement in eastern Cyrenaica close to the Egyptian border; the Ottoman provinces of Cyrenaica and Tripolitania make up Libya. There he started to proselytise and undertake charitable works amongst the nomadic Bedouin.
The Sanusi Brotherhood was uncomplicated, those who could read (ikhwan) recited The Koran and lead prayers. The teachings were orthodox Sunni and the Sufism was sober not ecstatic. Stimulating substances, including tobacco, were forbidden but work was encouraged. The Brotherhood built lodges (zawiyas) at the various towns and oases along the Sahara trade routes. These lodges were not just religious centres, they were staging posts for caravans, hostels for travellers, post offices and centres of agricultural improvement. Muhammad al-Sanusi was soon known as “The Grand Sanusi”.
When Muhammad al-Sanusi died in 1860, his eldest son al-Mahdi (not to be confused with The Mahdi) became The Grand Sanusi; al-Mahdi had administrative talent. Using the trans-Sahara caravan routes, the Sanusi Brotherhood became the largest and most wide spread religious organisation in North Africa. Their network of lodges stretched from The Red Sea to Senegal. Despite this expansion, the brotherhood stuck to bringing religion and better living conditions to the desert nomads; they did not seek political power.
 |
| The Grand Sanusi, Sayyid Ahmad al-Sharif al-Sanusi |
At the death of al-Mahdi in 1902 his eldest son Idris, was considered too young to become The Grand Sanusi and so the title passed to Idris’s cousin, Ahmad al-Sharif. Times were changing and the Sanusiya clashed with expanding French and British imperial ambitions. An intermittent war broke out between the French and the Sanusiya in the Sahel from 1901; from now on the Sanusiya would become more political.
Egypt
Both Libya and Egypt were part of the Ottoman Empire and Egypt had its own rulers, The Khediv. Following The Mahdist Wars, Britain assumed de facto control over Egypt despite it being part of the Ottoman Empire, the Suez Canal was just too vital. The British kept an army of 30,000 men in Egypt, controlled the police, administration etc; all sections of Egyptian society smarted at this. To safeguard Egypt’s borders The Egyptian Coastguard was set up. The coastguard had two divisions, one for the seaward borders and one for the landward borders. The officers were a mixture of Egyptians and British and it was the landward coastguards who had contact with the Sanusi. From time-to-time a coastguard officer was invited to visit The Grand Sanusi but only Egyptian ones.
The Turkish-Italian War 1911-13
Italy invaded Ottoman Libya with all the paraphilia of early twentieth century warfare. The Grand Sanusi and the Bedouins rallied to the Turks and the Italians failed to consolidate their hold. The King of Italy instigated action in the Balkans, and the Turks, unable to fight both wars, ceded Libya to the Italians.
 |
| Mustafa Kemal (aka Ataturk, the founder of modern Turkey) in Libya during the Italian-Turkish War. Ikhwan wearing their characteristic white robes. Many Ottoman officers travelled to Libya via Egypt in thin disguise aided by a lot of “blind-eye” turning. |
The peace treaty required the withdrawal of Ottoman troops but they left a hard core of men behind. The Grand Sanusi soon had a regular force of 5,000 Turkish trained men (muhafizia), the ikhwan were drilled, modern rifles and maxim guns were either smuggled-in or captured and obsolete artillery came out of hiding.
A British officer was now invited to meet The Grand Sanusi; he requested that the imprecise Libya/Egypt border be formalised, so Jaghbub was in Egypt. But there were larger considerations in London; Italy was not in the Triple Alliance and leaned towards Germany.
 |
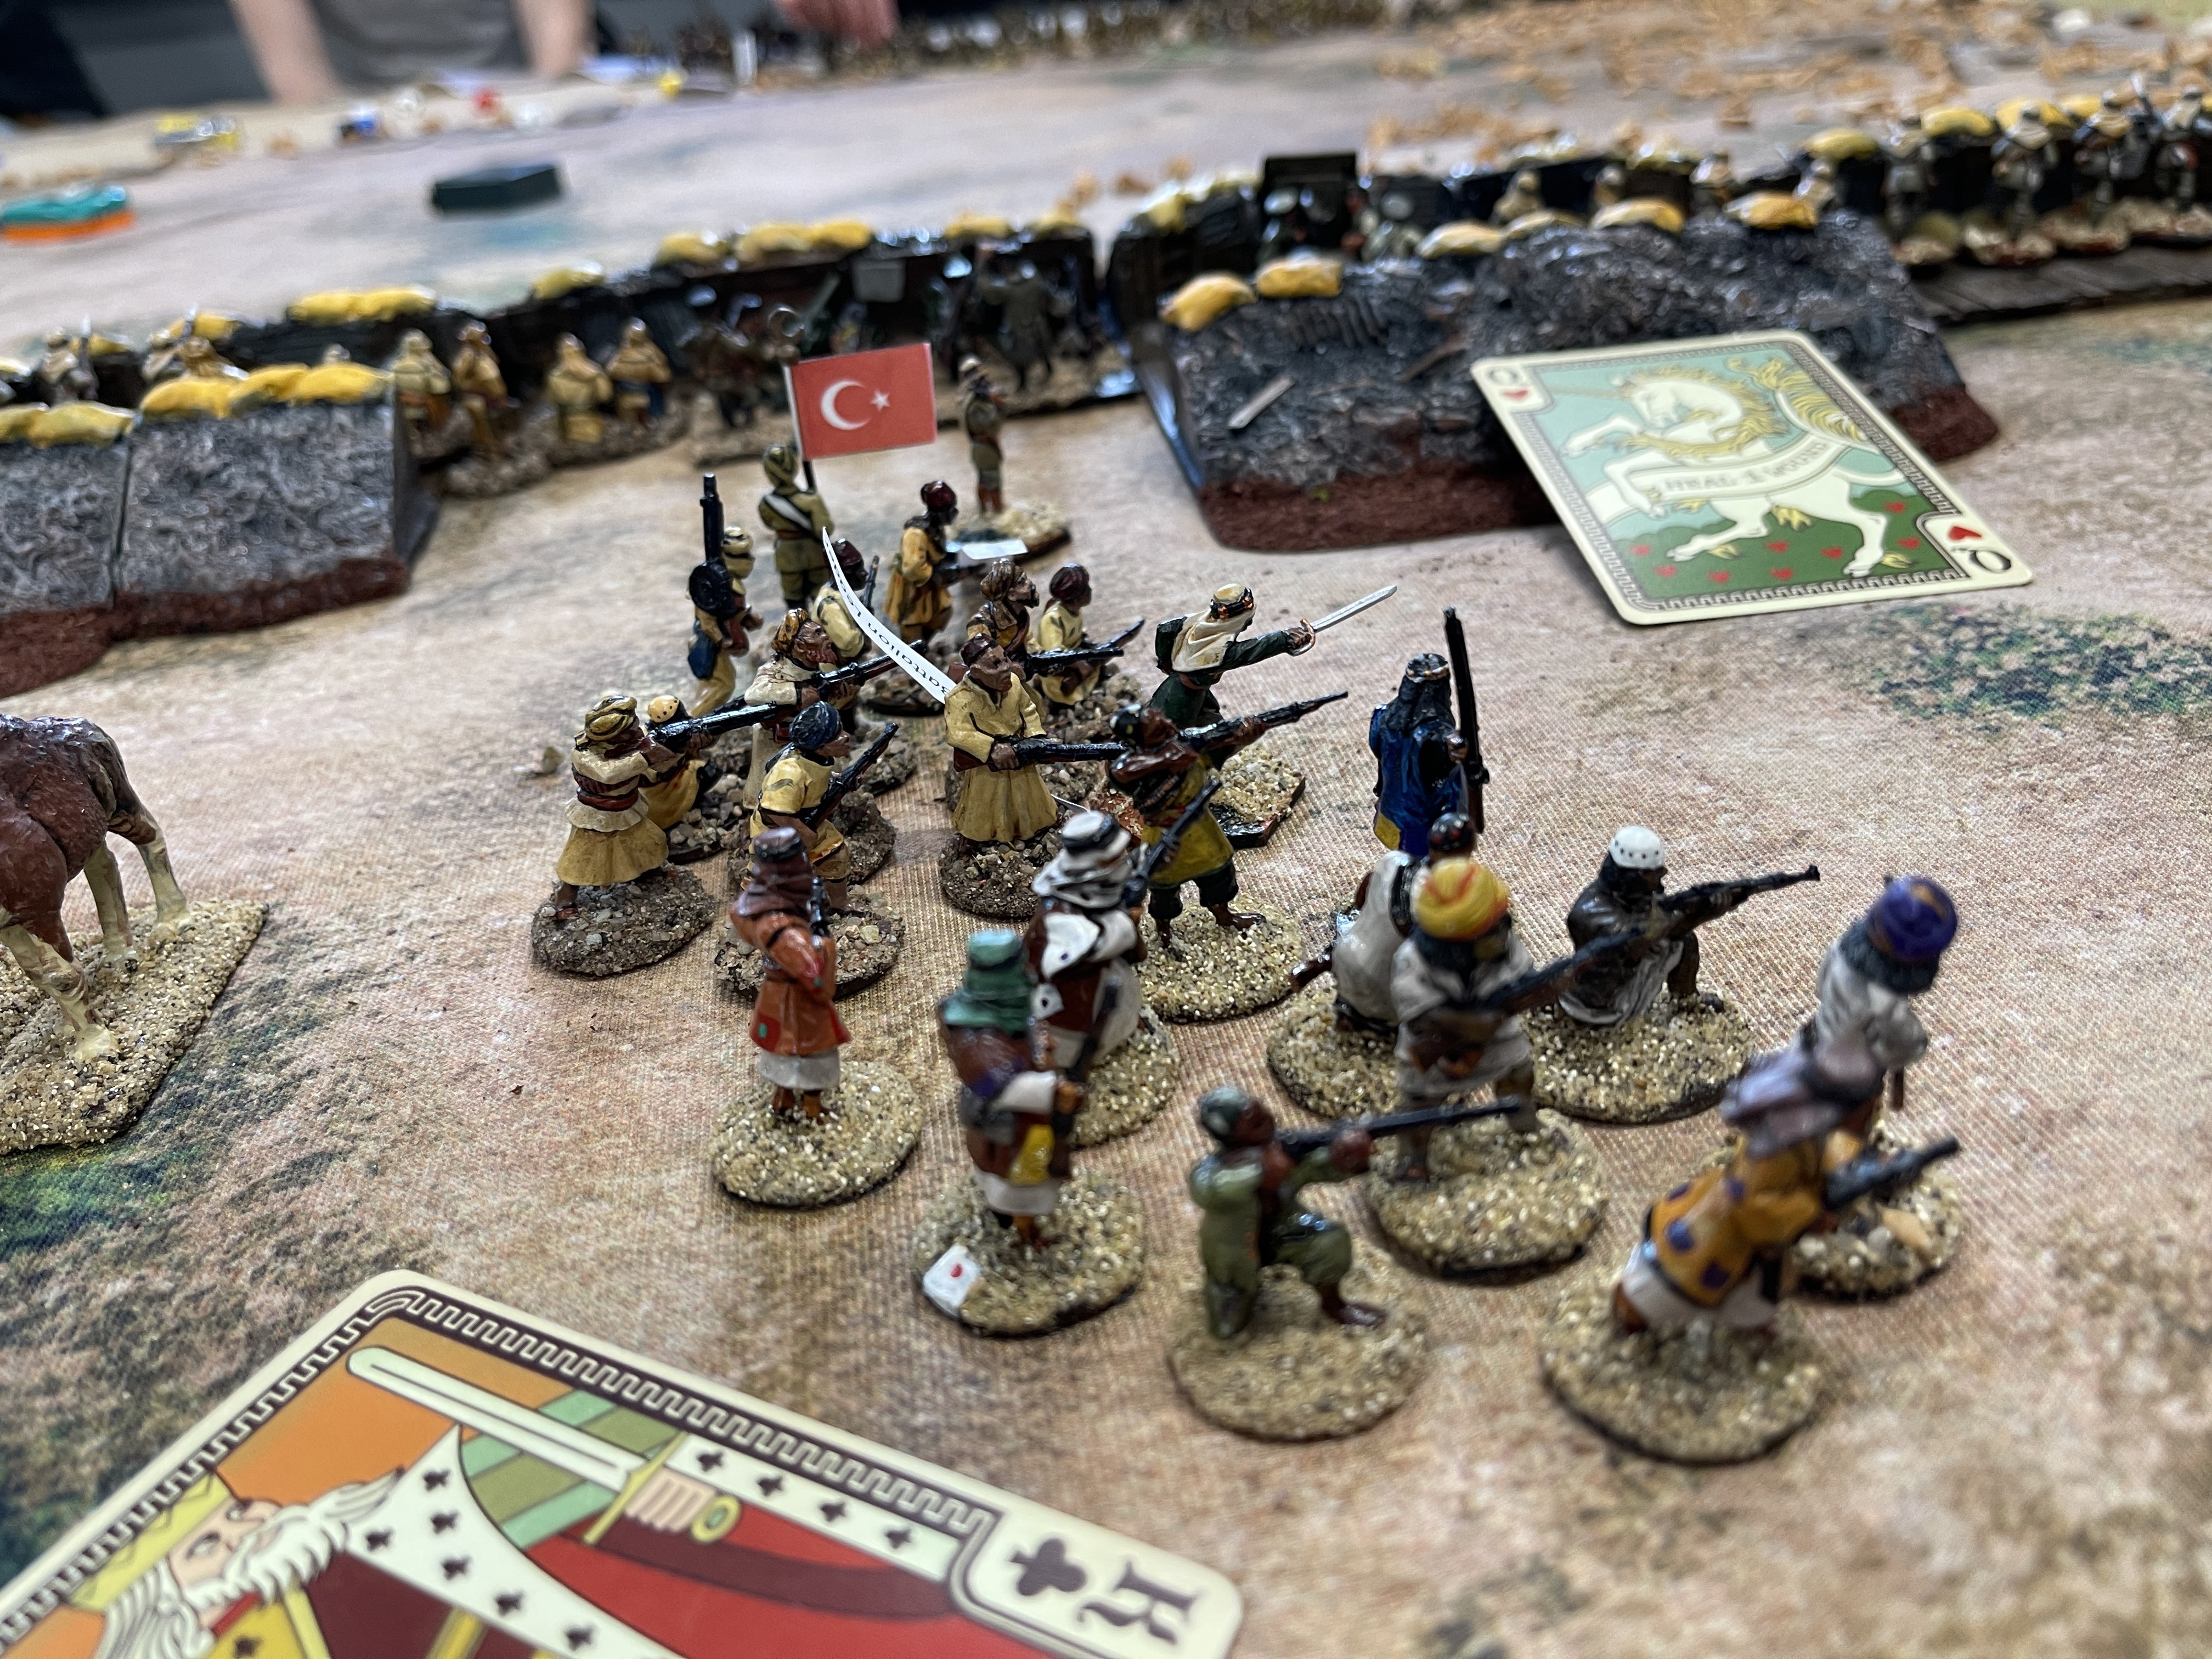
| Muhafizia and the Sanusi flag on the march. |
 |
| Ikhwan on the march, a Turk can be clearly seen in this picture to. |
1914/5
The Entente imperial powers all had large Muslim populations. The German plan, devised by Baron Max von Oppenheim, was to instigate these populations to rebel, using the call to jihad by the Ottoman Sultan Mehmed V. Despite the expenditure of large amounts of money and effort, the German plan failed and the Baron’s star waned in Berlin.
 |
| El Dschihad - German propaganda material aimed at Arabic speakers. |
For Egypt, a co-ordinated attack across Saini, a revolt in Egypt and a tribal invasion from the west would swamp the British. German agents brought promises and weapons to The Grand Sanusi; the Turks sent Colonel Ja’far al Askari, an Ottoman Arab, to command his forces. But The Grand Sanusi was still reluctant and it was difficult to win him over. When British officers visited bearing salaams and gifts (e.g. Kodak cameras) from Cairo, they were cordially received.
The outbreak of war in Europe and the Ottoman’s entry on the side of The Central Powers, failed to shift The Grand Sanusi because his gripe was with Italy. The Turkish attack from Sinai failed to capture the canal and the Egyptian population did not rise-up. The most deciding factor seems to have been Italy’s entry into the war, on the side of Entente powers, in 1915. The Turks persuaded their ally to cross into Western Egypt, where they seized Halfaya Pass and laid siege to the coastguard station and border town of Sollum.
 |
| Ja’far was born in Kirkuk, Iraq. Captured by the British, he embraced Arab Nationalism and commanded the army of Sharrif Hussain of Mecca. Subsequently, Ja’far was twice Prime Minister of Iraq and was assassinated in 1936. |
HMS Tara
SS Hibernia was a ferry across the Irish sea. Requestioned as HMS Tara, she patrolled the coast from Alexandria to Sollum; for the crew it was a holiday cruise. On the 5th of November 1915, as the Tara approached Sollum, she encountered U 35 enroute to Bardia. A single torpedo sank the Tara, twenty crewmen were lost and U35 handed over the ninety-two survivors to the Turks. Two days later, a boat was sent from Sollum to search for the Tara and debris was soon found. When rumours reached Sollum of a German submarine towing lifeboats, the fate of the Tara was obvious.
The British demanded The Grand Sanusi release the Tara’s crew immediately but he was now between a rock and a hard place. A few days later U35, returning the same way, stopping to bombard Sollum with her deck gun. Cairo decided to evacuate Sollum; fortunately U35 had sailed away and a seaward evacuation was successful. Relations between the British and The Grand Senusi plummeted. (The rescue of the Tara’s crew is a cracking-yarn and will make a very good game).
The Western Frontier Force
The British were heavily engaged in the Middle East (Sanai, Mesopotamia and Gallipoli), and another front was unwelcome. Many in London said the war against Turkey was a side-show, the real war was in France. A campaign in Western Egypt would be a side-show to a side-show; thus “The Western Frontier Force” was born.
 |
Map showing main area of operations, some of the spellings are different. The high ground inland behind Sollum is Halfaya Pass (aka Hell Fire Pass). The railway line to Al-Da’ba is shown too. |
Abandoning part of Western Egypt, the British concentrated at al-Da’ba, the railhead from Alexandria. Beyond al-Da’ba the rest of the way to Sollum would be on foot along “The Khadival Road”; more a large track. Logistics were horse-drawn wagons and limbers, not out of place in the Zulu wars. No longer relying on locally recruited troops, men from all over the empire became involved. Australia and New Zealand, South Africa and India and Britain too. Apart from the Indians, the rest had join-up in 1914; trained and enthusiastic but lacking experience.
 |
| British Yeomanry |
Today’s Game - Battle of Gebel Medwa
As the British marched westward the Turkish/Senussi used their local knowledge and twice sprang large scale ambushes but these failed to stop the British. On Christmas day (25th December) the deciding battle of the campaign was fought. The slow speed of the march had split the British column in two parts, so there were effectively two engagements on that day. The sum of which showed The Grand Senussi that he would not defeat the world’s largest empire; there after the campaign developed a different tempo.
 |
| Sikhs guarding prisoners |
Today’s game is one of these two engagements at Jebel (mount)) Medwa. The jebel is lightly held by Ja’ far Pasha’s forces as his main force is still encamped. The British knowing this, thanks to aerial reconnaissance, decides to carry the jebel with infantry while the mounted Yeomanry make a sweeping outflanking movement, before both forces attack the Senusi camp. But the Yeomen were delayed by the terrain and, not knowing this, the infantry assault went in.
Ja’far rushed troops to the jebel and what followed was a classic infantry assault on a position. Without the Yeomanry in position, much of the Senussi force manged to escape, but their morale was now low and many tribal troops melted away. Before and after the battle it rained, so the British did not have the advantage of vehicles as the desert surface was turning into sticky clay but aircraft could still operate from the beach.
Rule Set
We used “A Fist Full of Lead – Bigger Battles” by Jaye Willey for this game. They are uncomplicated
while giving a good feel for these types of engagement; more large skirmishes that pitched battles.
In these rules each unit gets dealt a card for activation, but to better represent the command structure the unit commanders are dealt two cards. So long as subordinate units are within six inches of each other and their commander, all the commander and his units can both make actions.

British order of battle - all British units count as regular.
Commander – Maj-Gen Wallace
HMS Clematis - 2 x 4” guns (off table)
Overall Infantry Commander – Lt-Col Gordon
Sikh Infantry Leader – Maj Pennefather
4 Companies of 10 Elite infantry and 2 MMG Sections
New Zealand Infantry Leader – Maj Austin
4 Companies of 10 Regular Infantry and 2 MMG Sections
Middlesex Infantry Leader – Lt-Col Dams
4 Companies of 10 Average Infantry and 2 MMG Sections
Yeomanry Cavalry (can dismount)
Capt Guy Cheape and 1 Sqdn. of 10 Cavalry with rifles and swords
Nottinghamshire RHA - Lt Hopkirk and 2 13-pdr guns medium guns
Australian Service Corp - Maj Francis and 2 Companies of 10 Infantry

Turkish and allies order of battle, a mixture of regular, irregular and tribal troops.
Commander – Col. Ja’far al-Askari Pasha
Artillery commander and 4 Krupp Light mountain guns (obsolete) Regular
2 Muhafizia Battalion Commanders with 3 Companies of 10 per Battalion, Regular Infantry
6 Turkish MMG’s Regular
2 Sanusi Ikhwan Battalion Leaders with 3 Companies of 10 per Battalion, Irregular Infantry
1 Sanusi Tribal Infantry Leader with 2 Warbands of 12 figures, Tribal, obsolete rifles
1 Bedouin Tribal Infantry Leader with 2 Warbands of 12 figures, Tribal, obsolete rifles and swords
1 Bedouin Tribal Cavalry Leader with 2 Warbands of 12 figures, Tribal obsolete rifles and swords

How The Game Played
The Imperial troops were all deployed along the Khedival road marching in the direction of Sollum, while up to half the Turkish/Senusi forces were deployed on the table at the beginning of the game.
The round of cards saw the Imperial troops shake out of marching order and unlimber their artillery. The off table indirect fire from HMS Clematis got off to a good start with two hits on the Turkish defence line, but the hits were not converted to any losses. The Turkish defences were already manned by their best troops, the Muhafizia and supported by maxim guns and obsolete artillery. As their first move, the Turks started to bring on as many of their second line irregulars and tribal troops as there was space to deploy, securing their western flank; clearly the Turks were going to make a fight for the high ground.

The cards were dealt for the second move and the Imperial troops fired their artillery again, both HMS Clematis and the 13-pdrs, causing some minor casualties to the enemy artillery. The Imperial infantry continued to shake out and take up their assault positions. The Turks advanced their tribal cavalry forward to discourage further westward advance by the Imperial troops and making space to deploy the remainder of their forces.
A third round of cards was dealt and the Imperial troops were now advancing towards the Turkish lines, but accurate maxim gun fire from the Turks caused casualties amongst the Sikh troop, who were the best Imperial troops. The Beaudoin cavalry continued to demonstrate against the Yeomanry at the head of the march column.

The fourth round of cards went in the Turks favour and they used them to lay down heavy fire on the Sikhs causing more casualties before the Sikhs could react. The New Zealand brigade received its first casualty in this move to, as they pressed forward. The Imperial artillery plugged away causing some casualties and shock to the Turks. So far both sides had been able to shake off most of their shock by using their officers, especially the Imperial forces who had an extra officer.

By the time the fifth round of cards was dealt, players were getting a better handle on the subtilties of the cards. Not only do the cards determine the sequence of play, but they confer attributes to the activated unit (e.g. remove all shock, or recover one casualty back to the unit); there was much more deliberation on which card to play and where to play it from now on.

The Sikhs had deployed their supporting machine guns but were unable to get any hits on the dug in Turks. The Yeomanry dismounted to take up rifle firing positions as their weapons outranged those of the Bedouins. If the Yeomanry advanced next move they would be in range of the Bedouins and the Bedouins could fire back. By know the Imperial tactics were becoming clear to the Turks as their enemy was pressing hard against the eastern end of their entrenched firing line. The Australian Service Corp had climbed the high ground and were threatening to outflank the Turkish defences, from where their targets would no longer be in cover. Seeing this the Turks were moving troops to reinforce this threatened flank.

The sixth round of cards saw a lot of study and decision making on both sides as they tried to balance the desire to go first with the need to maximise the attributes of the lower ranked cards. The Sikh’s machine guns lost the exchange with the better dug in Turkish ones and were silenced, not wishing to incur further casualties the Sikhs were withdrawn out of maxim gun range. The Bedouin cavalry fearing the Yeomanry rifles, fell back too. The Imperial artillery plugged away causing shock and casualties as the remaining infantry pressed forward, the muhafizia and maxim guns making them pay for every yard forward.

The seventh round of cards saw the Australian Service Corp outflanking the Turkish firing line, accurate rifle fire drove off some Turkish maxim guns on eastern flank, the objective of the Imperial assault. The Sikhs spread out to create a defensive perimeter on the western and central part of the British line, freeing up other Imperial elements to join the main assault.

The eighth deal saw more accurate musketry by the Service Corp and some flank covering Ikhwan were driven off too. By now the infantry of both sides were well within rifle range and the firing became hot and deadly. The officers of both sides found themselves busy rallying and urging their men. Several Imperial officers had close shaves and Ja’far Pasha was seen encouraging the retiring maxim gunners with a lash; it was all-in now as both sides concentrated their forces on the eastern flank. The Imperial infantry obliqued and widened their frontage to maximise their rifle fire. The Yeomanry remounted and rode to the sound of the guns as the Sikhs stalwartly held the rest of the line. The defenders rapidly moved more units to the centre of the action.

The ninth and final round of cards favoured the Imperial troops greatly as the cards fell in their favour. But despite a good start the Turkish rifle and maxim gun fire was unforgiving. Realising that they were unlikely to carry the position the New Zealand and Middlesex troops were ordered to fall back.

As far as the infantry was concerned, they had more than done their job, pinning down the enemy force for the out-flanking Yeomen to carry the now poorly guarded enemy camp. We can only imagine the comments from the infantrymen, tucking into their Christmas bully-beef, when they heard that the Yeomanry manoeuvre was unsuccessful and the enemy had largely escaped. But their reaction was nothing compared to the lashing Ja’far Pasha gave his batman; in his haste to evacuate the camp, the batman thought it fit to abandon the Pasha’s personal effects and comforts.

Carrying an uphill dug in position was never going to be easy for the Imperial troops. In reality, the Imperial forces immediately concentrated all their infantry, led by the Sikhs, and artillery against the eastern flank of the Turkish line, overwhelming it. None of the members of the DWG have thirty years military experience fighting in the Hindu Kush, so they should be forgiven for this oversight. With hindsight, I should probably have designated the Turkish entrenchments as light cover, not hard, as they were not of the sophistication found elsewhere.

Post Script
At the outbreak of hostilities Idris al Sanusi was returning from Mecca. Idris arrived in Cairo and remained there for the duration of the hostilities, penning letters to the British protesting his friendship and how his cousin had been mis-lead by cunning men.

Britain’s secret weapon was the internal combustion engine. Armoured cars, trucks and aeroplanes were progressively introduced to the western desert. What would take the Sanusi several days to travel, the British could cover in a few hours. Reconnaissance flights located and monitored the movement of the Sanusi forces and camps. Motorised troops could travel into the desert and attack by surprise.

In 1917 a peace treaty was signed between The Grand Sanusi and the British. One of the stipulations was that Ahmad resign as Grand Sanusi and be replaced by Idris. The British and Italians later recognised Idris as The Emir of Cyrenaica. During the Second World War the Senusi leaned towards the British and in 1948 Idris became King of Libya, until he was overthrown by Colonel Gaddafi in 1969.
Gaddafi’s regime had little time for the Sanusi brotherhood, but after the fall of Gaddafi the Sanusiya have become more prominent in Libya’s affairs. The current Crown Prince of Libya is Mohamad El- Sennusi.
Max von Oppenheim went on to excavate Tel Halaf in north Syria, which he first saw in 1899 and it made him world-famous. This is an interesting German documentary on the Baron’s diplomatic and archaeological career, it touching on T.E. Lawrence too.
T.E. Lawrence played a tiny role in this campaign; after Sollum was recaptured he delivered new signal cypher codes there. As part of the British Intelligence Service in Cairo however, Lawrence had a ring side seat to events and these clearly influenced his thinking and later actions.
Sources
The Sanusi’s Little War by R McGuirk
The Sanussi’s Little Miniature War 1915-17 by R Giglio
Miniatures are from a variety of sources: British Imperial are a mixture of Empress Miniatures, Wargames Atlantic et al. Turks, Sanusi and Bedouin come from Woodbine Miniatures, Wargames Foundry, Perry Miniatures et al.
Thank you to other DWG members who lent figures to make the game possible.
The players were John Roberts, Mark Crisp, Ian Mac, Mark Thomas, and Tom, not overlooking dice rollers Luke and Mathew. Thanks for making this far flung out of the way game such good fun or atmospheric as John Roberts likes to say.
Stephen Huntsman
Cracking game there and a lovely bit of history too:).
ReplyDeleteNice looking and interesting game. I like the FFOL rules. I must get a copy of the Senussi book, the Dunster Force one is great.
ReplyDeleteStephen, glad to see you enjoyed the scenario, hope you enjoy the rest of the book. Currently playtesting scenarios for a scenario book for Warlord China. Regards, Bob Giglio
ReplyDeleteBob, thanks for taking personal interest in our modest efforts. Yes your scenario book is fantastic and whetted my appetite for this theatre, which I admit I knew nothing about.
DeleteI am working on 15mm miniatures to play more of the scenarios, as space is a bit of an issue for us in Little Old England