Labels

Showing posts with label Seven Years War. Show all posts

Saturday, 22 February 2025

French Indian War Action with Rebels and Patriots.


The Devon Wargames Group is known for playing the odd game of French Indian Wars together with Rebels and Patriots (R&P), the rules being a very good compliment to this 'petite guerre' of raids and skirmishes that typified much of the action on the French-Canadian frontier from 1754 to 1763 during this discreet part of the Seven Years War.
 

The rules and this period are popular, facilitating as they do the opportunity of easily pulling together a game large or small with a wide variety of terrain and scenarios to choose from and are not too taxing on the grey matter for the age demographic of our club, which probably goes some way to explaining their popularity; that and the fact that they produce a fun game with plenty of narrative to match the colour of the period, and we certainly enjoy relaxing, rolling bones and enjoying the games they produce.

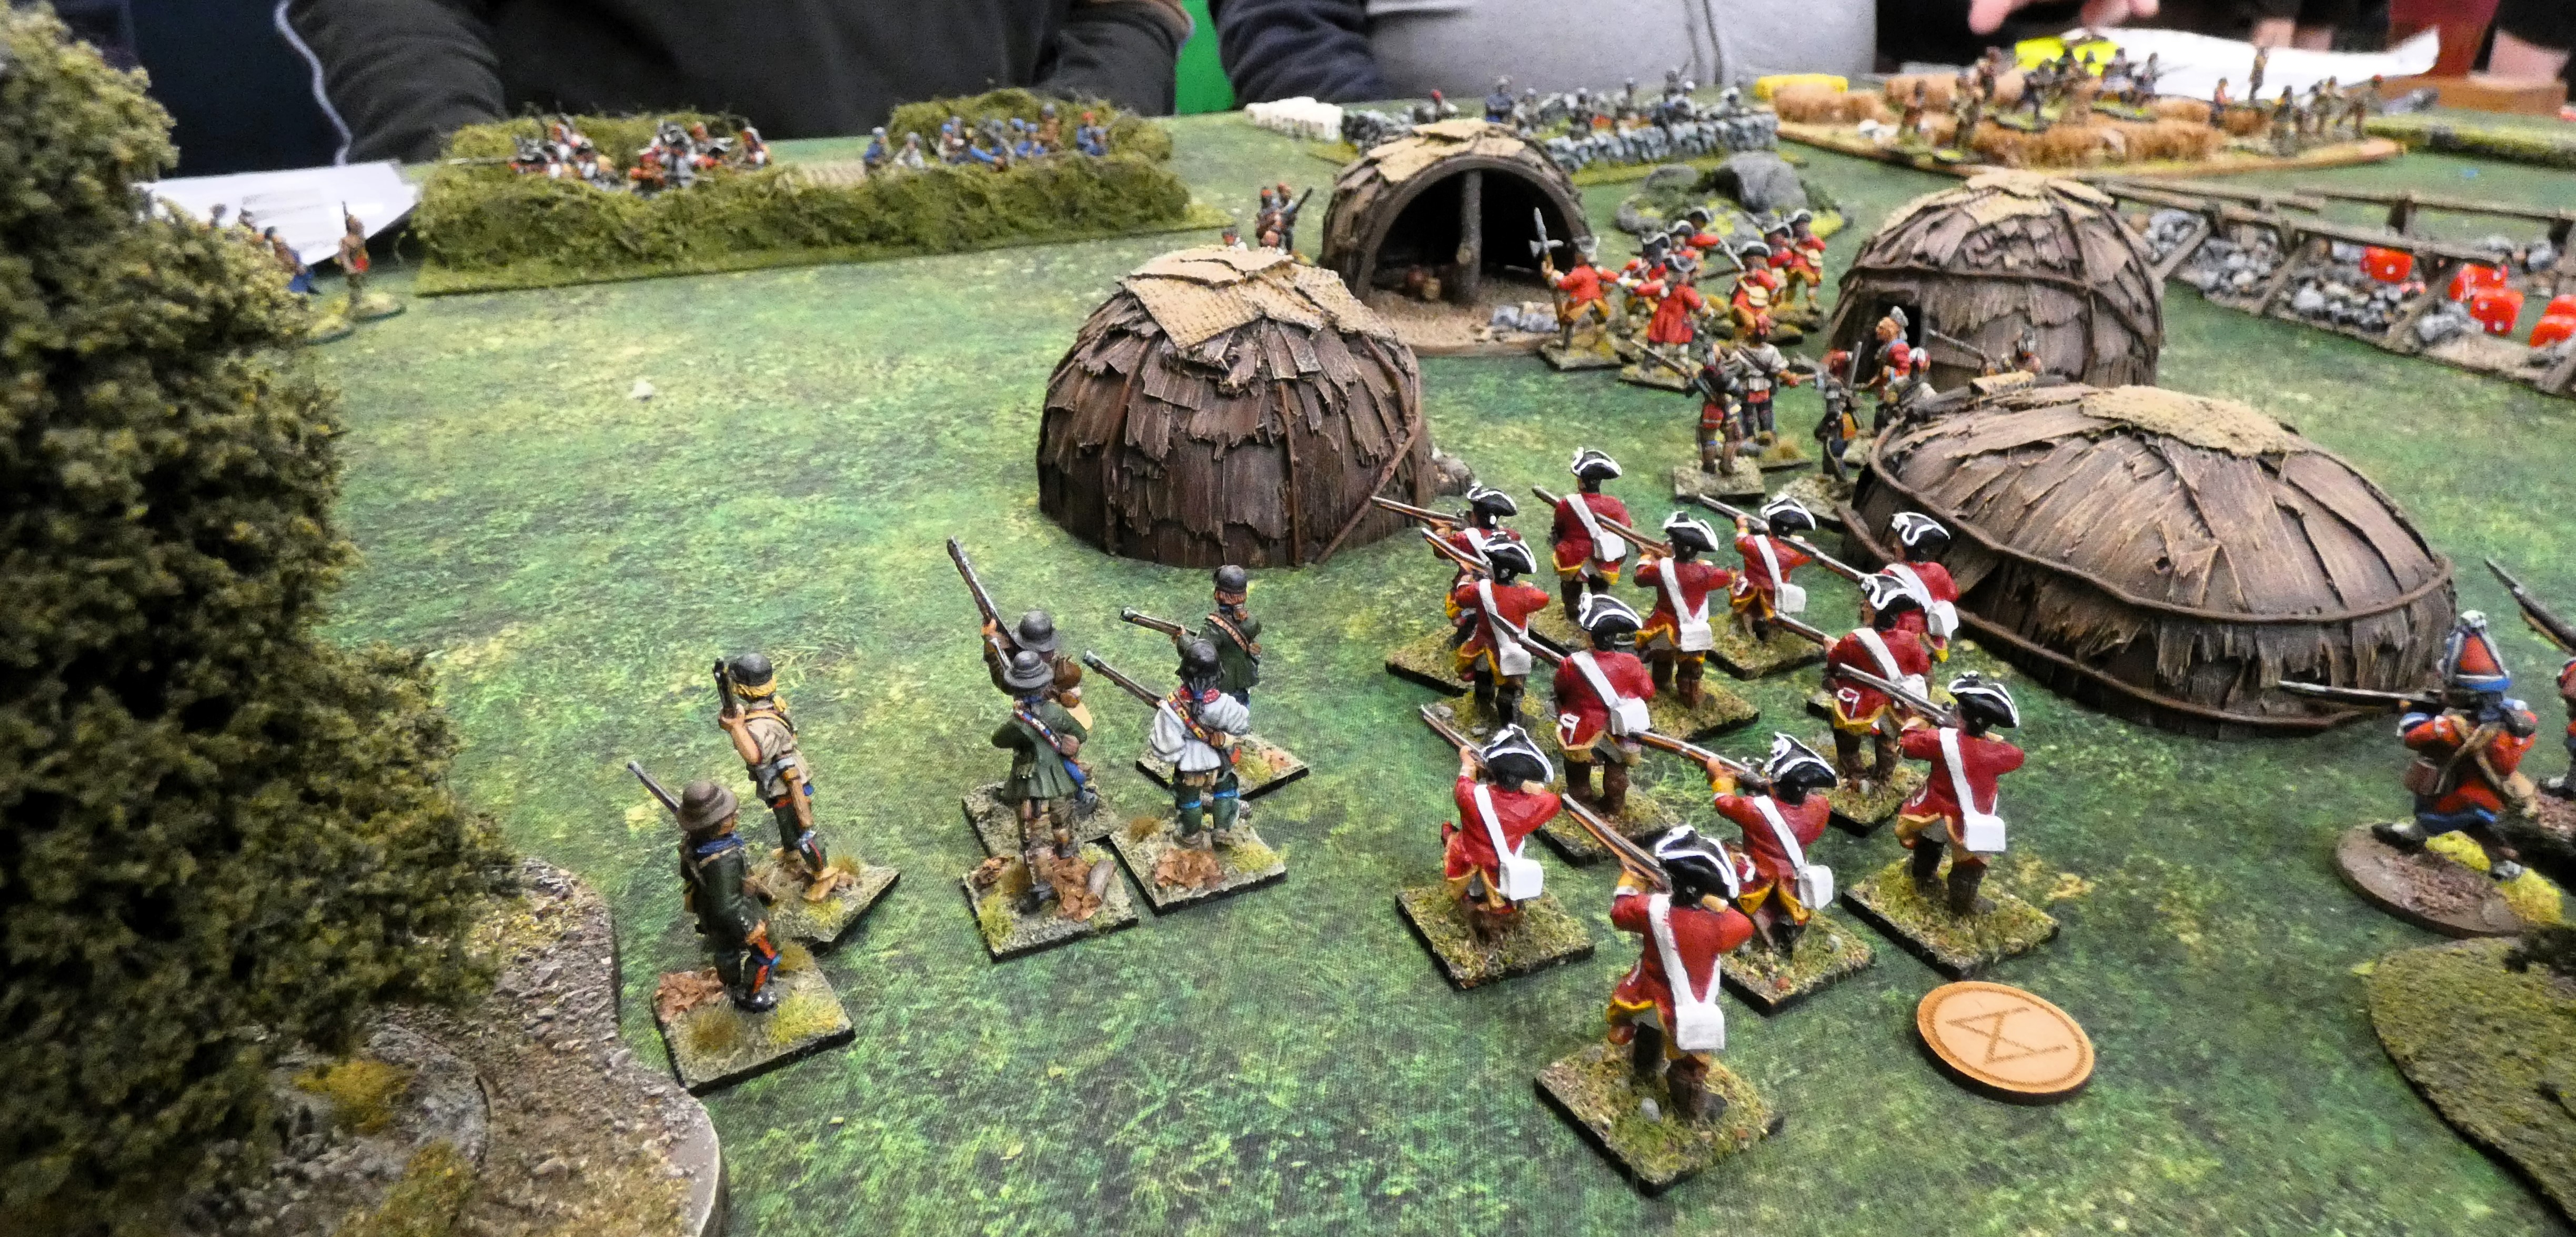
In this particular scenario we had opposing lines of French and British troops together with their respective Indian and colonial allies contesting control of a French allied Indian village in the centre of the table, with the British in a rather punitive frame of mind, looking to inflict some retribution on the owners for incursions and attacks on their own holdings.


So we indulged ourselves with a broad variety of types composing the two forces from Indians to regular infantry, French marines, British grenadiers, alongside a good smattering of irregular types such as coureur des bois, rangers and American colonial militia chaps.


The Indian village, using the lovely sculpts from Grand Manner, would prove to be an interesting challenge as British troops trying to occupy the place put themselves at risk from small parties of fanatical inhabitants charging out from the buildings and demanding a certain amount of circumspection as over confident occupation attempts triggered such attacks.


Meanwhile as the opposing lines attempted to close, the air became a buzz of ball as the muskets blazed away over the intervening ground causing any type of cover to become a bit of a premium.


In the end we played two games during the day with both sides swapping table edges to come at the objective from a different set of obstacles, and in both games a common theme developed as the French used their cover to thin advancing British ranks, whilst fanatical Indians sought to come to close combat as they braved the musketry that saluted their advance.


I hadn't played R&P for a while and wanted to reacquaint myself with their nuances as they along with Fistful of Lead-Big Battles are among my thoughts to use for my own AWI Mohawk project and as with all rule sets there are aspects that you find you love and others not so much, with thoughts turning to modifications and tweaks as required.


All these ideas though have to be considered with care so as not to detract from the original themes of play and the simplicity that attracts one in the first place, and so this game was very helpful in reminding me what I particularly enjoy about R&P and the few things I might change, principally around commanders.


The other thing this game reminded me, was the pleasure of some lovely figures married with nicely turned out terrain to compliment any ruleset one might choose and hence the camera was kept fairly busy during play, and I hope you enjoy the results.


As regards my play during both games, things improved from game-one, during which my rangers got trounced by a large group of Indians in the woods, that went on to overrun my flank and thus turning the British centre that was rather busy fighting hard to get control of the village, as depicted in the picture above.


The lessons with the Indians in the first game stood me in good stead though, as they came under my command in the second game, managing to charge in among some 'redcoats' preparing to present arms as they emerged from the tree line, before they were overwhelmed in a flurry of yelps and tomahawks, a moment captured in the picture below - thank you John for the lessons and the principles have been duly noted!


As always, its the folks one enjoys these games with that make them the experience they are and so I should thank Mike C for organising our games and letting us enjoy playing with his FIW collection, together with Stephen H, John R, Flaky Dave, Nathan and Jack for creating the fun of our two games.

Cheers chaps
JJ

Sunday, 15 May 2022

Maurice - Seven Years War, Prussians vs Austro-Bavarians, Part Two


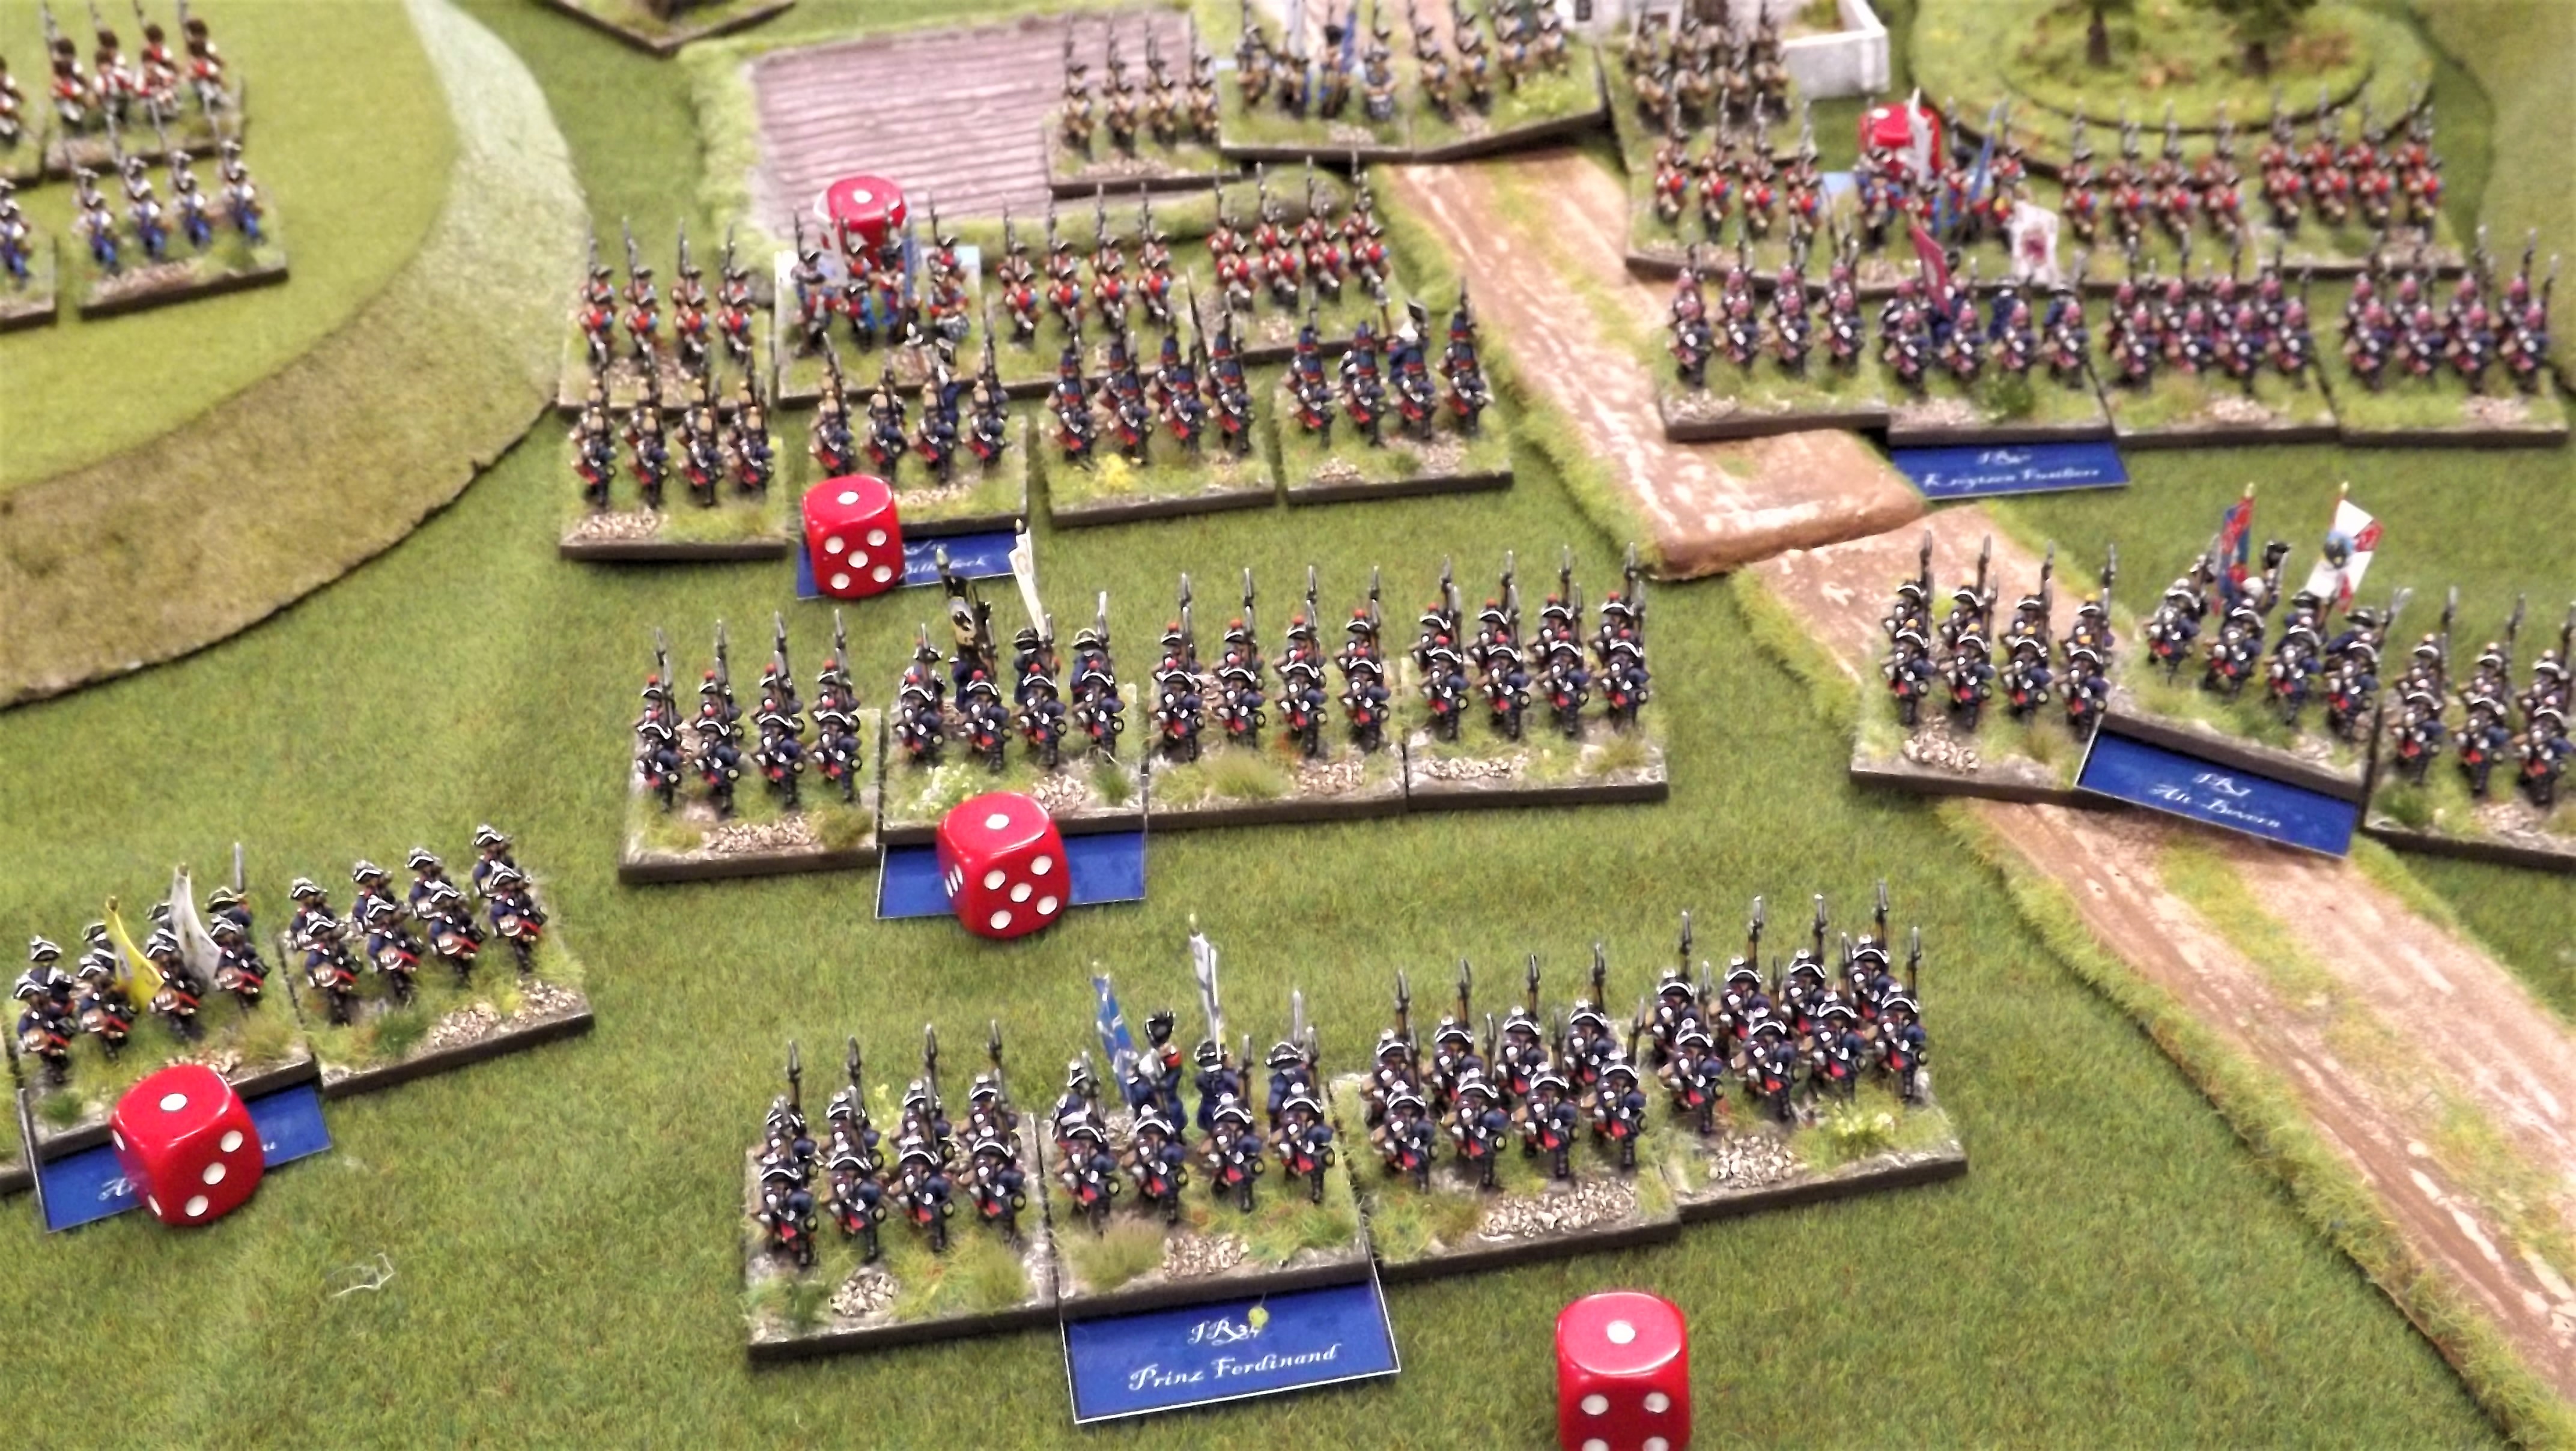
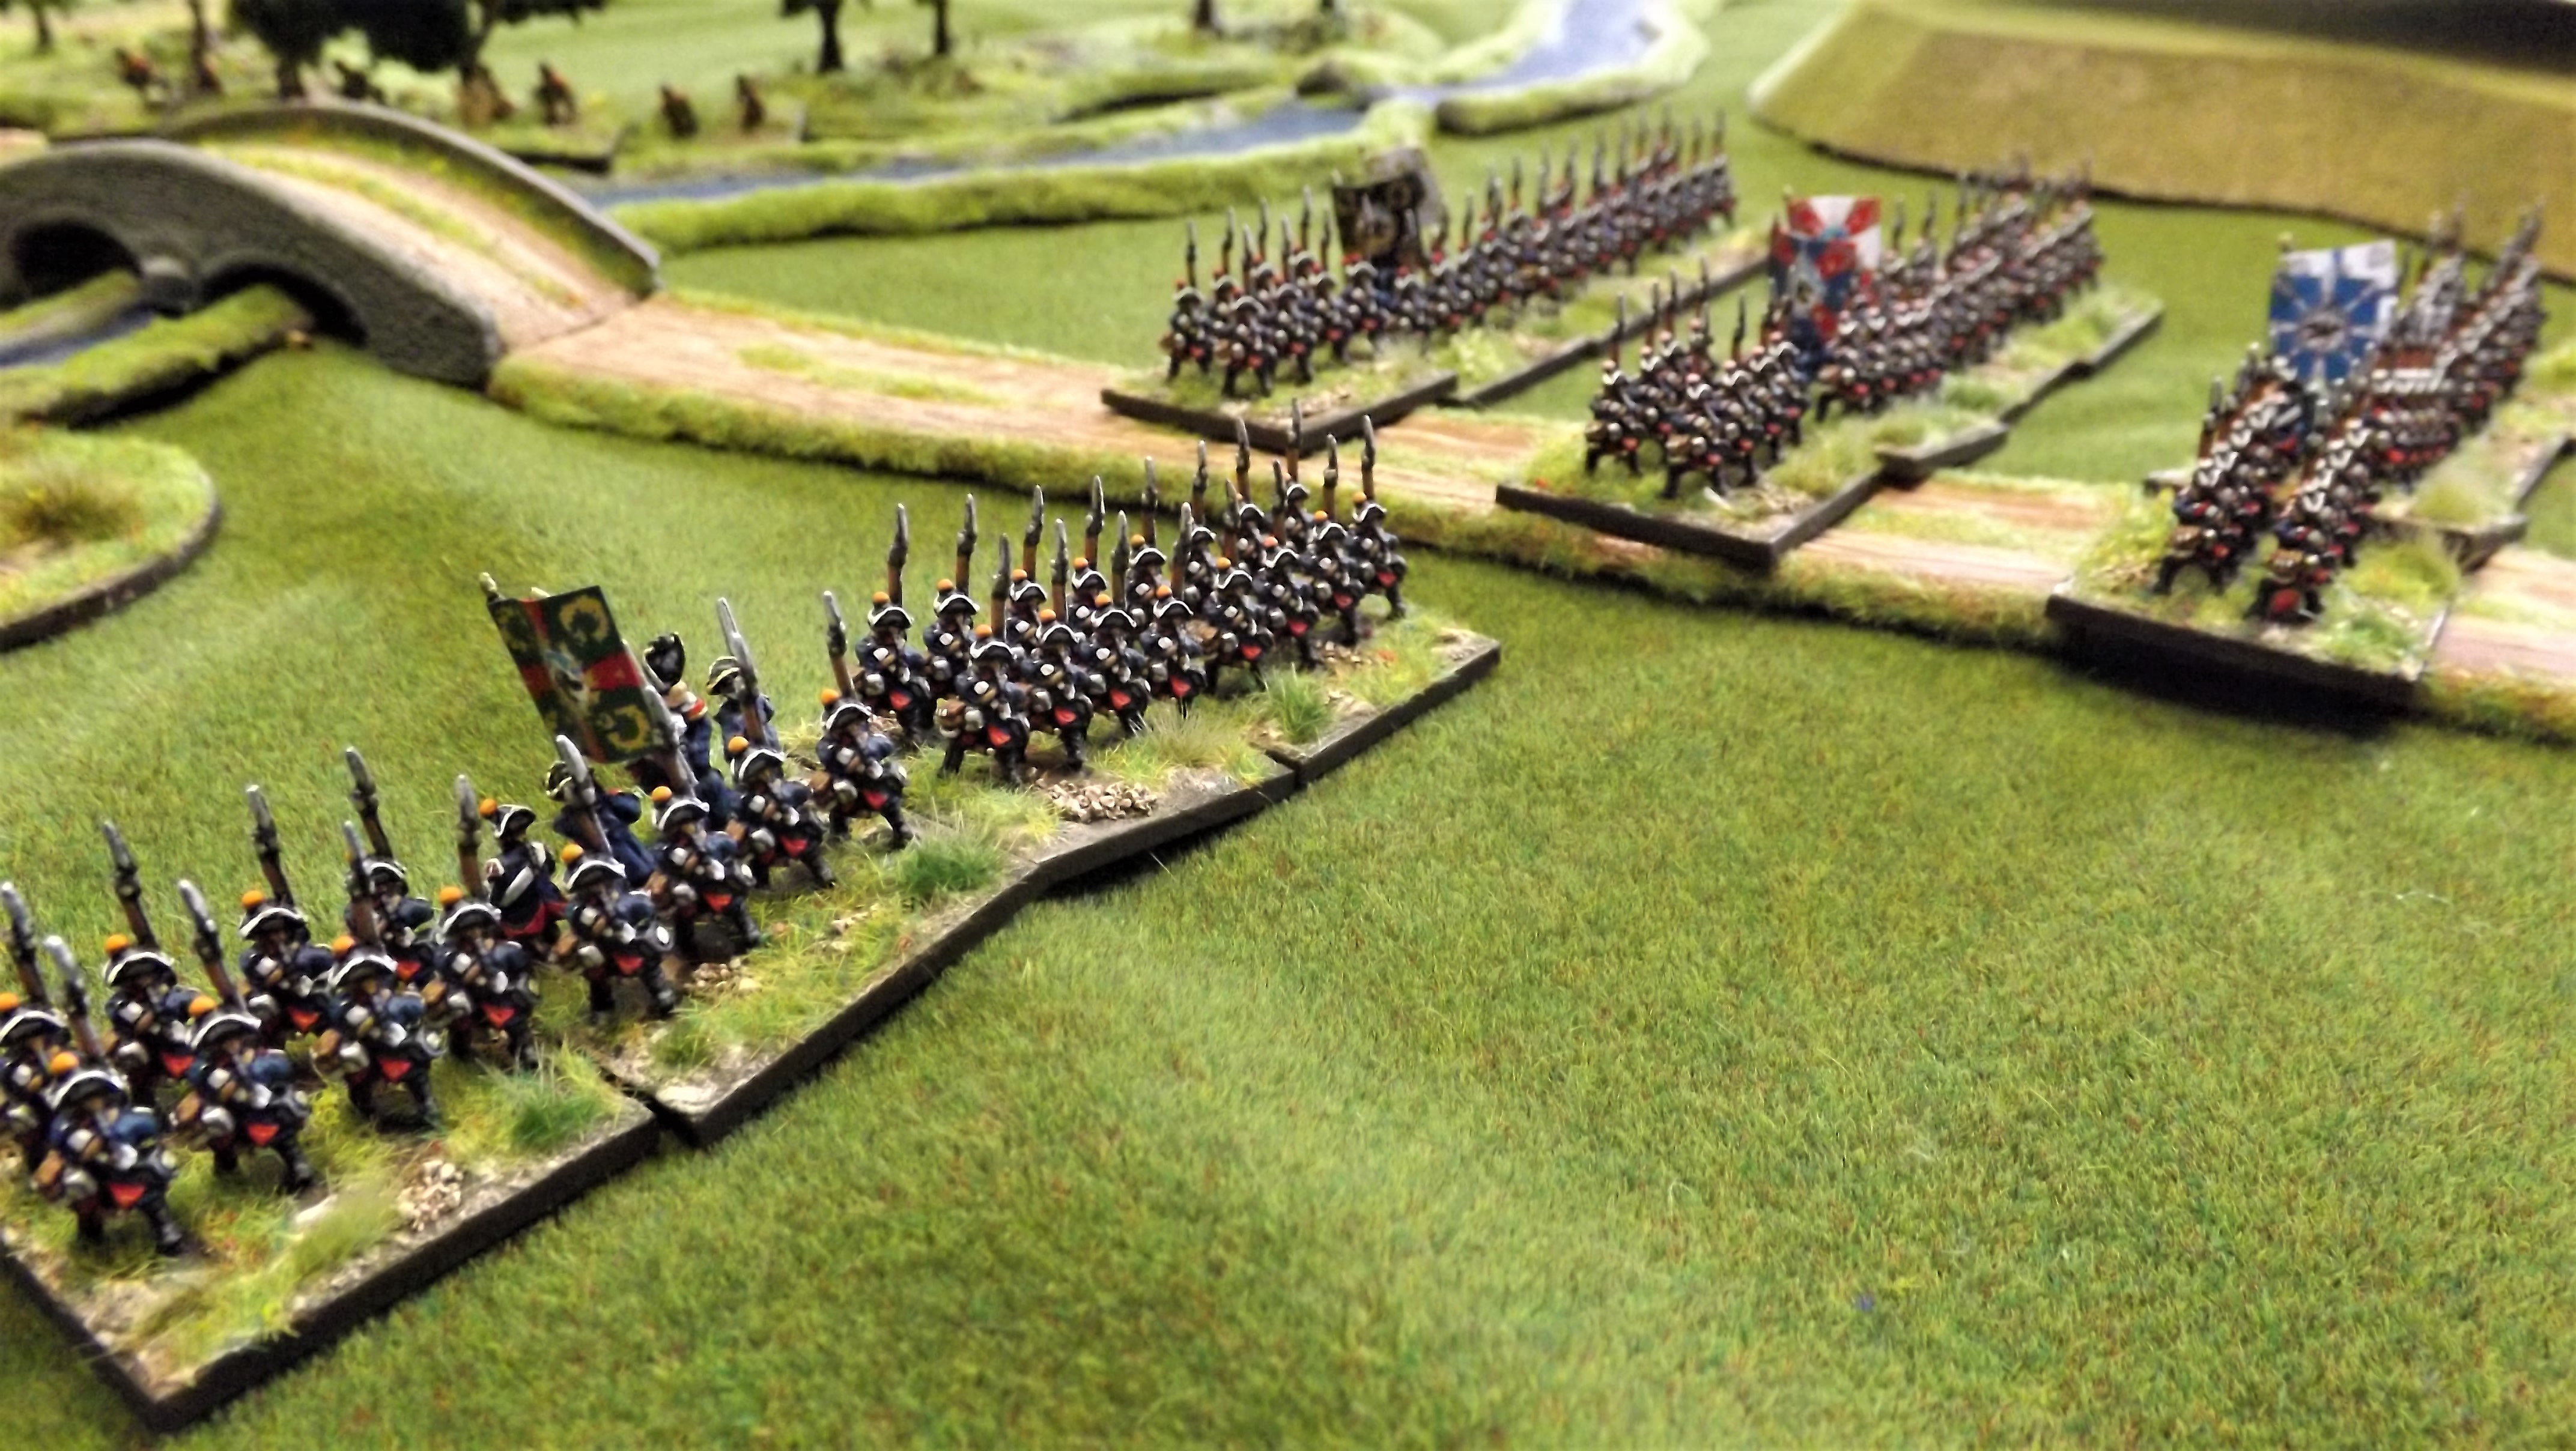
It was back in March that Martin introduced his lovely 10mm Pendraken Seven Years War collection of figures to the club using Maurice that produced a dramatic game that saw part of the Prussian force fight its way across a river to the front and pursue the Bavarian rearguard, guarding the river crossings and a small hamlet back to the main Austro-Bavarian line in the hills beyond, that left both forces that were engaged exhausted and with the Austrian force morale in particular, seriously depleted, but with both armies with a sizeable force still intact and unscathed.

If you missed the post covering the action that precedes this one then you can pick up on it in the link below. 

Devon Wargames Group - Maurice, Seven Years War, Part One

With the overall situation still rather undecided despite the Prussian's success in the initial fight, Martin offered another opportunity to pick up from where we left off with the Prussian army now across the river and able to deploy on the road beyond, as its new start line; and with the forces eliminated removed from  the respective orders of battle or with remnants reorganised into reformed units, such as the Austrian Grenzers who were reduced to one battalion from the original two, to reflect those losses, recieved last time.

Martin placing the last few units into the new Prussian jump-off point beyond the river and behind the road as we prepared to renew hostilities using Maurice from Sam Mustafa.

In addition both armies now had a slight top up to their army morale's to reflect an overnight regrouping and reorganisation in preparation for the next day of fighting but leaving those units caught up in the fighting from the previous day, still carrying significant disruptions that would require rallying off or ignoring and fighting on as they were.

As well as changes to the armies the two command teams were slightly different from the first encounter, with Greg taking over the command from Steve M, missing club for this meeting, but joined by two potential new members, John, involved in his first ever wargame, and Max, both newbies to the delights of Maurice.

The First Prussian Infantry Attack - After taking a few moves to rally off remaining disruptions the Prussians massed their infantry to attack the Bavarian part of the line, this time with the full force of all their infantry led by the elite grenadiers and fusiliers, with the Austrian command immediately ordering their second line of battalions to form column and march to the aid of the hard pressed Bavarians.

On the Prussian side I was joined by David who replaced Vince as the other Prussian commander and who brought all his horse and musket expertise to bear on the various command choices that revolved around our card play decisions and helped formulate the Prussian plan to capitalise on the daring attack from the previous battle led by Vince and half the Prussian infantry force.

The first Prussian attack spearheaded by elite Grenadiers and Fusiliers, aimed directly at the remaining Bavarians, designed to remove them from the battle and deplete the Austrian will to fight still further. A large number of the Prussian battalions were still carrying significant disruptions from the fight with the Bavarians the day before, made better by the fact that there were fewer Bavarian battalions now before them, but leaving a rallying decision to be made early on before commencing any new advance.

With the Bavarians now reduced to just three conscript battalions the decision was an easy one to point the spearhead of the Prussian attack right at this weak point in their line as the Prussian Grenadiers and Fusiliers lead the full force of Prussian infantry straight at them, with battalions moving out to the flanks to ward off any interference from those directions as the two foremost Bavarian battalions were quickly dispatched after a fierce little fight and fascinating card play by both sides as each struggled to gain the ascendancy, finished off by a bayonet charge by the Prussians.

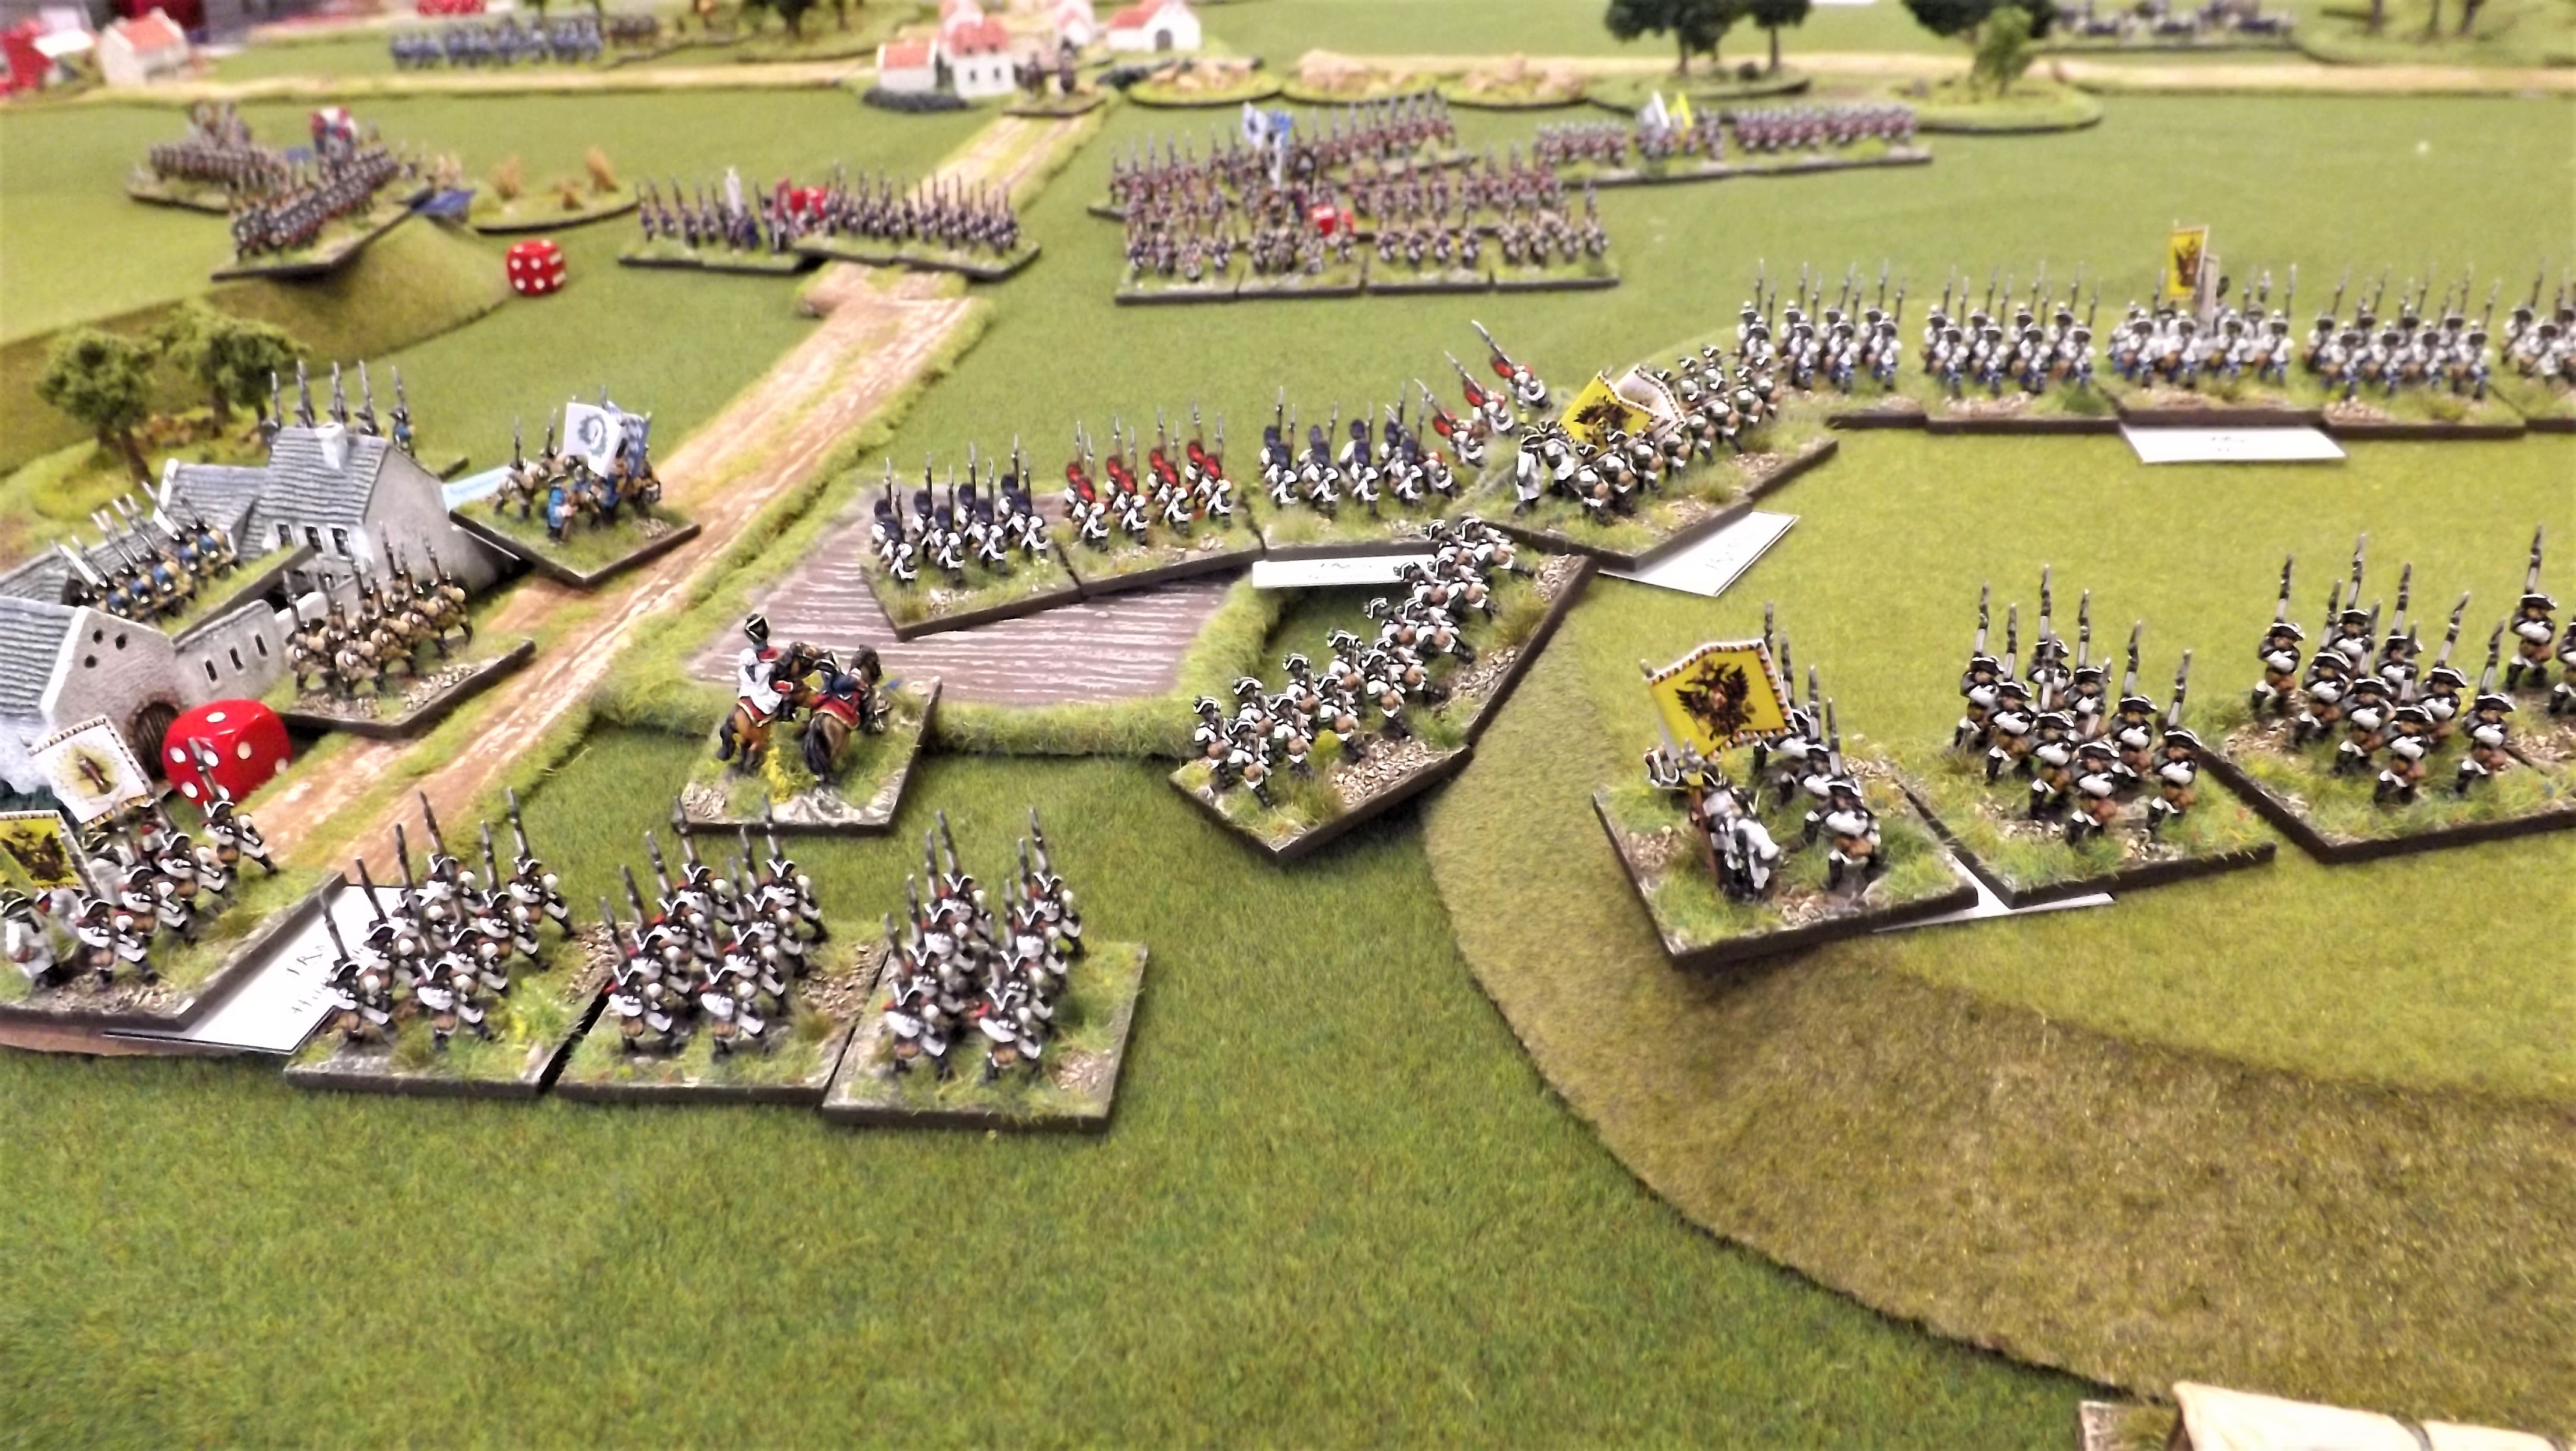
Austrian columns can be seen formed up in the rear of the Austrian line on the hill to the left as they attempt to redeploy and relieve their hard pressed allies. Two Bavarian battalions are in line across the valley with the Austrian CinC behind and the other Bavarian battalion in garrison in the farm buildings behind.

As the Bavarians dissolved under the Prussian attack and the Austrian force morale reduced still further, the Austrians quickly sealed off the road with their infantry and with the Prussians still carrying disrupts from their fight with the Bavarian infantry, the Grenadiers, Fusiliers and supporting Musketeers pulled back to regroup as fighting flared up on their right, as the Prussian infantry pushed forward against the the Bavarian artillery and light cavalry, prompting a counter attack by the latter that was met by the Prussian light cavalry coming up in support. 

The Bavarians, now reduced to just one battalion holding the farm (left) are replaced by Austrian infantry descending from the hills to the right of the road as the Prussians discreetly pull back to regroup and reorganise. Note the Prussian infantry on the slopes of the other ridge having pushed the Bavarian guns and light cavalry back in support of the main attack.

The next few moves were spent fighting this bickering little battle as the light cavalry and infantry on both sides, which included the remaining Croatian Grenzers and a Prussian Musketeer battalion, took opportunities to pour in flanking fire on the opposing cavalry lines as they charged and countercharged across their fronts.

The Austrian light cavalry having been pushed back by the Prussian infantry advance, prepare to counter attack to be met by the Prussian light cavalry across the valley

It is surprising how the unique card play mechanism in Maurice can cause little fights to interfere with the main battle and the Austrians were very cleverly looking to pull back the initiative and cause problems elsewhere along the line to keep the Prussian burning cards in response rather than conducting the attacks they very much were wanting to pursue.

The Prussian light cavalry prepare to advance on their opposite numbers, burning up valuable card play in the process as the Prussians got sucked into a little battle within a battle.

Finally the Prussian command got control of the situation as with their infantry now regrouped and disorders rallied off, the light cavalry was pulled back as the Prussian Musketeer battalion supporting them wheeled to flank the opposing Austrian light cavalry thus dissuading any further musketry from the Austrian Grenz positioned on the flank of the Prussian light cavalry, for fear of reply fire against their own mounted colleagues and thus stymieing this Austrian pinning attack to allow the main Prussian attack to recommence.

The Prussian Command advance to better coordinate the closing down of the little battle on the Prussian right flank as they prepare orders for the next Prussian infantry attack designed to win the main battle.

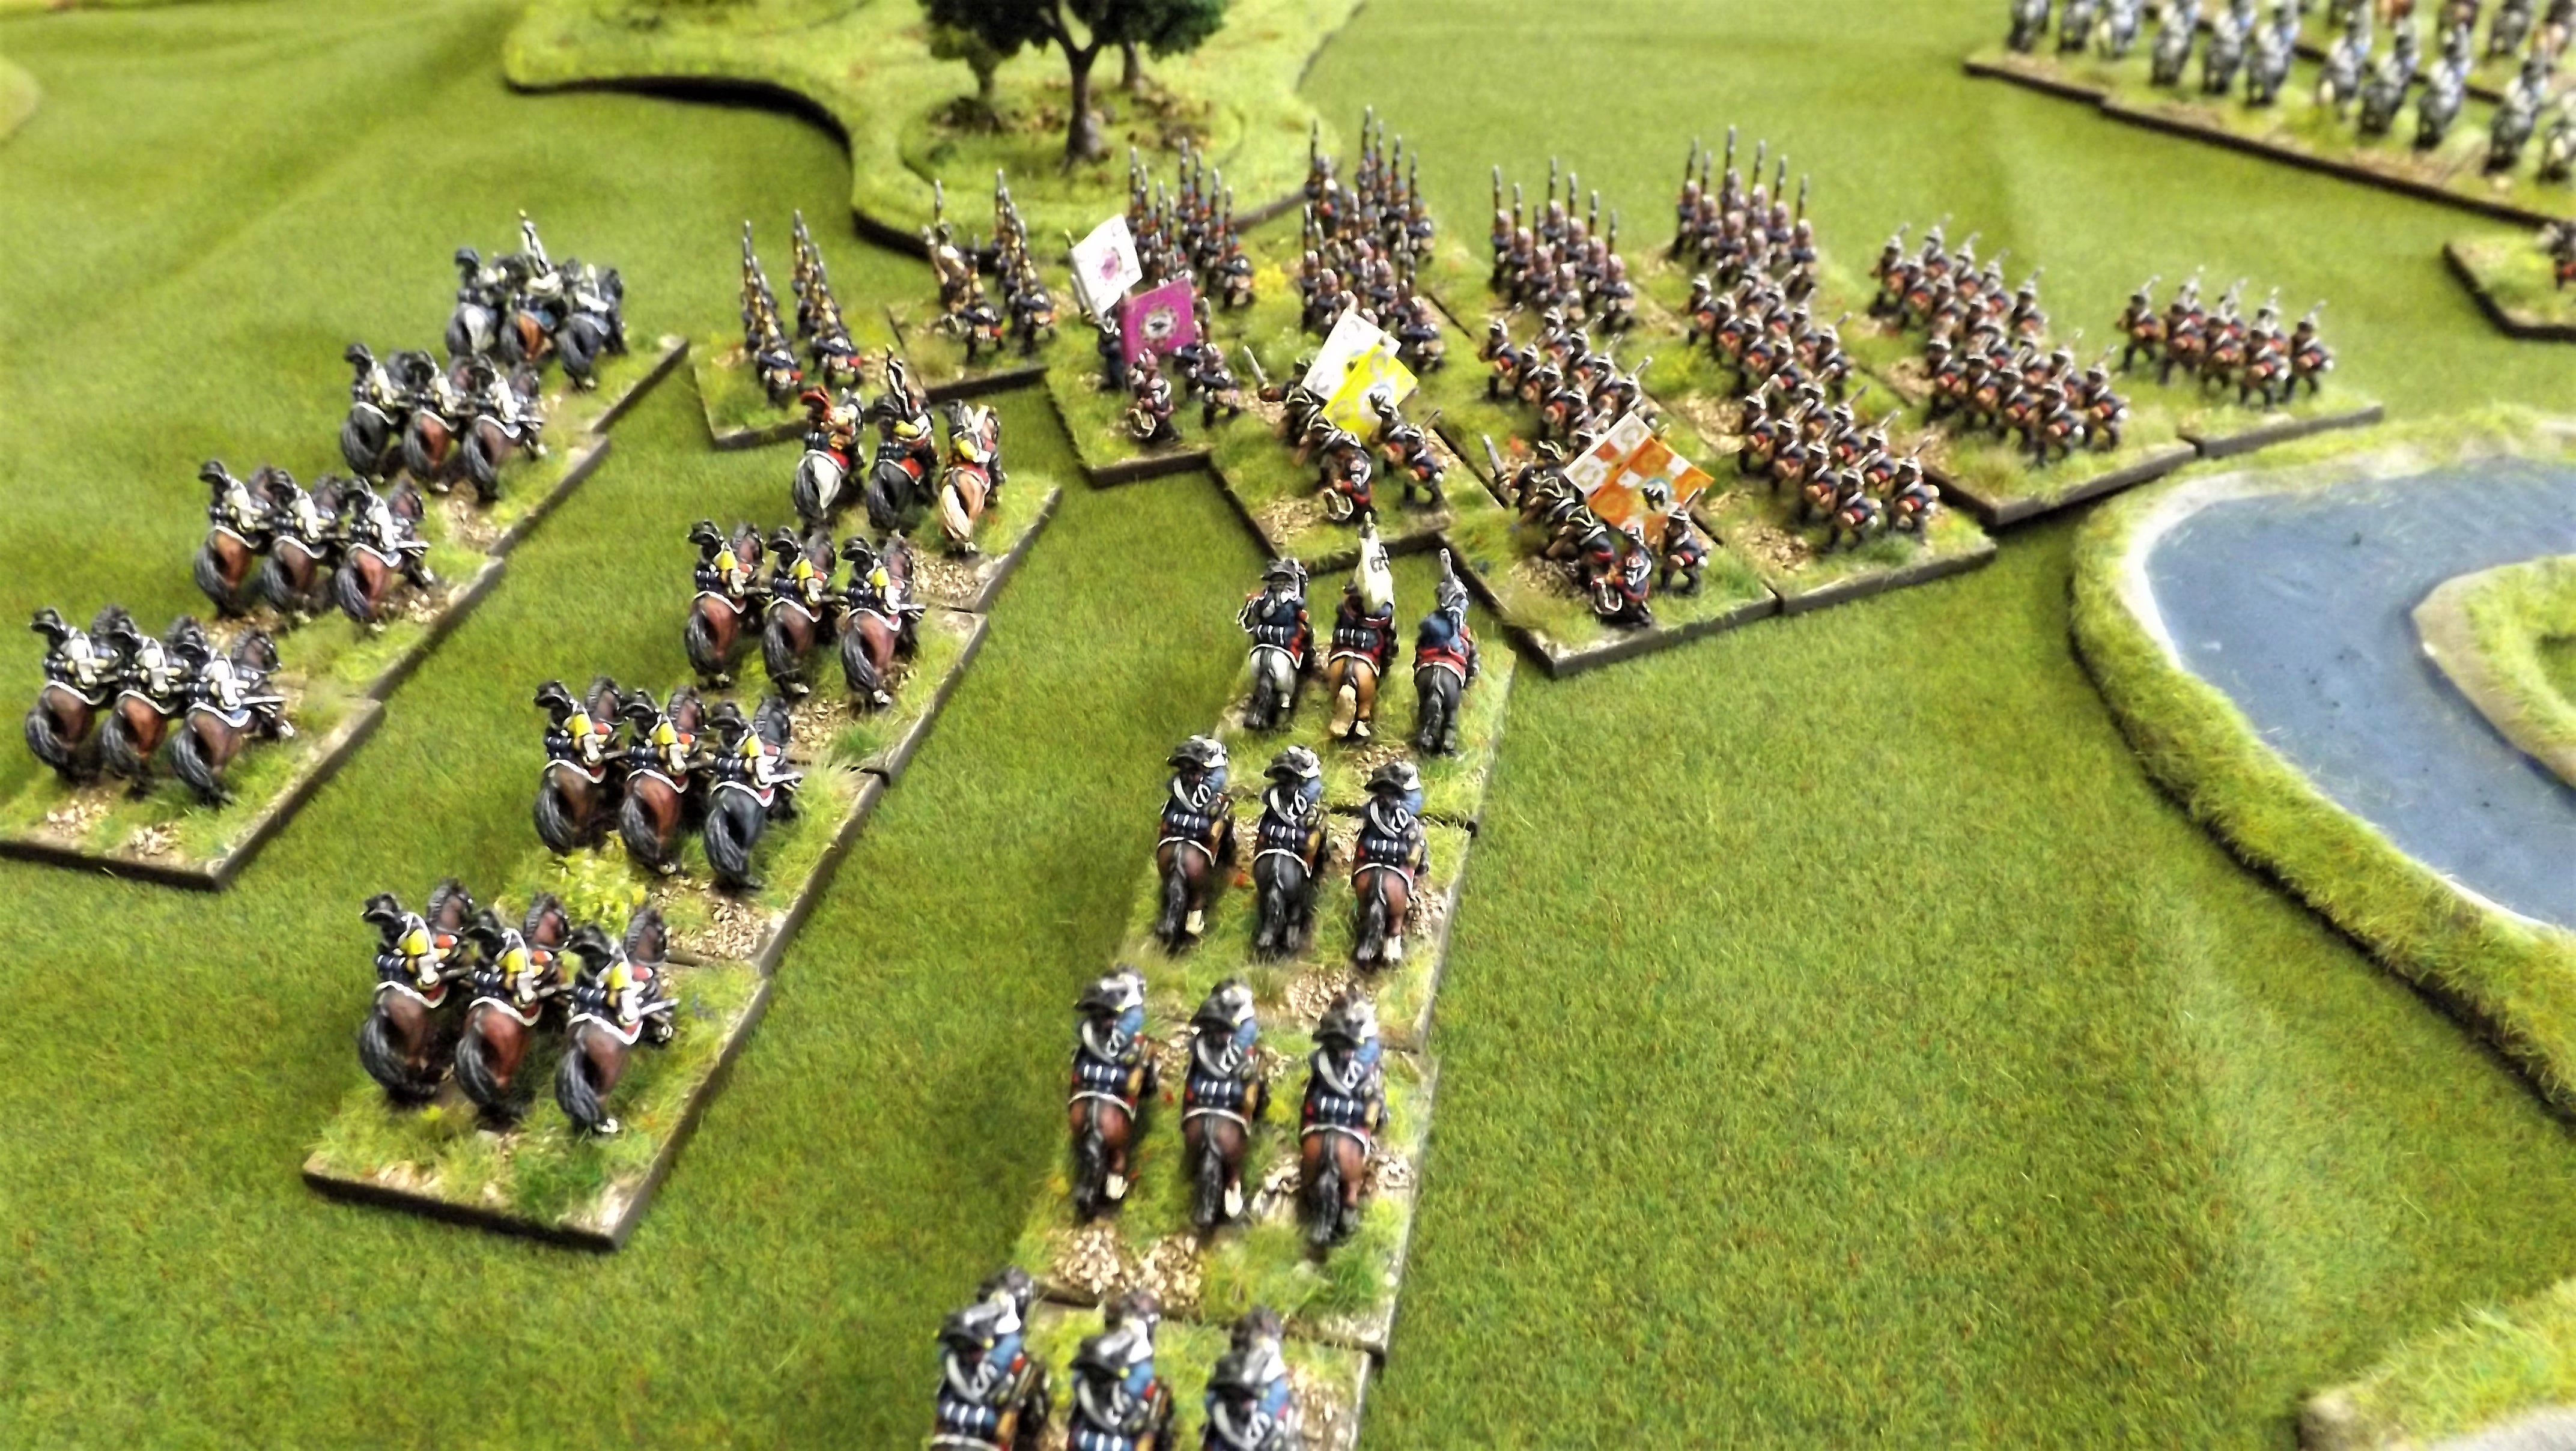
As if sensing the impending attack the Austrian command looked to move Prussian attention elsewhere along the line, by threatening a heavy cavalry advance from their right.

Austrian heavy cavalry drew their sabres and advanced desperately trying to provoke a response anywhere other than where the Prussians were focussing, namely with another infantry assault.

The Prussian heavy cavalry in response remained unmoved, happy to let the Austrians use up their cards marching across the valley with Prussian guns close by to help repel any serious advance and so the Austrians resorted to another tactic, as the Prussian command focussed on removing the last disruptions off the infantry preparatory to another assault.

Getting no response from the Prussian cavalry, the Austrian artillery had a go with some long range bombardment

With the Austrian heavy cavalry failing to provoke their opposing heavies to advance and meet them, the Austrian heavy guns joined in with a long range bombardment. 

Again the Prussian heavy cavalry remained unmoved as the occasional Austrian roundshot ploughed through their serried ranks, until the Austrian commanders recognised their inability to either severely damage this force or cause it to advance, and that the attempts were eating into their card reserve which might easily be needed to deal with the likely upcoming Prussian infantry assault, as the Prussian hand of cards was replenished with rallying and pass moves.

The Austrian line atop the left most ridge facing the Prussian line appeared a decidedly inviting place to attack as with a reorganised infantry force and a replenished hand of cards the Prussian command prepared to make its decisive final attack.

The Prussian command was finally ready to launch the attack that would be designed to knock over perhaps another couple of Austrian battalions to finally break their army morale and seal a Prussian victory.

The generals huddled around the command table to decide their moves and consider their options, with David quickly identifying the now weakened Austrian right flank ridge following the redeployment of the second line of battalions to cover the road valley in the wake of the defeat of the Bavarians.

Orders were quickly dispatched to the brigades and the advance began immediately focussing Austrian minds and card play as both sides attempted to cause early disruptions to the opposing infantry forces as the Prussians advanced.

The Austrians relied on their improved rally opportunities with rerolls of failed rally attempts, whilst the Prussians relied on the superior firepower, rerolling failed attempts to cause disruptions from successful musketry hits whilst leading again with the two units of elite Grenadiers and Fusiliers who were harder to disrupt with the Austrians needing fives and sixes as opposed to the four, five or six against the Musketeers.

The Second Prussian Infantry Attack - Seen from the Austrian left flank, the Prussian infantry goes in against the weakened Austrian line, as the Prussian command (circled) occupies the gap between the infantry and the light cavalry, able to command and keep control of both formations easily with all the infantry in the same formation and within two base widths of each other to ensure coordination as the Prussian infantry's righthand battalions pin the Austro-Bavarian line to its front whilst its left assaults the Austrian centre.

As the Prussians closed both sides exchanged musketry with the Prussians getting slightly the better of the exchange, and with the rallying attempts broadly similar seeing another round of follow up musketry that left one Austrian unit destroyed by the firing and another teetering on three disruptions facing a Prussian charge in the next turn, and the Austrian team down to their last three cards.

If they had a battle turning card in their hand, now was the time to play it as the Grenadiers prepared to close with the bayonet. 

The view of the Second Prussian Infantry attack from the Prussian left flank, with their heavy cavalry, bottom right carrying the disruption from the Austrian barrage earlier as they stoically refused to engage, leaving matters to the infantry fighting up on the ridge beyond in the Austrian centre

It was not to be and after the smoke cleared and the lines separated the Austrians were less two battalions and just one point of morale on the Army card when we called the game. The Prussians had suffered no morale loss apart from a last Austrian card play 'Death of a Hero' that on the subsequent die roll only succeeded in knocking one point of the Prussian total of some sixteen remaining points.


This was a classic game of Maurice with loads of drama, frustrations and delight as the card play intertwined with the command decisions and die rolls to decide the results of those decisions in such an intriguing way that frankly left me happily exhausted from the mental work of deciding the next set of moves.

Of course any game is only as good as the players involved and I have to thank Greg, John and Max for getting their heads together around the Austro-Bavarian tactics and really making the Prussians work hard for any success, and to David for bouncing the card play ideas back and forth to come up with the most appropriate options for the Prussians.

Finally a big thanks to Martin for sharing his gorgeous collection of Seven Years War figures from Pendraken, together with his terrain collection that helps set off these exquisitely cast figures to perfection and really added to the aesthetics of our game.

I have really enjoyed getting reacquainted with Maurice in the last three months and would recommend anyone with the slightest interest of playing a lace war horse & musket big game to try them out as they are a really unique and highly entertaining fun set of rules.

JJ

Saturday, 2 April 2022

Maurice - Seven Years War Austro-Bavarians vs Prussians

Heroics to the front as the infantry get close and personal in our Seven Years War clash using Maurice

Last month, Maurice featured at the Devon Wargames Group, as Martin entertained us with a Seven Years War Prussians vs Austro-Bavarian clash, using his Pendraken 10mm collection that got its first run out on JJ's Wargames, see link below, as Steve M and myself reacquainted ourselves with a favourite set of rules.

http://jjwargames.blogspot.com/2022/03/maurice-in-seven-years-war.html

Our club game was a much larger affair that saw the Austro-Baviarian force lined up on a long ridge overlooking an important river crossing before a small village with two bridges, one leading through it and the other further upstream.

The Bavarian division man the hill directly behind the village on the river. These four battalions would be in the thick of the fighting before the games end.

The Austrian general in command was busying himself overseeing the extraction of a rather important convoy of foods and munitions that were hastily assembling in the village, together with some important nobles and their ladies, keen to avoid an early introduction to the Prussian General Staff; and to cover their withdrawal a brigade of Austrian cavalry supported by Croatian Grenz covered the approaches.

The rear-guard force cover the withdrawal of the supply column

Important nobles and their ladies gather their belongings ready to join the retreat

Croatian Grenzer

Croatian Grenz cover the bridge, and road into the village 

Steve M and Gregory were tasked with administering the Austrian rear-guard, as Vince and I prepared to lead the charge on the behalf of the King of Prussia as our advance guard came up the road ready to challenge the Austrian possession of said village with jaegers and cavalry to the fore, closely followed by the main army ready to exploit an early success by crossing the river to challenge the main Austro-Bavarian army lined up on the ridge beyond.

Jagers and Prussian Hussars lead the advance guard of the Prussian army

Martin had managed to squeeze an exquisite level of detail out of these very small miniatures that only added to the enjoyment of our game. 

The early card play in Maurice is very often a case of one army getting into a position where it is ready to contest with its opposition.

The Prussians in this case, were forced to spend their cards trying to orchestrate the movement of their forces whilst the opposition did its best to frustrate and disrupt those movements, looking to create an opportunity for a counterattack or to weaken a later enemy advance.

Further along from the Bavarian division on the ridge beyond the river lay the main Austrian army supported with some very well laid artillery covering the approaches to the bridges.

With the village an obvious route of advance on perhaps the weaker part of the Austro-Bavarian army, we decided to clear the village with one part of the Prussian army while the other part got across the river upstream and shook out into battle order ready for an advance.

Austrian cavalry in force completed the army over watching the withdrawal


The battle for the village and its bridge became a fierce skirmish between the Grenz and Jaegers with the later able to shoot their way into the village and clear it with the sword bayonet and both the opposing cavalry stared at each other as the battle progressed.

With an early indication of the accuracy of the Austrian gunners, the main Prussian infantry force of elites and grenadiers together with the bulk of the cavalry quickly crossed upstream of the village and sought shelter in the lee of nearby woods as the jaeger cleared the village of Grenz opponents

The Prussians were also quick to support the river crossing with their own force of heavy guns

With the village cleared, the second division of Prussian infantry crossed over the river and deployed close to its outskirts, whilst the other infantry force and main Prussian cavalry were sorting out their messed up crossing behind the woods close by,  caused by rather accurate Austrian gun fire during their passage.

The second division of Prussian infantry followed the jaeger and light cavalry to support their advance and to threaten the Bavarian flank

As Gregory pulled the Bavarian cavalry back from the village, Vince spotted an opportunity to exploit the move by ordering up the Prussian infantry to advance in pursuit in line, a formation that, provided the flanks are secure, is a very dangerous threat to any opposition, given the deadly firepower of Prussian infantry of this era.


The move by the Prussian infantry proved to be the principle attack of the Prussian army leaving the other flank quiescent as the attack demanded the limited pool of activation cards to support it and seeing the Bavarian cavalry with its back pinned against its infantry that had come down from the hill behind in its support, as the Prussian muskets went to work.

The Grenz are forced back into the village by accurate Prussian rifle fire and would be destroyed later by the follow up close assault

The Bavarian infantry looking secure in their lofty perch above the village soon to find themselves in front of massed Prussian musketry

The front Bavarian cavalry regiment was decimated before the Prussian fire, and as the Bavarian infantry came forward to cover the retreat of the remaining horse, they to found themselves battered by a similar musketry fusillade followed by a charge.

In desperate need to turn the tide in their favour the Bavarians traded activation cards to bring up their single artillery piece to help, but it was too little too late as the Prussians traded battalions for battalions, whilst relying on Gregory to continue to throw sixes every time a units was destroyed, further adding to the loss in army morale points that inevitably followed.
 
With the Grenz hard pressed and eventually broken around the village, the Bavarian general ordered the cavalry rear-guard to withdraw on his main force

The Prussian second infantry division consolidate the hold on the village with the Grenz destroyed and the Bavarian cavalry withdrawing. Then Vince ordered the advance!

Behind the woods space was a premium as the main elite Prussian units sorted themselves out beyond the reach of Austrian guns

The really clever piece in card play with Maurice is that combat inevitably consumes cards rapidly in activations and event moderations, and the need to pause the fight as both sides attempt to rally off their disruptions.

In those pauses the other quieter parts of the front may get the opportunity to influence the battle within a battle by causing the enemy to react to other units elsewhere doing other threatening moves which forces card play in response.

Having crossed the river the Prussian guns deployed in preparation to cover the next phase of the advance, with a weather eye on that advancing Austrian cavalry, top left

The sudden withdrawal of the Bavarian cavalry offered an opportunity to exploit and the Prussian general in charge martialled the infantry to prepare to advance in hot pursuit.  

Thus the Austrian main cavalry advanced out into the plain, seemingly looking to threaten the main Prussian line and cause a reaction to take the pressure off the Bavarians.

Sadly the Prussian line responded with its first infantry division and artillery mutually covering all approach routes that the Austrian cavalry might close through and thus stymying this advance allowing card play to return to the battle before the Bavarian hill.

The Prussian advance on the Bavarian hill

The table overview at the close of our game shows the advance of the second Prussian Infantry division on the main Bavarian position as it moved off in pursuit of the Bavarian cavalry that withdrew from the village. To try and threaten this advance the Austrians advanced their cavalry but halted before getting in sight of the Prussian gun line. Note the Prussian infantry in line behind the woods to prevent any cavalry advances in that direction

The same overview from the Austrian positions

As our game came to its inevitable close and with the pub beckoning, the Prussian second infantry division and the Bavarian division lay battered at the foot of the hill behind the village, with both sides desperate to replenish their hands of cards, looking to rally off disruptions, bring up much needed supports and keep on killing the enemy, but unable to do all of it at the same time!

This is another glorious modelling of this type of linear warfare, artfully captured in the play, and it was the card play that had the last laugh as with the opportunity to cause the Austro-Bavarian army to teeter yet closer to calling a withdrawal, the Prussians played the 'Death of a Hero' event card which seemed very appropriate amid the carnage in front of the Bavarian position and more morale dropped from the Austro-Bavarian army card in the last phase of play.

The early decision point as the Prussian infantry lie battered before the Bavarian line having lost two battalions and the third one on the extreme left of picture teetering on three disruptions (red die) but with its Bavarian opposition in a similar state. The other two Prussian units accounted for two Bavarian infantry units and a cavalry regiment destroyed by their musketry, added to the two Grenz units destroyed in the fight for the village. Not the other Bavarian cavalry unit teetering on four disruptions, and both generals in close attendance.

The opposite flanks of the two armies were comparatively quiescent as the fighting on the Bavarian flank consumed the bulk of card play and activations

At the close the Prussian army morale was still riding high on the success of the assault by the Prussian infantry down five army morale points on a start of eighteen

What a game and its leaves me a little exhausted writing it up a few days later, but adding to the catalogue of memorable games played with this clever set of rules.

The Austro-Bavarian force in comparison was in a desperate state with a loss of twelve points, added to in the last turn with the Prussian play of the 'Death of a Hero' card that saw another two point decline as an important Bavarian officer was seen to fall at the close.

Thank you to Martin for bringing along his glorious collection of figures and terrain to provide all the fun and to Vince, Gregory and Steve M for making an enthralling and entertaining encounter in the Seven Years War with Maurice. 

Good times

JJ