

Editors Note:
This post covers one of the three games played in early March 2020 and was submitted prior to the announcement that the club has now closed until further notice due to the COVID-19 Lock-down and the prohibition on social gatherings.
We look forward to a resumption of normal life as soon as possible, extend our sincerest condolences to those who have lost friends and family during this time and encourage everyone to stay safe, stay home and protect out National Health Service.
The Scenario
This game was based upon the Battle of Raab. Archduke John of Austria was being pursued by Eugéne de Beauharnais, Napoleon Bonaparte’s stepson . In this game the Austrians were replaced by the Rebels and the Union troops replaced the French.
 |
| Battle of Raab, 14th June 1809 |

The Rebel army was made up of half Veteran and half Experienced and Green units, whilst the Union troops were either Veteran or Crack.

The number of stands was the same for both sides so it was all about using quality against defended positions.

The town counted as full cover and the farm was fortified. The river was fordable but disordered all troops on crossing. Guns could only cross via the two bridges but the horse battery with the cavalry could cross to the right of the fortified area.
The Game


The deployment and first move were made using cards to simulate mist coming off the river. On revealing the units we found the Union deployed on their right with the cavalry division and two crack infantry divisions. The two other divisions were on the left next to the main bridge leaving the centre completely free.


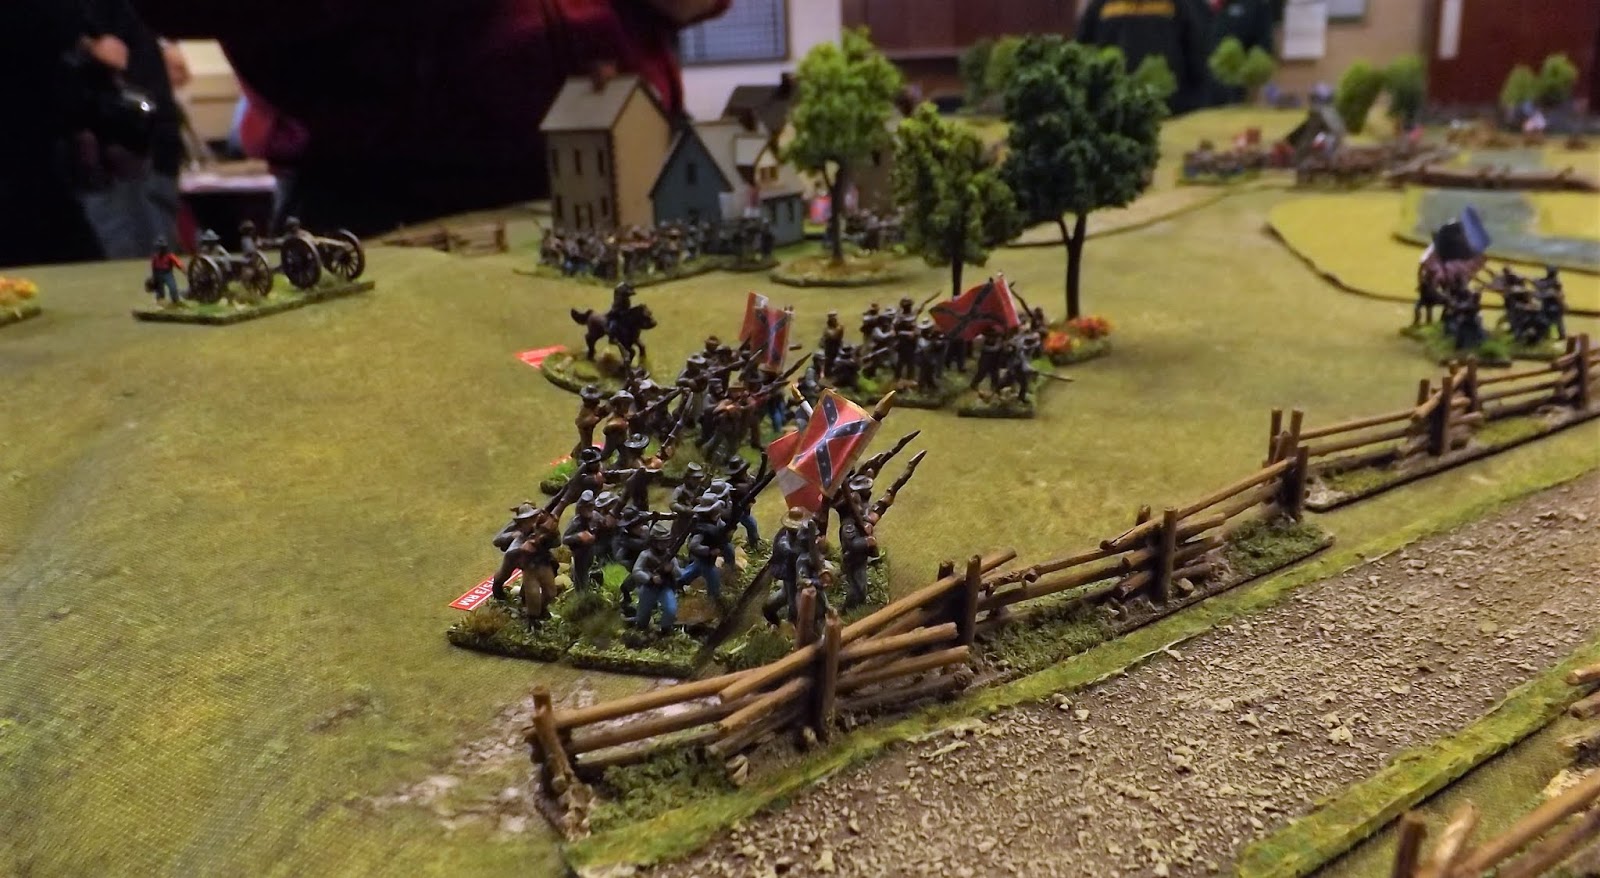
The Rebels deployed in and around the fortified farm and on both hills to gain height for their guns and waited. The rebel guns opened fire on the advancing union columns causing light casualties. As the union forces advanced on their left the rebels surprised their opponents by coming to meet them. Shaking into line both armies clashed exchanging fire and charges. In a very ballsy move a rebel brigade left the farm and crossed the small centre bridge in an attempt to attack the unions in the rear.


On the union right the fast moving cavalry and infantry headed around to attack the rebel left. The rebels held the hill and dished out fire from their guns in the fort and on the hill without slowing them down. Once again the rebels awaited their destiny.


At this point the action was all on the rebel right flank and they managed to force the union forces to
straighten their lines, a euphemism for falling back. These actions had, however caused severe damage to the rebel units as well as to the union. The rebel problem was that their units were not all that good. With that Union attack now seemingly stemmed the rebels sent what spare units they could away to their left to help stem the next onslaught


Eventually the union troops arrived on the confederate left and the cavalry dismounted and started using their machine guns (repeating rifles) to try and pin down the defenders of the fortified farm but they were faced with artillery and infantry and were gradually whittled down. The fast moving union infantry then burst through the woods and attacked the rebels lined up on the hill. The rebels fought bravely but against superior quality troops they were eventually pushed back. However it has to be noted that a rebel brigade did repel a massed attack from three good union brigades before finding themselves suddenly all alone on the hill, whereupon they fell back in good order onto the town.


As this was going on, the union forces on their left now launched a second attack and got to grips with the rebels and forced them back towards the town.

At this point the Confederate leaders gave the order to fall back to the next town down the road and a slight union victory was declared.

I would like to thank all participants for playing the game in such good humour. The scenario was interesting for me because the accepted rule is that the attacking forces should outnumber the defenders. In this case the quality was meant to negate the quantity issues. It did seem to work so I was happy.
This is Steve Land production, generously corrected and added to by Mr Steve. Thanks to you sir.
Figures from AB and Blue Moon. My thanks to Nick and Mr Steve for their efforts in painting them for me. Battle Mat by Tiny Wargames. Buildings by Empires at War. The trees are a mix of Ebay buys and from Buffers Model Railways. The hills were from Total System Scenic (TSS). Roads and rivers are from Fat Frank. The rails fences I got from ebay.