This month saw the roll out of our first scenario using "Napoleon at War" from
Man at War.
The chosen battle was Rolica, the first battle between British and French troops in the Peninsular War and the debut of one of Britain's greatest military commanders, Sir Arthur Wellesley, later to become the Duke of Wellington.
This battle at first glance may not seem that attractive to most wargamers, with a relatively small French advance guard up against a much larger, about 3:1, Allied army of British and Portuguese troops. The scenario attempts to balance this by measuring each commanders results with those achieved by their historical predecessor. For a PDF copy of the scenario, and more information about the thinking behind it, follow the link to
JJ's Wargames Blog.
 |
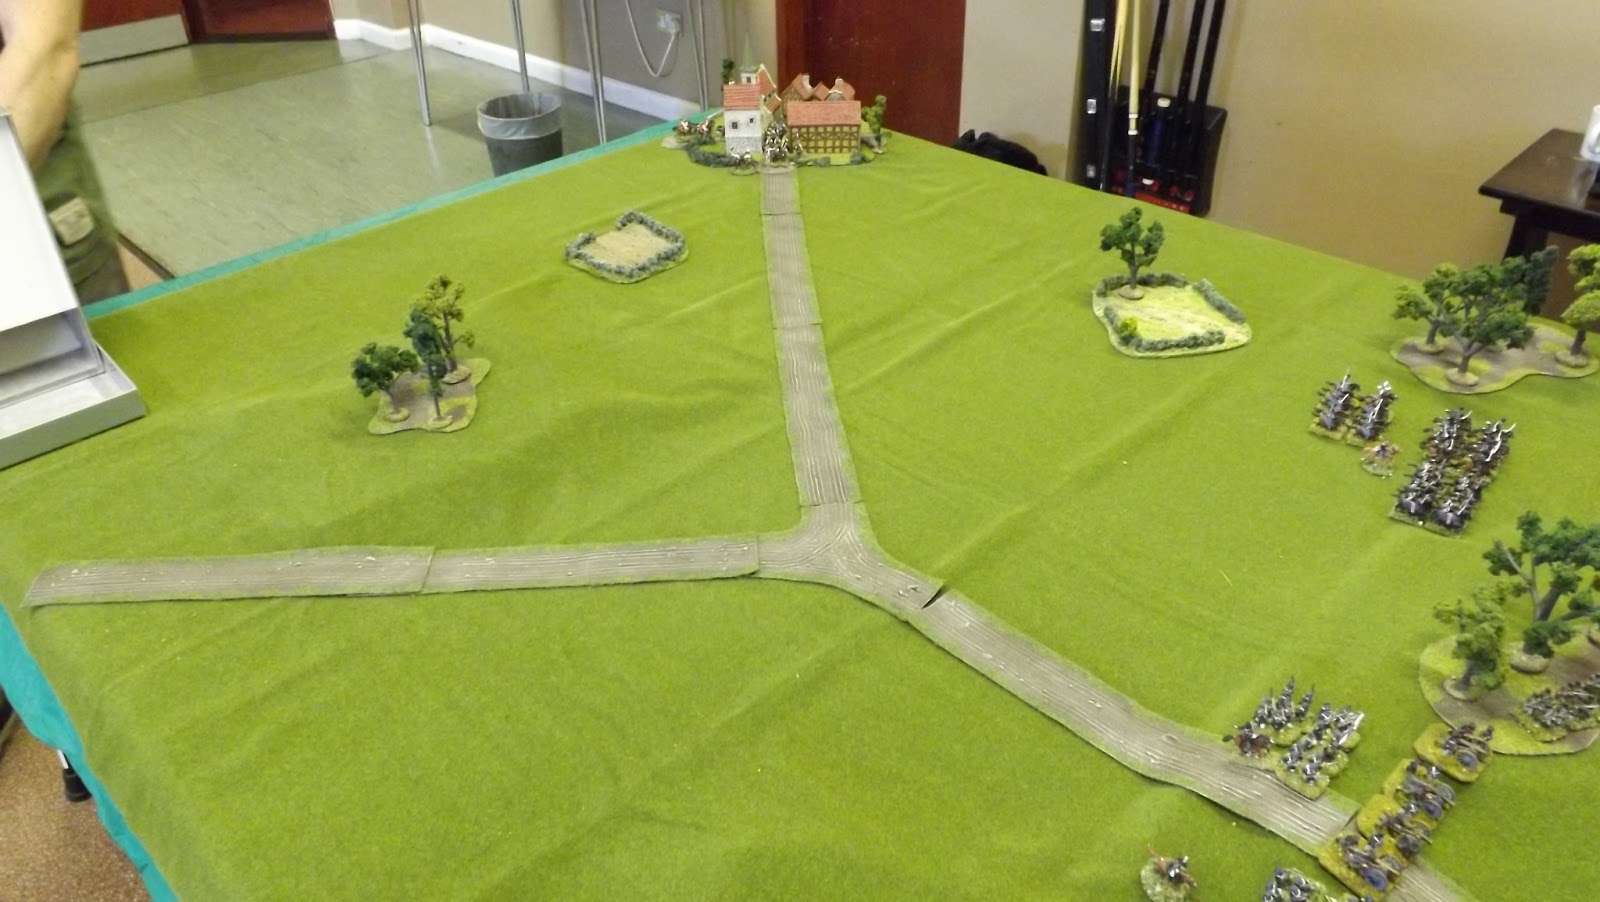
| The area of the battle portrayed in our scenario |
We set up the forces as per the historical arrangement with Sir Arthur Wellesley's main forces arrayed in front of the French occupying Rolica and Rolica Hill. The scenario assumes that Sir Arthur has sent his two outflanking columns off table and thus the French force will have to fall back within a limited time. General DeLaborde managed to hold the Allies for three hours, twelve moves, until falling back from his second position in considerable disorder loosing 600 men and three guns in the retreat. Wellesley managed this by manouvering his oppontent off his positions rather than head on assault and lost just 479 casualties. How would our tabletop commanders compare?
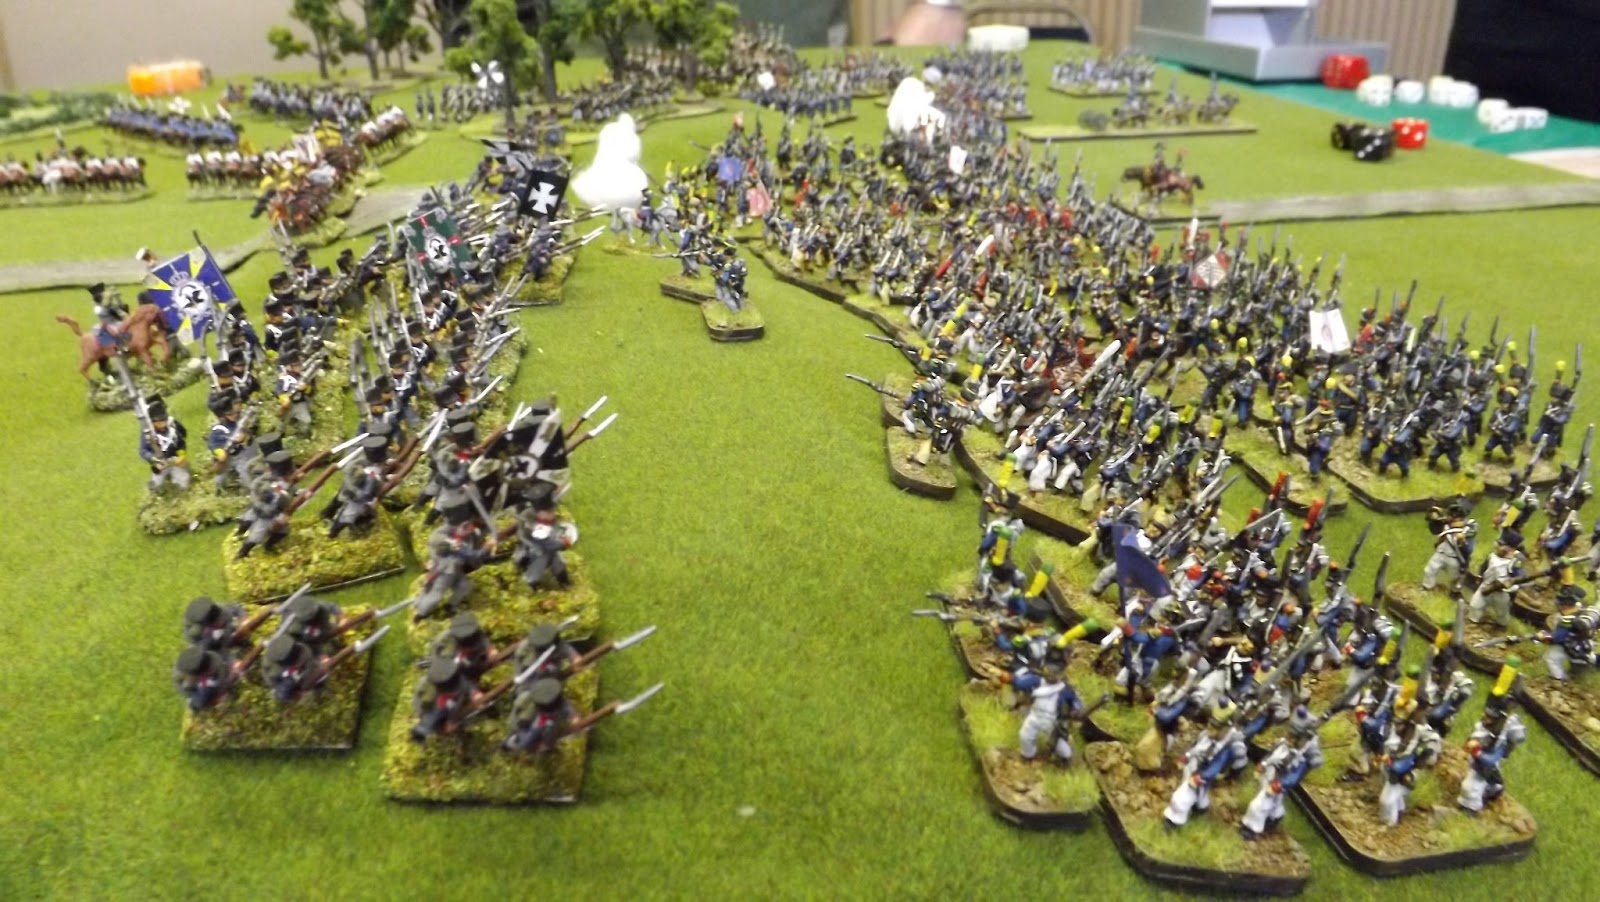
Under the opening salvo from the Royal artillery brigade at the centre of Sir Arthur's force, eight battalions of line infantry, two rifle battalions, one cacadore battalion and some light cavalry arranged in four brigades, set off on their march to meet the French. The British troops were keen to close with the enemy, having chased their rearguard out of the small walled town of Obidos the night before. As the redcoats closed on Rolica Hill the French guns opened fire in response with seemingly little effect as the British closed up to fill any gaps caused in their ranks.
 |
| The view from the ridge, Columbiera village on the left, Rolica on the right |
 |
| View from the British start line facing the French on Rolica Hill |
The French under General de Division DeLaborde were confident in their abilities. This was the army that had quickly dealt with the Austrians, Russians and Prussians in little over three years, with battles such as Austerlitz, Jena - Auerstadt and Friedland to look back on, so they were not overawed by this British army who had a habit of running for the boats at the first possible upset.
The initial French position was a formidable one with two battalions plus artillery holding the hill and one battalion occupying Rolica and blocking the Lisbon road. The remainder of the force, two battalions and a light cavalry regiment were held in support.
 |
| The 1/70th Ligne, 3/2nd Legere and Foot Artillery holding Rolica Hill |
The French seemed mesmerised by the perfect drill of the British regulars as their brigades worked their way forward and around General DeLaborde's positions.
 |
| General Hill's brigade in the foreground with Nightingale's and Fane's brigades beyond |
 |
| Fane's brigade, 95th Rifles, 60th Rifles and the 6th Cacadores |
As the British columns closed on French troops, one by one the individual battalions shook out into line with drums beating and their colours flying, light companies to the front ready to contest the skirmish battle with their French counterparts.
 |
| The British advance |
Both sides had small contingents of light cavalry and artillery, but the main effort would lie with the infantry.
 |
| General "Daddy"Hill leads his brigade supported by the 20th Light Dragoons |
 |
| Wellesley, top right, overseas the approach march of Nightingale's brigade |
With an overwhelming force in front and around both flanks DeLaborde could only hope to delay his adversary and try to inflict occasional checks on the allied advance. Timing the precise time to disengage would be critical. The scenario aimed to capture this dilemma by requiring the French to stay and deny the Allies access to the ridge line at the top of the table for twelve moves, approximately three hours. However if they delayed too long they risked becoming embroiled in a combat that would destroy their force before they could withdraw.
 |
| The 95th Rifle supported by the 60th Rifles prepare to assault the 3/4th Legere holding Rolica |
Everything was going to plan up to turn three as the British moved into musket range of Rolica and it's neighbouring hill. Both sides exchanged fire, and seeing the British support units moving up the French attempted to disengage and fall back. All did except the 3/2nd Legere who for some reason did not retire, throwing the planned pull back off track.
As if sensing the French indecision, the 95th Rifles launched an assault on Rolica village forcing the 3/4th Legere to stay and support their colleagues on the hill. The elite rifleman charged into the narrow streets and small buildings engaging their light counterparts in deadly hand to hand fighting. The first hours of battle had the riflemen firmly in control of Rolica and the 3/4th Legere streaming back up the Lisbon road in rout.
In desperation General de Brigade Brenniers turned to the least likely of units to retake the village and stabilise his line. The 4th Swiss were ordered to charge in and eject the rifles. They seemed to advance quite steadily at first to the village outskirts, but after passing the remnants of the 4th Legere throwing away weapons and acoutrments that might slow their rout, they simply stopped and refused to advance any further.
 |
| The 4th Swiss held in support of Rolica |
Meanwhile on the French left flank General Hill's brigade had started to turn the Rolica position and its lead battalions already had the rear of the hill in their sight.
 |
| The 1/9th foot lead Hill's brigade in turning the French left flank |
With his centre hotly engaged and his right flank wide open the only reserve left to hold up Hill's brigade were the 200 plus men of the 26th Chasseur a Cheval who gamely trotted forward to meet the redcoats drawing their sabres as they approached. As if in instant salute to this bold advance by such a small cavalry contingent the 1/5th and 1/9th formed line, dressed their ranks and presented arms.
The French sensing discretion was the better part of valour fell back just far enough to force the British to continue their advance in line.
 |
| The 26th Chasseur a Cheval move up to delay the advance of Hill's brigade |
The British centre was lead by General Nightigale's brigade and in a bold but somewhat foolhardy attempt to pin the troops on Rolica Hill, the 29th Foot charged the French gun line, and were coolly met with a well aimed barrage of canister driving them back. Sir Arthur was not best pleased by this rash attack, he was becoming aware of the lack of experience in his commanders, which only time and further contact with the enemy would overcome.
 |
| The 29th Foot prepare to assault the guns on Rolica Hill |
The attack by the 29th had been unnecessary as events on the flanks were alarming the defenders on the hill to start thinking about leaving immediately or face being attacked from the rear.
 |
| The 70th Ligne start to fall back from Rolica Hill as British infantry approach |
As further British troops closed in on their position the French finally got their act together and successfully disengaged pulling back down the reverse slope.
 |
| General Crawford's reserve brigade moves on past Sir Arthur in support of Fane and Nightingale |
 |
| The 95th Rifles "mop up" after a vicious battle to take Rolica |
This sudden fall back by the French troops couldn't come quickly enough as with Rolica in British hands the race to the ridge line was well and truly on.
This is where the Allies could force a "sudden death" conclusion to the game by getting more good order troops onto the ridge than the French thus compelling them to retire and reducing the casualty count. Would they take advantage of the opportunity?
 |
| British reserves moving up |
 |
| The fighting moved through the valley as the French withdrew |
 |
| The rearguard to the rearguard |
 |
| The pressure builds on and around Rolica Hill |
 |
| The Rifles re-group |
As the two armies attempted to move up the valley to the ridge line, the lead British units were close behind the French forcing occasional halts to hold back these lead units. The 3/2nd Legere paid the price for staying too long and broke in rout under successive volleys from Nightingales forward battalions. If this was not bad enough the 270 men of the 20th Light Dragoons charged over Rolica Hill and caught the French artillery limbered up ready to pull out. After a short sharp fight the guns were taken. The one glimmer of light for the French was that this fighting was also causing Allied casualties, something Sir Arthur was able to avoid. These were added to, when the 20th Light Dragoons charged on into the French position, and were met by French volleys that sent them back with less than half their original number.
 |
| The guns limber up with British light cavalry in hot pursuit |
 |
| The Swiss head for the ridge |
 |
| The Chasseurs fall back |
With the Allied troops in hot pursuit the battered survivors, two battalions of the 70th Ligne, the 4th Swiss and the 26th Chasseurs marched up through the defiles to prepare to resist the last three moves of the game upon the ridge. As this manoeuvre was carried out, the French cavalry was again forced to turn and try and hold back the British infantry. This time however they overstayed their welcome, and several well delivered volleys broke the unit.
 |
| The Chasseurs turn to delay the British pursuit |
 |
| The 70th Ligne evacuate Columbeira |
 |
| Entering on of the defile onto the ridge |
Now with only three infantry units left, but with two turns to resist, the French awaited the British attack. The first attempt came when the 1/9th from Hill's brigade attempting to infiltrate up though one of the flank gullies. The special rule for Colonel Lake's rash assault in the actual battle, came into play requiring the first British infantry unit to reach the ridge to roll a d6 with a 50:50 chance of them being ambushed on the march up. They were and losing a stand fell back to the foot of the ridge.
 |
| Colonel Lake of the 29th Foot killed at Rolica |
 |
| The Swiss defend the ridge on the Lisbon road |
With the first attack repulsed the British went for the Swiss holding the other flank gully. The Swiss were known to be unreliable, reluctant troops and they tried to surrender in the actual battle. To recreate their performance they were rated as Raw and Insecure, and were required to take an Elan test when receiving their first charge. Failure would result in their surrender.
 |
| Hill's lead battalion climbs an undefended pass |
As the British approached, the Swiss opened with a tremendous volley, causing six hits, however, being the poor quality troops they were, they had to re roll their hits, reducing them to two, which the British saved!!
The 50th foot seeing this gave a cheer, lowered their muskets and charged. This was too much for the Swiss who promptly threw down their muskets and surrendered. Game over in turn 11, a close run thing. The British had clearly won and broken DelaBorde's force, but had the cost been higher than Sir Arthur's casualty bill.
 |
| The British in headlong pursuit scent victory |
The French were awarded 3VPs for each allied base destroyed even if subsequently rallied and returned to battle, of which 8 were. These totalled 15 bases, three times the casualties Wellesley suffered and easily cancelling out the British taking the ridge and breaking the French force, all of which Wellesley achieved at less cost. So leaving the British with a Phyrric victory at best.
More importantly was it a good game. Well we all enjoyed ourselves, and the rules stood up to scrutiny with them being new to most of the players.
Thanks to Ian, Jack, Ollie, Charlie and Gus for a fine afternoons entertainment. I will be running the same scenario in a few weeks time using Carnage & Glory computer rules and will post a report on
JJ's Wargames Blog