Between Christmas and New Year the Devon Wargames Group relocates to North Devon and under Chas Carter our North Devon Gamiester we like to indulge in a little frivolity. Last year we were in the Forest of Nottingham donning Lincoln Green and wearing tights. This year, to the soundtrack of nearly every Bond theme you can think of, we staged our own movie set up with a host of heroes and villains from the 60s and 70s.
 |
| There is only one Bond and he's still the best, played by Nick |
Our rule set for the day was 7TV by
Crooked Dice Company which played perfectly for a large group of players many of us unfamiliar with these rules.
 |
| Jack Lord before Hawaii Five 0 as Felix Leiter played by JJ |
 |
| Brigadier Lethbridge Stewart of UNIT, played by Everett |
 |
| Ursula Andress as Honey Rider played by Nick |
 |
| The Ninja captain played by Will |
 |
| Donald Pleasence was the best Ernest Stavro Blofeld played by Vince |
 |
| Hugo Drax played by Chas |
 |
| Rosa Kleb deadly with a size 4 played by Tom |
 |
| Odd Job played by Vince |
 |
| Jaws played by Vince |
 |
| Scaramanga "I only need one shot" played by Steve M |
So with our cast of characters set, its cameras and action!
The story has reached its climactic end with Bond, the CIA, local Devon Ninjas and UNIT about to launch a combined surprise attack on Blofeld's secret underground base beneath Torquay Town Hall. It is here under the guise of his front company TorGaz that the evil leader has explored for shale gas in the local area but has in fact developed a secret missile launch pad, which will deliver an Ozone destroying rocket to explode over London thus driving up property prices outside of the capital and thus increasing the value of Blofeld's South West property empire. You couldn't make it up!!
 |
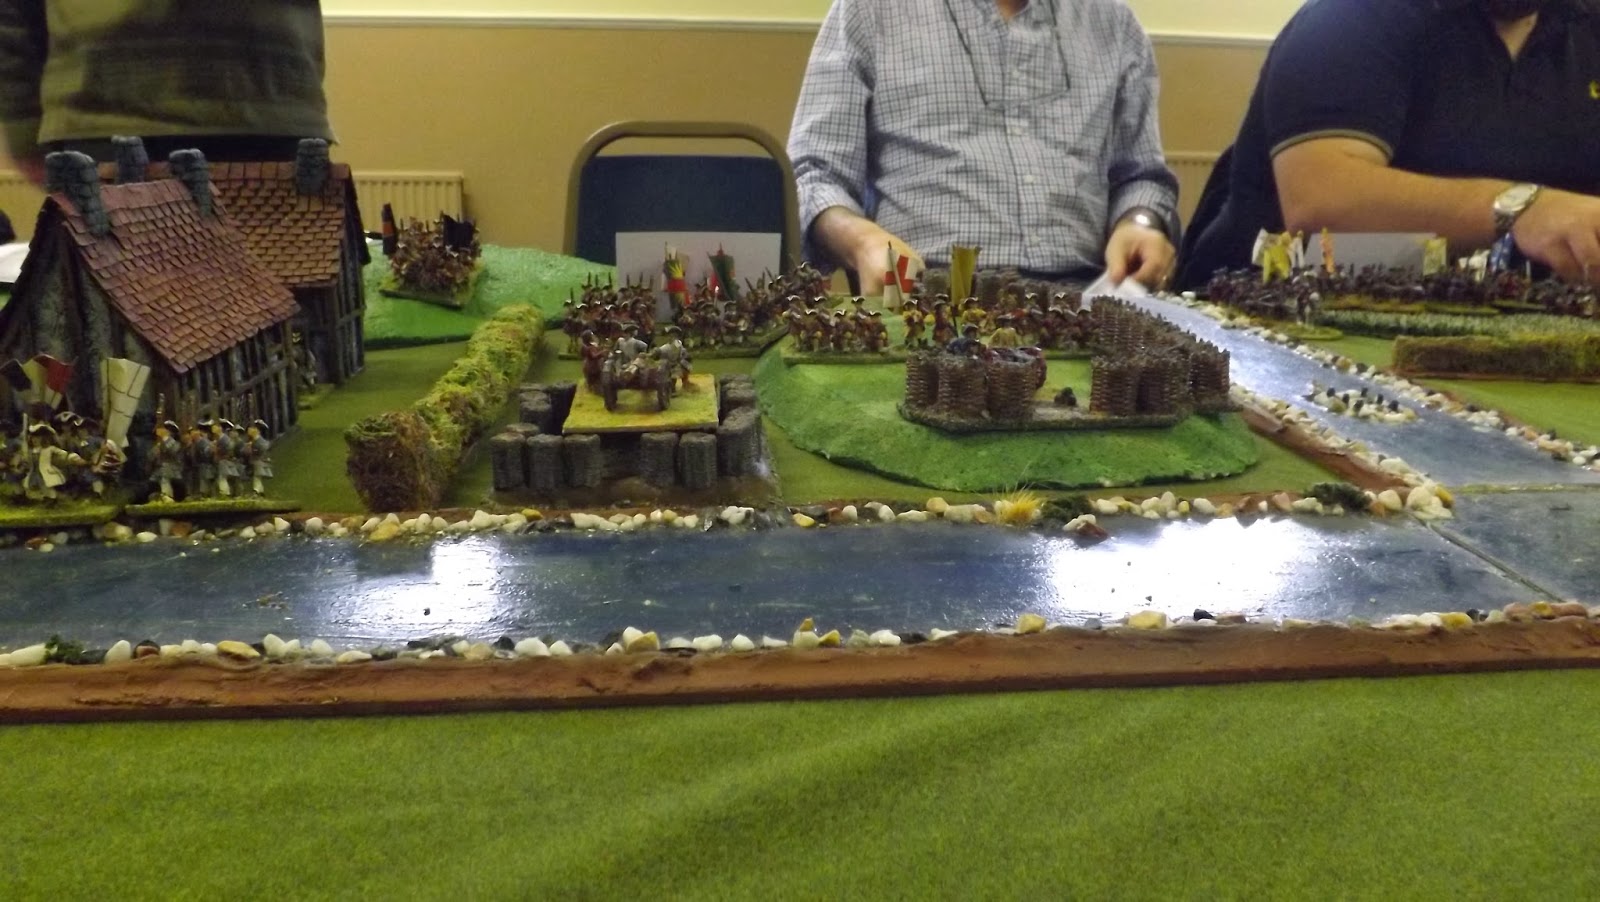
| A base very similar to ours |
 |
| On set, some of the stars go through their lines with actor/director Chas |
 |
| The OZONE rocket on the launch pad |
 |
| View from the control room |
 |
| The Security room and lockers |
All was well as the tannoy announced the launch sequence and requested Kleb and Scaramanger to check the secruity at the main entrance and in the generator room. Blofeld and Drax seemed unconcerned as the rocket launch crew proceeded to their stations.
 |
| Something was up! |
 |
| Blofeld, Jaws and Odd-Jobb look concerned |
Suddenly the sound of gunfire erupted from the generator room as the Ninjas commenced their attack. Unfortunately these Devon Ninjas had been trained by Miss Piggy and they turned out to be a right bunch of Muppets. The guards seemed to have things under control as Rosa Kleb entered the room and assessed the situation.
 |
| Suddenly the alarm sounds |
 |
| The Ninjas attack without warning in the generator room |
 |
| Ninja action |
The fight with the Ninjas swung backwards and forwards with Kleb getting stuck in literally.
 |
| Rosa Kleb joins the fight with the Ninjas |
With gunfire echoing in the rocket launch chamber, Bond made preparation to break out from the security room.
 |
| Bond held prisoner with Honey Rider and other local community leaders plans his escape |
Meanwhile, the CIA undercover agents led Felix Leiter and his men into the base under the ruse that they were prisoners. The guard on the door became suspicious and his conversation drew the attention of Odd-Job and Jaws.
 |
| Felix Leiter and the CIA infiltrate the base. Odd-Job and Jaws are suspicious |
As the fight in the security room kicked off with Bond and his group, the CIA team made their move and opened fire on the guard, Jaws and Odd-Job, wounding Jaws with a shotgun.
 |
| Bond makes a break for it while Honey Rider deals with the guards |
Suddenly the main doors were blasted open as the UNIT assault team burst into the rocket hall, firing bazooks and machineguns as they charged. The defenders led by Scaramanger returned fire and several UNIT men fell. These guys had fought Cybermen so would not be easily stopped, but both sides were firing gas bombs which caused disruption to both groups as men were overcome by the noxious fumes.
 |
| Suddenly UNIT burst in through the main entrance as the roof doors slide back |
The fighting in the base was a war of attrition as the heroes on each team struggled to destroy the enemy and gain ascendancy, whilst Blofeld kept his guard close by in the control room and focussed on lauching his rocket. Would Bond and his allies be able to stop the relentless countdown?
Suddenly the lights and power were down, Will the Ninja captain, had dodged Rosa Kleb and her men and reached the generator control shutting down the power and stopping the launch sequence. Blofeld screamed into the tannoy with rage for the power to be reconnected. Meanwhile the fighting was now in the dark, and torches were in demand.
 |
| Scaramanga holds off UNIT |
The power out helped the CIA team to dodge the counterattack by Jaws and Odd-Job all though two of their number were felled by the bowler hat. Felix Leiter charged the two guards on the door and fought his way in, keeping them occupied as Bond made his exit with Honey Rider and a foxy looking Science officer carrying what look like a bomb.
 |
| Felix deals with Bond's guards |
Meanwhile outside an heroic CIA man kept the A team of badness at bay as Bond found his way to the control room dispatching several guards on route.
 |
| CIA man holds off Odd-Job, Jaws and the guard |
Blofeld oblivious of the threat that loomed as Bond entered the control room focused on the launch sequence as the power came back on.
 |
| Blofeld issues order over the tannoy |
Bond's accuracy with his shooting quickly overcame Blofelds guards (which was more than we could say for Scramanger - Steve was having a mare of a day with the dice gods) and Honey Rider and the Science Officer moved to place a bomb on the launch control and set the timer to three pips on a d6. Strange bomb but there we are!
 |
| Suddenly Bond is in the control room |
Blofeld looked cornered as Bond closed in, but suddenly Bond remembered his cat allergy and too late, Blofeld was gone as he recovered from the inevitable sneeze.
 |
| Hugo Drax tries to stop the bomb |
As Bond and the girls looked to evacuate the control room before the bomb went of, they were forced to retreat as Odd-Job and Drax closed in. One of Bond's gunmen was hit by the bowler hat and his blood spattered all over the bomb.
This had severe consequences, for as Drax went to pick up the bomb and throw it from the control room, it slipped from his hands (he rolled a one). He tried again, surely he would save the launch this time, but no, the bomb slipped from his grasp yet again (he rolled another one) and bang the bomb went off destroying the control panel and stopping the launch. Drax and Odd-Job were on the floor stunned by the blast.
 |
| It's too late, Drax and Odd-Job are caught in the blast |
In the meantime Rosa Kleb had finished off the remaining Ninjas, only top fall in a hail of bullets as UNIT entered the generator room and, seeing the power switch board, quickly set a charge and destroyed the system once and for all.
 |
| UNIT destroy the generator to ensure the launch is stopped |
As the smoke cleared, Drax and Blofeld slipped away to their emergency pedalo and made their way out to sea and the safety of Brixham where their seaplane was moored. London and the national property price imbalance was saved for the nation. Bond had done it again!!
Thanks to Chas for what has to be the most laughs generated in a game all year. The laughing never stopped and the Bond puns were ongoing as Nick, our James Bond, sent his two female heroines ahead of him as he entered every room. All the CIA men were killed except who survived his encounter with Odd-Job and Jaws Thanks also to Nick, Vince, Everett, Steve M, Tom and Will my fellow co stars for a great day.
The Devon Wargames Group wishes everyone a very happy new year and looks forward to more wargaming fun in 2014


_(lighter).jpg)


