Showing posts with label Kiss me Hardy. Show all posts

Sunday, 10 November 2024

Action off Toulon, June 1795 - Kiss Me Hardy

HMS Lowestoffe - Derek Gardner

Kiss Me, Hardy (KMH) made a return to the table at club this month following the completion of my Camperdown collection in October and a warm-up game with it back in March when we recreated part of the battle and the attack by Rear-admiral Onslow's Leeward Division on the rear of the Batavian-Dutch line, link to that post below

The plan and panorama brought to life on the table as the battle commences.
Devon Wargames Group - Camperdown, Attack of the Leeward Division

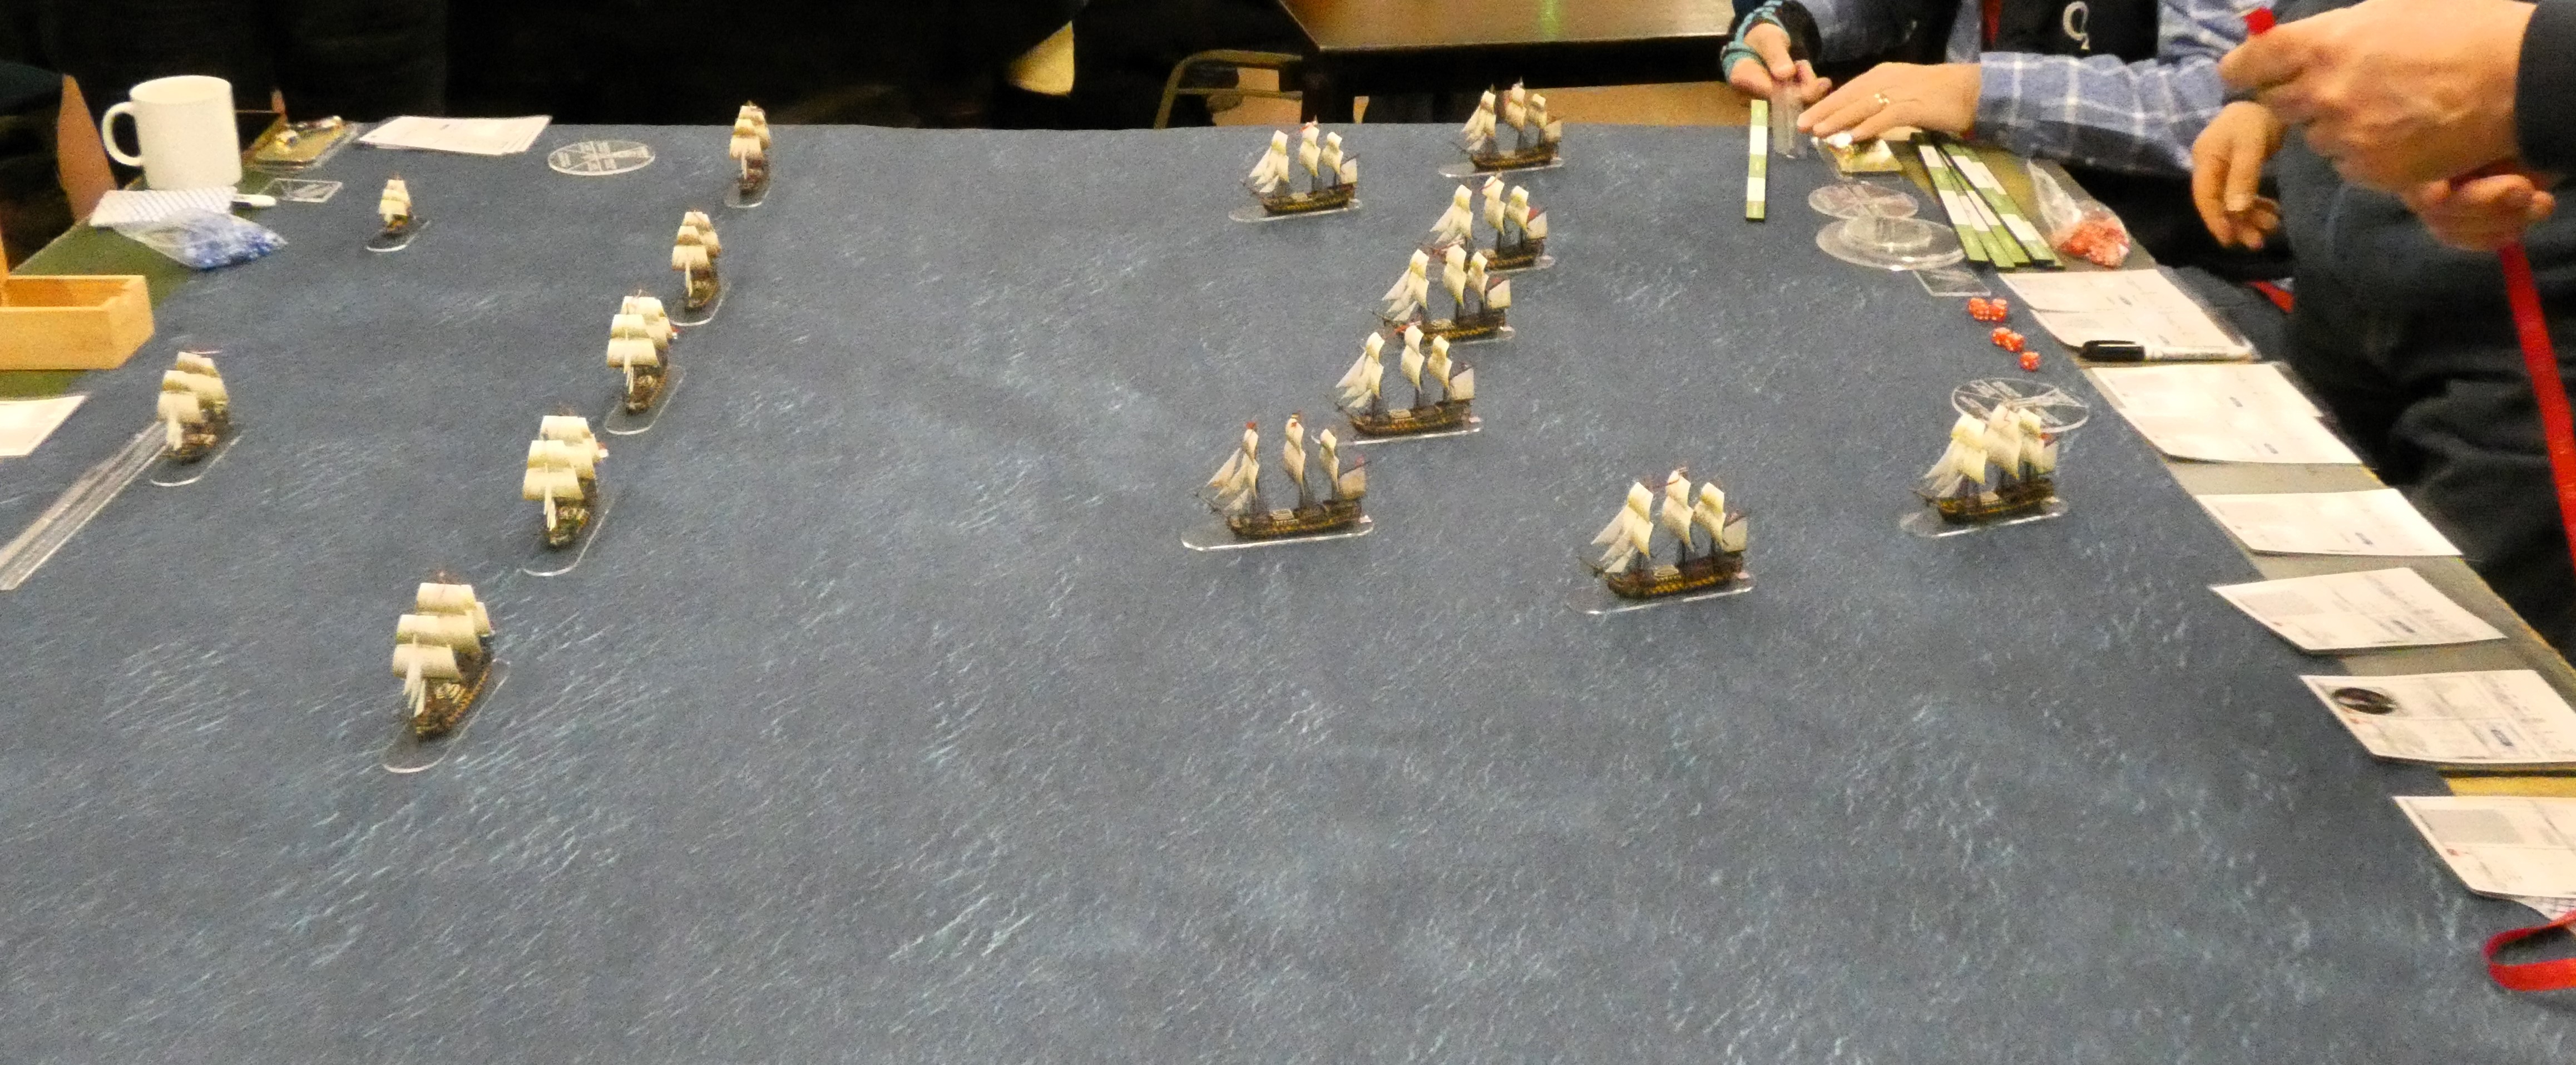
This time we were playtesting Scenario 21, one of a hundred single-ship, small squadron engagements I have been compiling, with this one taking the players back to the summer of 1795 in the Mediterranean as the British and Revolutionary French navies struggled for supremacy in the Eastern Mediterranean as the latter attempted to frustrate French naval support to their land forces operating against British allies, the Austrians.

William James in his Naval History of Great Britain Vol I picks up the account of this specific action that took place between the two fleets operating bases of Port Mahon in Minorca for the British and Toulon for the French.


In the month of June Admiral Hotham, while cruising with the British fleet off the Island of Minorca, received intelligence that the French fleet was at sea. To ascertain the fact, the admiral, on the evening of the 23rd, detached the 28-gun frigate Dido, Captain George Henry Towry, and 12-pounder 32-gun frigate Lowestoffe, Captain Robert Gambier Middleton, to reconnoitre the road of Toulon. 


On the 24th, at 4 a.m., latitude 41° 8' north, longitude 5° 30' east, these frigates, standing close hauled on the larboard tack, with the wind at north-north-west, descried approaching them, nearly ahead, the French 40-gun frigate Minerve, Captain Perrée, and 36-gun frigate Artémise, Captain Charbonnier, which frigates, by a singular coincidence, had been ordered by the French admiral to proceed off Minorca, and ascertain the truth of a rumour that the British fleet was at sea.


The action on the 24th June 1795, would see the Minerve and the Artémise engage the frigates HMS Dido and HMS Lowestoffe, resulting in the Minerve surrendering to the British, and her consort Artémise escaping having fled, with the former later commissioned into the Royal Navy as HMS Minerve.
 

The set up for this little fight is recounted in James' history, and the scenario picks up from where the two French ships who had originally run from the encounter, hauled up to await their pursuers, seemingly having observed their inferiority to themselves and confident of a positive outcome in their favour.

Captain Perrée and the 40-gun Minerve leads her consort Artémise with the British seen on the starboard bow.

Thus the British have the wind gauge with both forces on a course to intercept one another and bring on the fight.

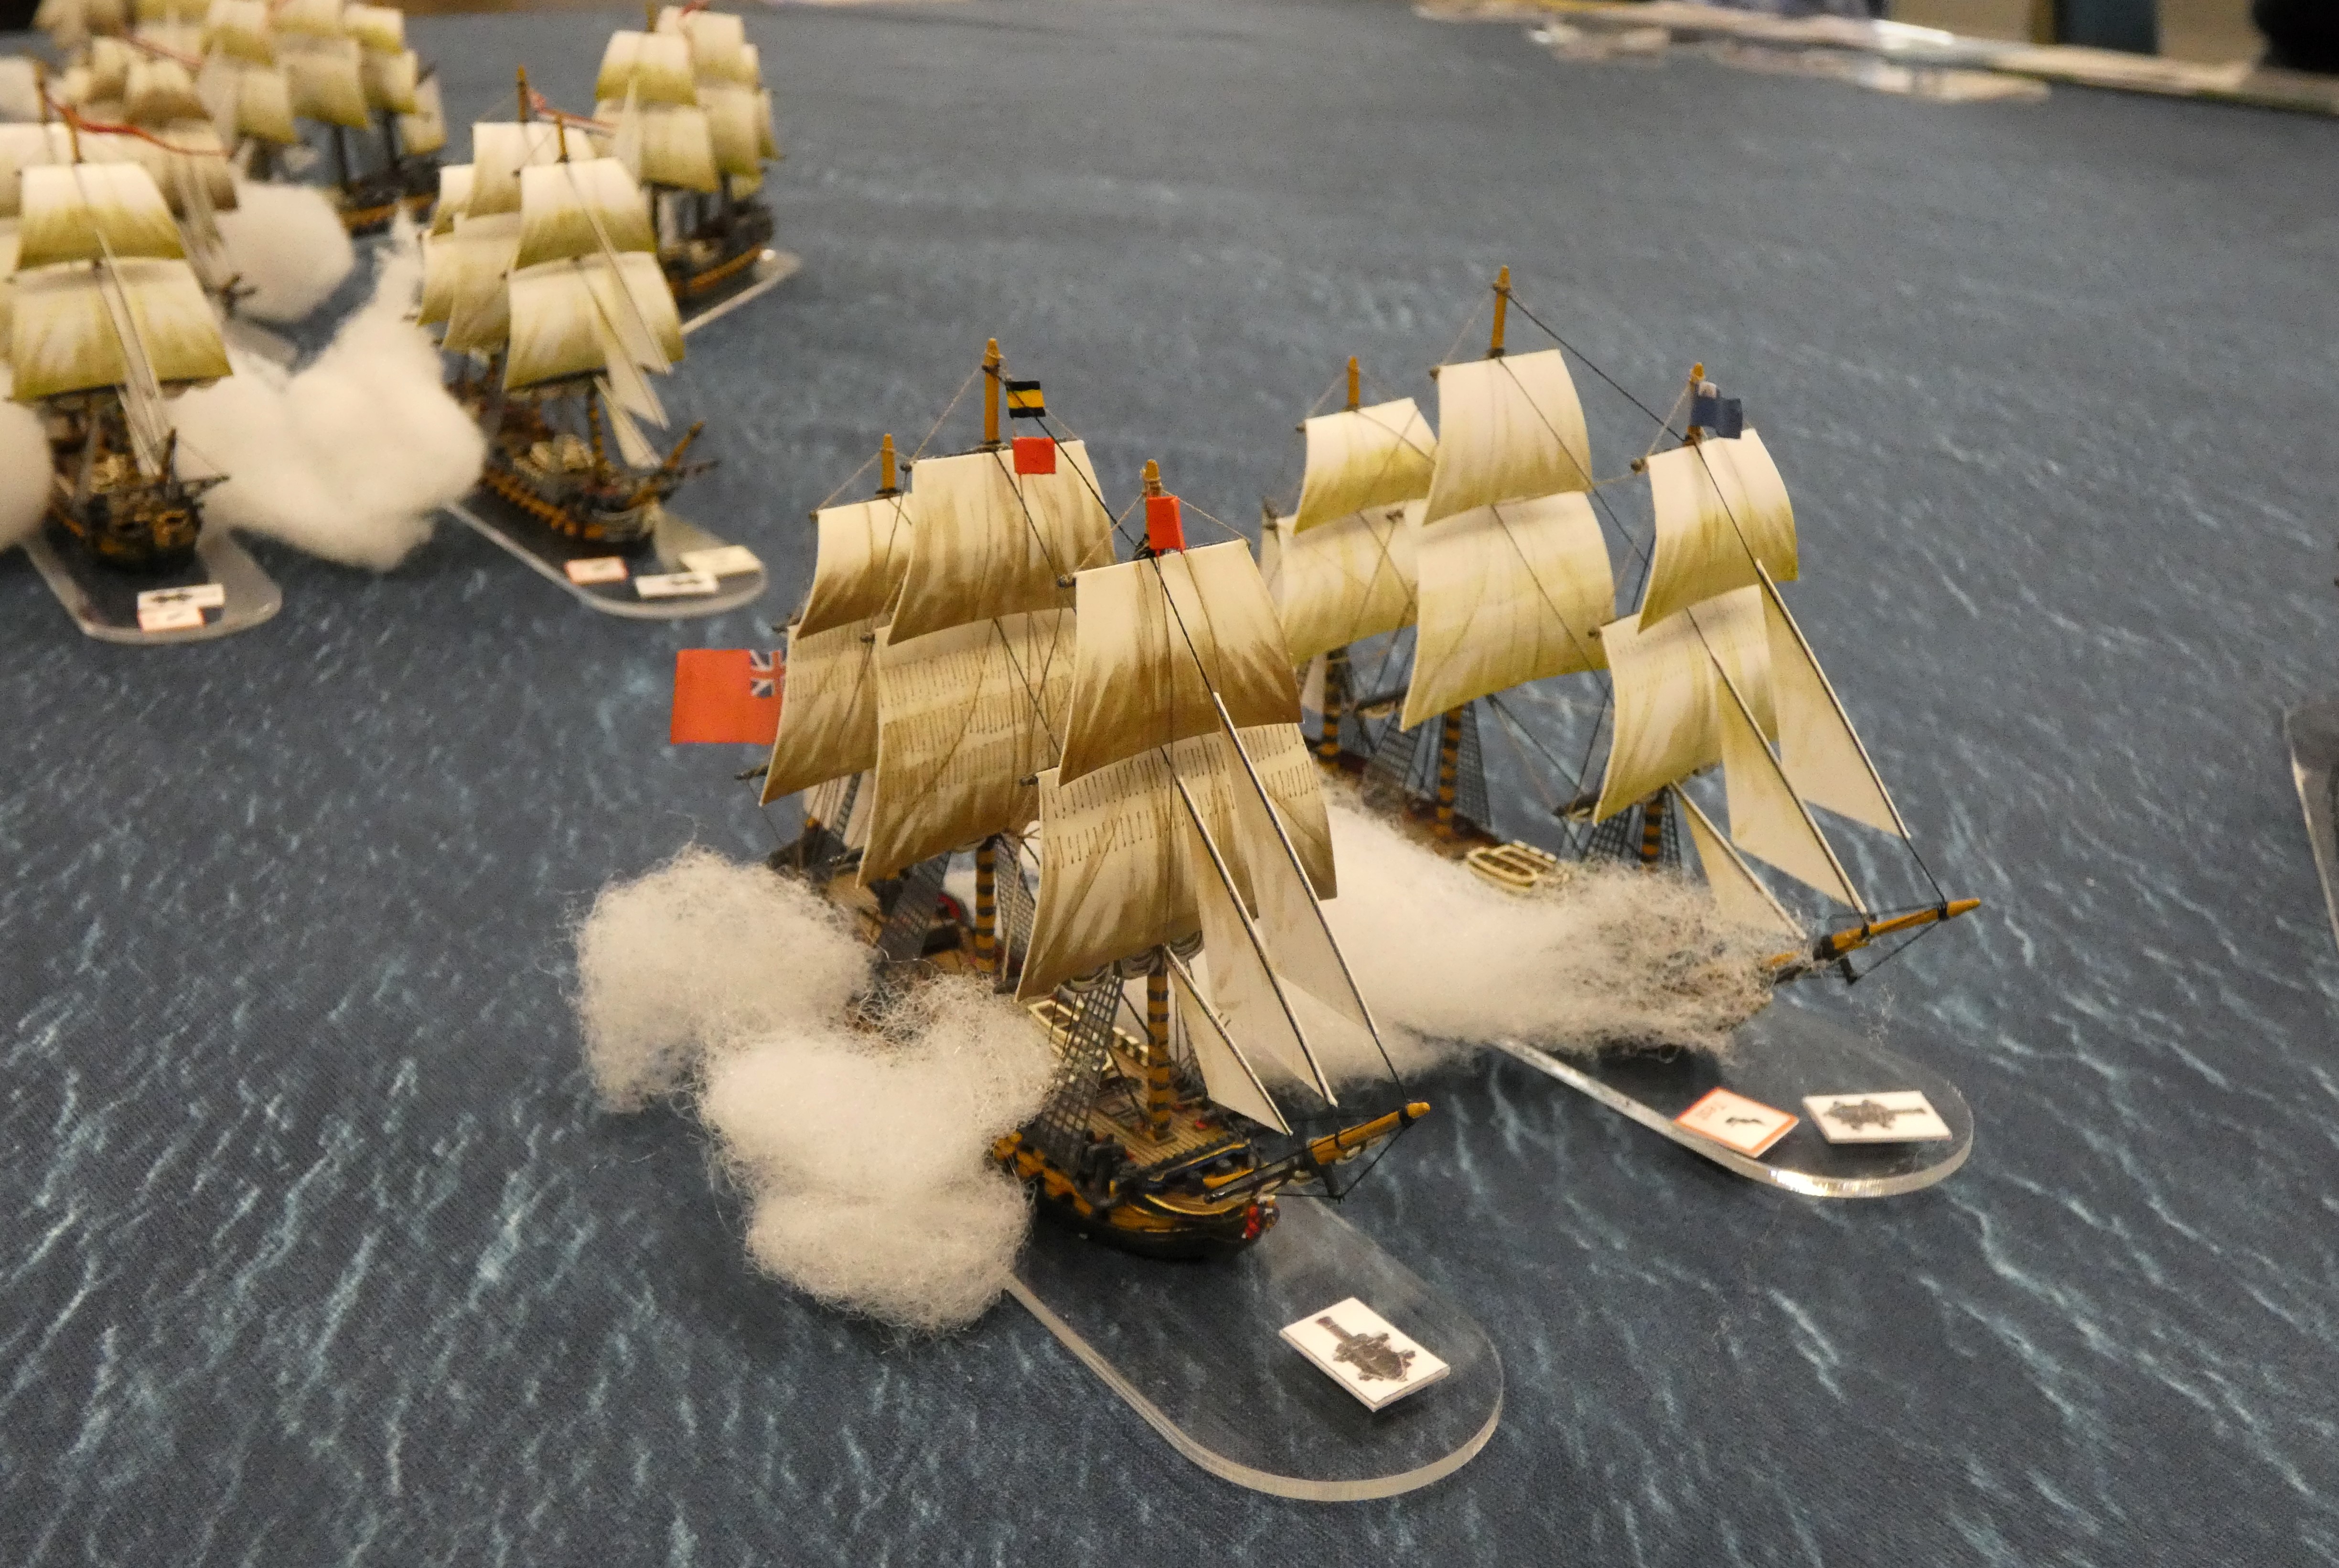
Likewise the British are set up in line ahead and at quarters 

For these smaller fights I prefer to use the order cards for each model as well as the standard chit draw mechanism in KMH, that requires individual commanders and their respective models to have course orders issued prior to the activation chits being drawn.
  
The KMH system of issuing an order for the model to travel straight, turn to starboard or larboard or tack, with a face down card only being revealed when a model is activated to move.

This simple system of issuing an order for the model with a face down card directing it to travel straight, turn to starboard or larboard or tack, commits the player to that move without knowing what the opposition has ordered, coupled with the move sequence governed by the chit draw adding yet more uncertainty.

The opposing squadrons, with the French still in line ahead, but with the British now acting independently have moved into gun range and have opened fire. Note the order card for Lowestoffe, the rear most British ship is still face down, she not having moved yet but having fired her bow chasers.

Thus the players find themselves forced to anticipate what an enemy commander will do in the next turn, not knowing who will move first, who will fire first or indeed how far a vessel will travel in a given turn, but instead only having a vague idea of the possibilities to work with, very much like their historical counterparts would have had to contend with during a real sea fight.

The Dido furthest left has managed to position herself outside the arc of fire of the Minerve, leaving the latter to open her account with an extreme-range broadside against the Lowestoffe's rigging, which has returned the salute with her bow chasers.

With the players briefed on the historical setup but not the outcome, the two squadrons contented themselves to spending the first couple of moves moving in line ahead, with the lead ship dictating the course and her consort simply following and maintaining station.

The next turn and Minerve has managed to cross the 'T', now engaging the Dido with a medium-range broadside to her hull and getting a similar salute from Dido's bowchasers.

However on turn three the lead British frigate Dido signalled Lowestoffe to act independently and course orders were issued by the respective players with no coordination permitted between them until they reformed. This happened to correspond with the Lowestoffe coming into the arc of fire from Minerve at extreme range and the Frenchman opted to open a broadside against the enemy frigates rigging, bringing down several spars in the process, prompting return fire from the British bow chasers that missed.

The British have still to move as indicated by their orders cards face down by the models

In the next turn, about twenty minutes into the action, the Minerve managed to cross the bows of the Dido, at medium range this time opting to put round shot in the enemy's hull, again prompting a response from the enemy bow chasers and suffering slight damage in return, with the French opting to stay in line ahead as the British approached bow on.

With Dido now within range to pass between the two French frigates the next turn would be critical as to who got the drop on the other, namely would the Minerve open fire again before the Dido had moved and then move away from a possible stern rake or would the Dido do just that by placing her broadsides against both French frigates in the gap that loomed ahead?

Captain Towry takes full advantage of the fortunes of war to stern rake Minerve at short range 

Britannia would not be denied and Captain Towry took full advantage of the opportunity as his 'move' chit came out before that of the Minerve to reveal his orders to move straight ahead, soon followed by his 'fire' chit which found the British frigate squarely across the Minerve's stern gallery in a perfect position for a stern rake duly delivered at short range, leaving the French man on a strike test to go with the damage done to his hull. 

Artémise fires of her starboard battery of guns against the fast approaching Lowestoffe causing a small fire to go with the damage inflicted.

Meanwhile the Artémise following in her wake made a ineffectual attempt to support Minerve by firing her bow chasers against the Dido, but made much better use of her starboard battery of guns as she loosed off a medium range barrage against the fast approaching Lowestoffe that caused a small fire on board the British frigate.

The game was producing swings of fortune in each turn as each side strove to get into a commanding position and pull the fight in their direction, with the larger French ships relying on their greater size and ability to soak up punishment to outweigh the better fighting attributes but less sturdy British opponents.

The Minerve is adrift, top left, having struck last turn and the Lowestoffe, closest to camera, has just fired a point blank broadside into the larboard quarter of the Artémise knocking out all the remaining guns on that side and bringing down the Frenchman's mainmast with a devastating critical hit result

The next turn, with our battle closing in on an hour of hard fighting, provided the first indication of who would get command of the situation as the Minerve looking to continue the fight but required to check her morale after being stern raked by HMS Dido faced a 'strike test' chit early in the move.

The damage had been chastening but not overwhelming and the Minerve with her large crew and hull still had a positive morale rating of 75%, meaning any die score at or below that number would keep her in the fight, that was until the dice settled at the bottom of the tower to reveal a score of 77% and thus she hauled down her colours to await a British boarding party.

Captain Charbonnier and the Artémise are assailed from both sides as the Minerve having struck drifts close by impotently. 

Captain Charbonnier aboard Artémise was stunned to see his comrade haul down his colours and, making preparation to abandon the fight and attempt to flee the table, was assailed from two directions as the Dido grazed his starboard bow and fouled his ship, and the Lowestoffe, having extinguished her fire poured in a devastating broadside at point blank range on her larboard quarter knocking out her remaining larboard guns and bringing down her mainmast in the process.

The resulting boarding action initiated by Charbonnier seemed to be the right response as his crew narrowly won the first attempt to get over the bulwarks of the Dido and take the fight to the British, but in the next two rounds of combat they were driven back by the Dido's and on to their own lower deck as the Lowestoffe kept up a remorseless barrage on her defenceless larboard side in support of the melee that had its inevitable result as the Artémise hauled down her colours with her morale rating reduced to a mere 25% of its original rating.

My two new Turner Miniatures 3D printed French 40-gun frigates Virginie (right) and Coquille (left).
JJ's Wargames - French 40-gun Frigate Virginie
JJ's Wargames - French 40-gun Frigate La Coquille
The next time I run this scenario I aim to do it with more appropriate models.

This scenario produced the game I had hoped for with two evenly matched sides pitching the larger or equal French frigates against two similar or smaller but better quality opponents and giving me the opportunity to run out my two new Turner Miniatures 3D printed French 40-gun frigates Virginie and Coquille for the first time, but sadly with the Coquille and my two British imposters, as I am still to build my new 32 and 28 gun British opponents and a French 32 in post 1794 colours which are in the shipyard as I type.

All the models are kitted out with Warlord Games, Black Seas boats, masts, sails and in some cases figureheads.

Capture of La Minerve by Thomas Whitcombe

Thanks to Ian, Gavin and Paul for producing a very entertaining and well played game, with bags of drama and laughs, and with Gavin and Paul new to the club and to Kiss Me, Hardy.

JJ

Saturday, 16 March 2024

Camperdown, Attack of the Leeward Division - Kiss Me, Hardy.


The previous six months has seen me focussing on building the British and Batavian Dutch fleets that fought the Battle of Camperdown on the 11th October 1797 in 1:700th scale using the range of models from Warlord Games' Black Seas collection.

JJ's Wargames - All at Sea, Battle of Camperdown - Project Build, Part Six

As well as documenting the progress of this project build on my personal blog 'JJ's Wargames' I have been keen to try out ideas for playing the battle with a new set of fleet rules, 'Far Distant Ships' (FDS) by David Manley whilst also preparing the option for using the tried and trusted Kiss Me, Hardy (KMH) rules where time permits to play a longer game.

JJ's Wargames - Battle of Camperdown - The Leeward Division Attacks, Far Distant Ships

You can follow the progress too-date with the project build and the recent play-test of FDS in the links above.

My original plan was to try out some other ideas with FDS at club, but with the number of folks wanting to play and keen to keep everyone involved, something my current collection using FDS would struggle to do, I opted to play the same scenario recreating the attack on the Batavian rear by the British Leeward Division, seen in the illustration and map below, using KMH to compare and contrast the games those rules will produce.

A primary document illustrating the developing British attack on the Batavian line at Camperdown, with our game focussing on the attack of the British leeward division as highlighted

The set up uses the ships identified in the plan below. leaving out the British fourth-rate Adamant, not really needed given the superiority of the British force, or any of the British light ships for that matter.


The plan illustrating the primary ships involved in this battle within a battle at about 12.30 on the 11th October 1797.

The table below illustrates the set up, with the Batavian rear, drawn up in line of battle to the left, with the 40-gun frigate Monnikkendam and the 16-gun brig Daphne acting as a second line and ordered to engage any attempts by the British to penetrate the battle-line.

On the opposite side are the British leeward division led by their flagship HMS Monarch 74-guns bearing down on the enemy line in line abreast (well sort of), not quite in 'Spithead Review' order given the necessity placed on them to close with the enemy quickly to prevent them from edging into the shallows beyond, that would better enable the more shallow drafted Dutchmen to escape battle.

The plan and panorama brought to life on the table as the battle commences.

As in the previous game the Batavians were accorded the benefit of superior gunnery given the training they had indulged in whilst blockaded in their home port of the Texel, in this game fighting as 'San Culottes' under KMH to reflect their lesser sailing abilities compared to the British but with their gunnery upped by one class, thus for example seeing an Average Sans Culottes crew firing as an elite crew.

The view of the approaching British from the deck of the frigate Monnikendam, with closest to camera Cerberus 68-guns, with following the flagship Jupiter 74-guns, the Haarlem 68-guns and the Alkmaar 56-guns.

Similarly, to reflect the Batavian captains reports of having to close lower gun ports on the leeward side because of the effects of the wind, we had them test prior to firing their leeward guns for said effects with a simple die roll that would see ports closed on a score of 1, 2 or 3 and a partial broadside resulting. 

The Batavian line maintains its heading and holds its fire as the British bear down.

For the British, we played a test to see if captains would obey the signal to pass through the enemy line to leeward with a D6 test, with ships failing on a 1 or 2, the Monarch on a 1, for which a failed test would see the affected ship turn away and engage their opponent on the windward side.

The infamous Captain John Williamson

In addition we had the 'battle-shy', Captain John Williamson, commanding HMS Agincourt 64-guns, modelled by having said ship turn away to windward once withing medium gunnery range, only able to come closer to any enemy vessel that had struck previously. 

HMS Monarch opens the British account with a daring short range bow-chaser pop at the Batavian flag ship Jupiter 

With a quartering wind the British barrelled along, to come within short range in about three turns of play, with the Batavians holding their fire, not able to take advantage of the normal Sans Culottes advantages of firing at the rigging, as this was not in their doctrine, with all the added bonuses better suited to firing into British hulls instead.

It was not long in coming, as the Jupiter acknowledged the British salute with one of her own 

With some contempt, the two British 74's, Monarch, and Powerful closed to short range with their bows pointing at Batavian broadsides yet to open fire, gambling that the next opportunity to fire would see the appropriate chit drawn after the ships concerned had moved away presenting their stern galleries for a following rake.

As if to underline the contempt, the Monarch blasted the Batavian flagship, Jupiter, with her brass bow-chasers, only to get a full salute back at short range, the gamble having not quite paid off.


The Monarch got off comparatively lightly with the Jupiter failing to convert a critical hit result to add to the pain of her initial broadside, easily shaking off the resulting strike test for taking a bow rake on her approach.

However the Powerful wasn't so fortunate, taking a well directed broadside from the Haarlem following the Jupiter that caused severe damage with a critical hit resulting in high officer casualties that also saw Captain O'Bryen Drury killed, (I include a test for captain's being killed or wounded whenever a ship get's a 'high officer casualties' result from the critical hits table, thus adding to the narrative of the game) well illustrating the respect needed for Batavian gunnery.

The two flagships Monarch and Juno dishing out the short range broadsides with the Batavian ship carrying a strike test marker

The two leading British third-rates heralded the wave-like attack of the British line as one by one they passed their test to pass through the Batavian line issuing passing stern and often bow rakes to their nearest opponents that left the Batavian line reeling under this first fire, with the two fourth-rates, Delft and Alkmaar bringing up the rear amply illustrating the obsolescence of this rate to take its place in the line of battle, both having their helms shot away in critical hit damage that added to the hits already sustained.

The Powerful 74-guns goes broadside to broadside with Haarlem 68-guns, the latter out of control having lost her helm in the previous rake and both ships carrying red-bordered strike test markers, which both ships would subsequently fail to pass.

The passing rakes were leaving the Batavian line tottering on strike tests as their shattered ships decided whether they would continue to resist, with most passing the test but now having to face the contest fought out on their larboard side.

The two flagships began the contest battering each other at short range in a test of will as to who would concede first, that would see the Jupiter battered into submission over the next couple of turns, losing her main mast and half her guns as the Monarch's got into the rhythm of their gunnery to force the Batavian flag to strike

However the Jupiter was not the first ship to haul down her colours as Alkmaar grabbed that dubious honour, unsurprisingly coming off the worse with a close encounter with Captain Bligh's Director, but was swiftly followed by HMS Powerful, losing her fight with the Haarlem together with her bowsprit which coupled with the loss of her captain seemed to take the fight out of the British third-rate; failing her strike test on an asked for pass of 80% or less and rolling 91%!


As the Monarch and Triumph were entangled with their respective fights with Jupiter and Haarlem, the other British third-rates started to pass through the rearward ships of the Batavian line, whilst the Agincourt, true to form, swung away to a larboard course at medium gunnery range to run a parallel course with the enemy line.


Captain Bligh in the Director 64-guns came up in support of the struggling Powerful, pouring in a stern rake on the Haarlem as she closed to replace the Powerful, now struck and drifting out of the fight.

Behind the Director came the Russell 74-guns, Monmouth 64-guns and the Montagu 74-guns with the first two dismantling the Batavian 56-gun fourth-rates, Delft and Alkmaar with raking fire, causing the latter to strike almost immediately after the punishing fire destroyed her helm and knocked out half her battery of guns.


With the striking of the Delft, soon to be followed by the flagship Jupiter, the Batavians were still fighting hard but teetering on a break-off test, with another two strikes likely to cause those still under orders to make best course for the nearby shoals in the hope of shaking off any British pursuit.

The Cerberus 68-guns makes good her escape as the Agincourt stands off with the Monarch just off her larboard side overseeing the Batavian surrender

The end was not long in coming with the Delft striking soon after the Alkmaar after drawing the attention of both the Russell and Montague, with the former taking a broadside from the diminutive little Batavian 16-gun brig, Daphne trying to offer support to her struggling comrades.

The British attack reaching its climax with the Montagu, Russell and Monmouth battering the two Batavian 56-gun fourth-rates Alkmaar and Delft as they prepare to pass through their line

There are not many historical sea fights involving ships of the line and the smaller fifth-rates, sixth-rates and lesser vessels exchanging fire, with notable exceptions such as the Battle of the Nile when the 32-gun French frigate Sérieuse unwisely opened fire on the British 74-gun third-rates Goliath and Orion, with the latter reducing the frigate to a smoking wreck with a single close broadside in response.

Likewise the Battle of Camperdown was a notable exception, with the Batavian light ships used as a second line to support their main battle line, with one of the Batavian brigs reported sunk in British log books from the battle after receiving return fire.

The Batavian brig Daphne 16-guns opens fire on the 74-gun Russell.

The fire from the Daphne barely scratched the hull of the Russell, however the same couldn't be said for the Daphne as the 32-pounder shot shredded the hull of the brig, leaving a floating mass of matchwood and sealing the defeat of the Batavian rear with just the Cerberus 68-guns and the frigate Monnikendam 40-guns able to escape the table, leaving the British leeward division free to lend their support to the more hard-pressed windward division under Admiral Duncan further along the line of battle.
 
The British division victorious with five Batavian prizes to secure, and the Powerful now able to honourably run up her colours and make repairs. The escaped Monnikendam can be seen off table to the right, and the furthest Batavian third-rate Cerberus is making good her escape unhindered by the Agincourt on her larboard quarter.

As is my usual practice with my games using KMH, I like to record the damage the players capture on their ship record cards, which help to underline the outcome of any tabletop action and the narrative created, by the damage inflicted on the respective fleets.

The Russell 74-guns, closest to camera, lowers boats to rescue the survivors of the sinking Daphne, now struck, whilst the two surviving Batavians break contact.

The Batavian flagship Jupiter's Ship Record Card (SRC) seen below is illustrative of the battering received once the British opened fire at short range often starting with a stern rake and finishing off the job in another two turns of battle with short range broadsides, her opponent being the British 74-gun Monarch.

The Jupiter battered into submission by Monarch's close range fire.

On a 35% strike level the Haarlem rates as carrying medium damage to her hull principally caused by the stern rake from Triumph and the follow up fire from Director, which also left her without helm control.

As with Jupiter, the hull of the Alkmaar is absolutely shattered, easily explaining her decision to strike.

Like her sister fourth-rate, the Delft is equally battered, losing her mizzen mast from the passing stern rake.  

The brave, perhaps foolhardy little brig Daphne illustrates why unrated vessels should refrain from tackling anything much larger than a small sixth rate, that alone a British 74-gun third-rate.

The Monarch made short work of the Jupiter once she had passed her stern, taking most of the damage recorded here from a bow rake by the Batavian in her approach 

The Powerful carries the damage from her bow rake received from the Haarlem which left her captain dying and impacted on her ability to rally from the subsequent strike test.

Captain William Bligh, referred to by his crew behind his back
as 'the Bounty Bastard', not renowned for his 'man-management'
skills, if his captaincy of HMB Bounty and later short lived
governorship of the penal colony in Sydney are illustrative,
but his performance at Camperdown, showed initiative and determination

The aggressive Director led the charge against the two rearward Batavian fourth-rates, bow raking the Alkmaar, and stern raking the Haarlem as she came up to relieve the Powerful. Her hull damage and lost main-mast illustrates the fight put up by the Haarlem, already victorious over the Powerful, and perhaps the star performer in the Batavian line.

It was great fun reacquainting myself with KMH last played back in October at the NWS meeting in Yeovilton playing the Bantry Bay scenario.

Compared with FDS the game was very different, with KMH putting the players firmly on the quarterdeck of each ship under their command and not quite catching the same feel of playing at the level of an Admiral or Commodore created by the former. 

The result was the same, closely following the historical account if you overlook the striking of Powerful with both games giving a very strong narrative to the play with lots of drama and decision points for the players.

That said rules are indeed like golf clubs, designed for a specific job in mind, and FDS is a perfect compliment to recreating a large fleet action in a day of play, whereas KMH is perfectly positioned for squadron level and single ship actions despite our having successfully used it for Trafalgar, where it will give a very entertaining game for multiple players, but where FDS will, I think, give a better portrayal of the battle from the perspective of a senior commander.

Thank you to Ian, Ian T. Sam, Capt. Steve, Paul and Lawrence for creating all the fun and drama in what was a very entertaining game.

All the models are from the Warlord Games Black Seas range and the sea cloths from Tiny Wargames.

JJ