The final meeting of the Devon Wargames Group for 2021 took place this weekend with our annual one club big game in memory of a stalwart of the club and a very fine chap Gus Murchie, with last year's game sadly cancelled due to Covid restrictions, and so it was great to get back to our usual club business.
 |
| Gus |
This year's theme was to be WWII and set in Normandy recreating one of the big set piece British breakout offensives that came to characterise much of the campaign as the Allies fought hard to drive the Germans back from the Normandy beachheads.
With plans finalised in October following our Club AGM, our planning team, Chas and Jason, issued an alert order with the the briefing that follows and the club geared itself up for the big show!
Overview
This years game will simulate a British attempt to breakout from Normandy.
The game will cover several days of fighting, the initial British attack and the German counter attack.
British objective is to capture game table 4, German HQ, after fighting their way across Tables 1,2 and 3. German objective is of course to prevent the Brits achieving objective but to also take back tables 1,2 and 3.
In addition to the table top gaming, this game will introduce the the concept of resources. Resource Points enable players to move and do things, they should be considered to be fuel, ammo, organisation, communications etc. As in real life there will not be enough resources to do everything so it is up to the commander to work out priorities.
 |
| Our table plan for the upcoming offensive |
Game Sequence
The game is split into two phases, Day and Night.
The Day Phase consists of six turns, Night Phase only one turn.
The Day Turns are made up as follows:-
- HQ Commander's dice for “Resource Points”
- HQ Commander's allocates “Resource Points” to players.
- Artillery and Air force players allocate which table their assets will be committed to. Provided they have been allocate “Resource Points”
- HQ Commander's dice off to who has “Initiative”.
- Side with “Initiative” undertake Order of Play as on page 2 of the Rules. Note only those players with “Resource Points” may move bases and vehicles.
- Side with out “Initiative” now undertakes Order of Play.
End of Turn
The Night Phase is used to reorganise forces for next days fighting.
The following is undertaken:-
- HQ Commander dice for “Resource Points”.
- HQ Commander allocates “Resource Points”
- Players with “Resource Points” may withdraw units from game table and dice to recover men and vehicles. In addition they may move reinforcements.
Command Descriptions
Each player is allocated a command:-
HQ Commander. In charge of everything, they allocate “Resource Points”, allocate support units, tell other commander what they are to do, remove commanders who don't come up to mark.
ADC. He is the HQ Commanders eye's and ears he can also be sent in to take over command of tables or units.
Artillery Commander. Allocated tables for batteries to fire at. Will move to table during combats to throw dice etc.
Air force Commander. Allocated tables and operation for each aircraft. Will take aircraft to table and conduct attacks.
Battalion/Regimental Commanders. These are on the sharp end of the fighting. They are allocated a force and table. They are given orders and told to get on with it, while the HQ sit back drink coffee and eat goodies.
Game Objective
This is to tell you what has driven the design of this game.We have a lot more people in club and our more traditional games would not provide the interaction of players with each other. We hope this new set up will enable players to be more interested in the “big picture” and not just fighting the player opposite.
Oh and very importantly have fun celebrating our hobby and the year end.
Thus with the orders plan issued, the club began organising the forces with the rule set Rapid Fire Reloaded chosen as the rules of play, very much because of their fast play options and relatively low complexity to allow everyone to get going with them as quickly as possible.
 |
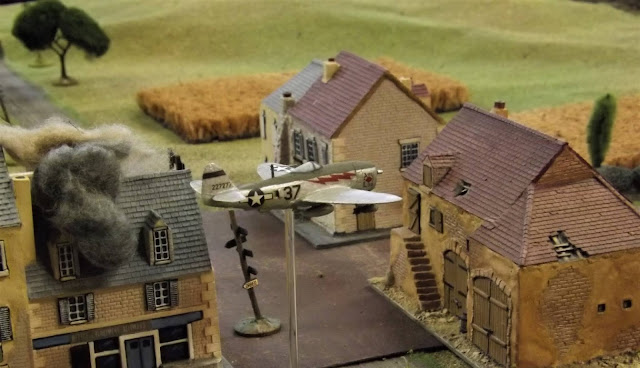
| Allied air support indulging in a bit of 'softening up'. |
The force lists included basic units for the on table set ups and a list of reserve formations that the respective army commanders could allocate to reinforce success on the various tables.
Examples of our start forces for the Germans and British can be seen below:
German Grenadier Regiment
Regt HQ 1 base, 1 Kubelwagon
1 75mm IG & tow
1 Pak40 & tow
4 Panzerschreck teams
1 FO base, 1 Kubelwagon
1st Battalion
Bttl HQ 1 base
1st Company 4 bases, 1 Panzerfaust
2nd Company 4 bases, 1 Panzerfaust
3rd Company 4 bases, 1 Panzerfaust
4th Company 2 MMG, 1 8cm mortar
2nd Battalion
Bttl HQ 1 base
1st Company 4 bases, 1 Panzerfaust
2nd Company 4 bases, 1 Panzerfaust
3rd Company 4 bases, 1 Panzerfaust
4th Company 2 MMG, 1 8cm mortar
British Armoured Regiment
Regt HQ 1 Sherman Command Tank
1 Sherman Dozer
1 Sherman OP
1 Stuart
1 Scout Car
1 Crusader AA
1st Squadron 2 Sherman and 1 Firefly
2nd Squadron 2 Sherman and 1 Firefly
3rd Squadron 2 Sherman and 1 Firefly
British Infantry Regiment
Regt HQ 1 CO base, 1 Carrier
FO Team 1 FO base, 1 Carrier
Carrier Platoon 1 base, 1 Carrier
Support Company 1 3” mortar, 1 6pdr AT Gun, 2 Carriers
A Company 4 bases
B Company 4 bases
C Company 4 bases
D Company 4 bases
 |
| The Devon Wargames Group, Gus Murchie Memorial Game 2021 |
Our table was a length way affair with more of the open terrain around Caen covered in ripe cornfields and the occasional orchard, perfect 'tank country' as dad would have called it, and so Jack took the lead with his sabre squadrons forward ready to shoot my infantry lads on to the target, namely the village which was our Phase One objective, before pressing on with Phase Two to break out off the far end in support of the final push into the German rear area.
 |
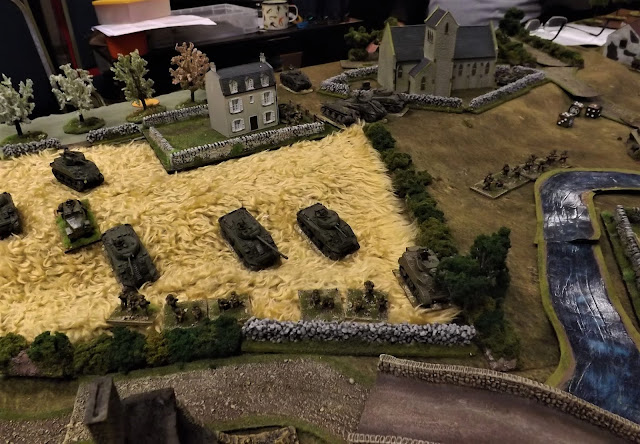
| British 25lbr support mixed with the infantry 3inch mortars hammers the village as the armour advances |
 |
| Massed British tanks rumble forward having crossed the river to their left the night before the attack. |
 |
| 'Jerry' would have a hard time stopping this lot! |
 |
| General commanding British I Corps (Steve M.), 21st Army Group hard at work in his admin caravan |
 |
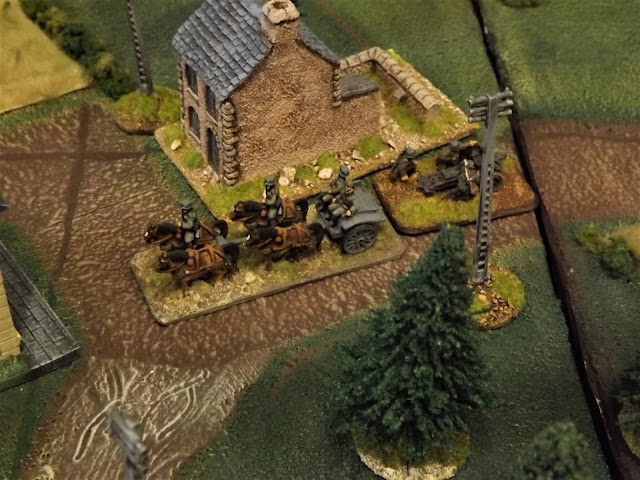
| The German rear area table, deceptively quiet when we flew over on our recce flight of the forward line. |
The right flank of the battle proved to be a real treat, going over ground very familiar to anyone who had the pleasure of playing Gus at perhaps his favourite period, Normandy WWII, and here with Nathan setting up Gus's old prepared boards and with models very familiar to me having painted and played with them before selling them on to Nathan. It's really great when collections stay with the club and we are lucky in that fact.
As on the left flank the right flank was a lengthways German defence in depth table but obviously closer to the American sector with more hedgerows lining the fields in this part of the French countryside likely to be lined with well dug in German defenders as seemed to be the case when we arrived.
 |
| Gus's former collection of models and terrain now with Nathan and nicely gracing our game |
 |
| A massed armoured attack was in full swing on the right flank when we arrived. |
 |
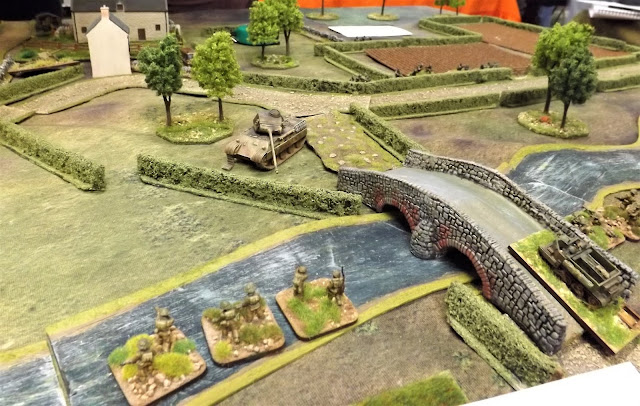
| German infantry were battling away from concealed position along the hedges lining the small roads on the right flank. |
 |
| Occasional German mortar fire dropped amid our lines as the advance pressed on |
 |
| As German POW's recounted, when the Luftwaffe were near, no one ducked, when the RAF was near, we ducked and when the US Airforce was near, everyone ducked! Button up boys this one is close! |
 |
| Allied air support was deadly, with the fighter bombers backed up by rear area bombing attacks by medium Boston bombers. |
On all the tables the pressure appeared to be taking a toll on the dogged German defences and the inevitable closely conserved assets started to appear to shore the situation up with the odd Tiger tank being spotted and warnings called out over the radio net - of course every enemy tank is a Tiger!
 |
| British infantry force a crossing of the river wary of the enemy minefield beyond blocking the road |
 |
| Now that definitely looks like a Tiger - Driver reverse!! |
Needless to say Turn Six was reached in good time and both sides had a chance to regroup in preparation for the return of day light and battle. This took the form of withdrawing damaged tanks into reserve and following an announcement of a successful opportunity die roll the chance to bring back knocked out and damaged tanks and lost infantry bases.
Sadly on our sector we only got the chance to resurrect our three tank losses, only managing to reclaim one of the damaged tanks, but with our two destroyed tanks, one infantry base and the carrier platoon base lost to us for the resumption.
Our advance was now up on the village and so the battle was being fought to stop our breakout beyond and the troops Fireflies came into their own, deftly sniping at hull down Panzer IVs with their long 17-pounders on the slope beyond, only to see the German tank line devastated by a Typhoon attack that left the road into the German rear wide open.
 |
| On our sector the infantry prepare to go firm on the village as the tanks exploit around it only to come under panzerfaust and Pak 40 attack |
 |
| Paul's Pak 40 team desperately try to hold a collapsing position around the village |
As always the game was played in a great spirit with everyone determined to make the occasion fun for all involved and with the outcome very much not the focus of all the effort.
I hope those who have followed the club's reduced calendar of games this year have enjoyed the output as much as we have playing the games presented.
Devon Wargames Group, like the wider hobby, has shown it's resilience in the face of the pandemic and there is a feeling of a gradual return to normality with members feeling encouraged to plan bigger and better games in the New Year and to welcome new members who are interested in playing historical wargames and enjoying the social side of gaming with a club.
On behalf of the DWG I would like to wish everyone a very happy and peaceful Christmas and a great 2022.
Cheers
JJ


