Labels

Showing posts with label Beneath the Lilly Banners. Show all posts

Sunday, 22 April 2018

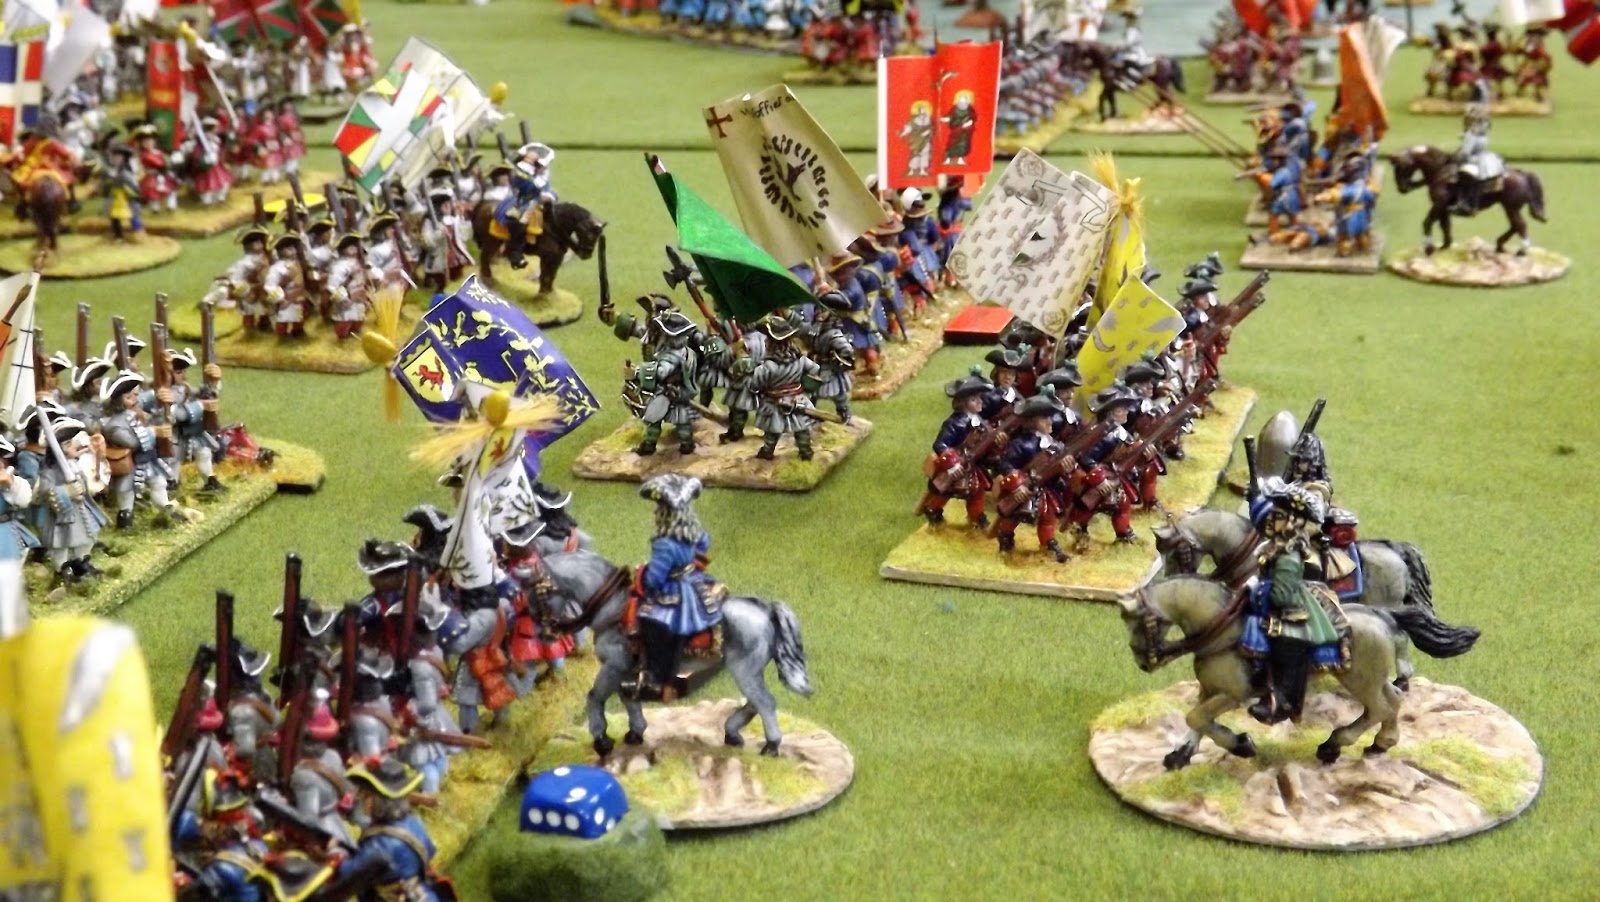
Siege of Lille 4th September 1708 - Beneath the Lilly Banners v3

John Churchill, 1st Duke of Marlborough - Adriaen van der Werff
Chas took us to back to his days in Louis XIV army and the siege of Lille.


Eugene had completed lines of circumvallation round Lille and had been investing the city with a force of 53 battalions of infantry, 90 squadrons of cavalry and over 100 artillery pieces.


Marlborough meanwhile, commanded a force of 69 battalions, 140 squadrons and a few batteries of
artillery, some miles away, blocking any French relief force approaching from the south.


On the 29th of August, two French armies joined at Grammont and marched on Marlborough's
position. On the afternoon of the 4th of September this force came within sight of Marlborough's lines.


The French were not all in position, but still outnumbered the duke by more than two to one.
Both Berwick & Vandome judged it too late in the day to attack and resolved to give battle the
following day, when all their force had arrived.


That night Eugene responded to an urgent request for assistance and twenty-six battalions of infantry and seventy-two squadrons of cavalry arrived from Lille. A further seven battalions of infantry arrived from a position on the Brussels road.


Now the French 125 battalions and 243 squadrons faced 102 battalions and 232 squadrons on the
Allied side. Despite much posturing for nearly two weeks, the French decided little could be achieved
and withdrew, leaving Lille to fall.


Our "what if" battle assumed the French arrived earlier on the 4th September and attacked, with an
urgent request being sent to Eugene at first sight of the enemy.


Chas and Si played the dastardly French (I can't say Si's heart was in it) and myself and Nick took the
Allies.


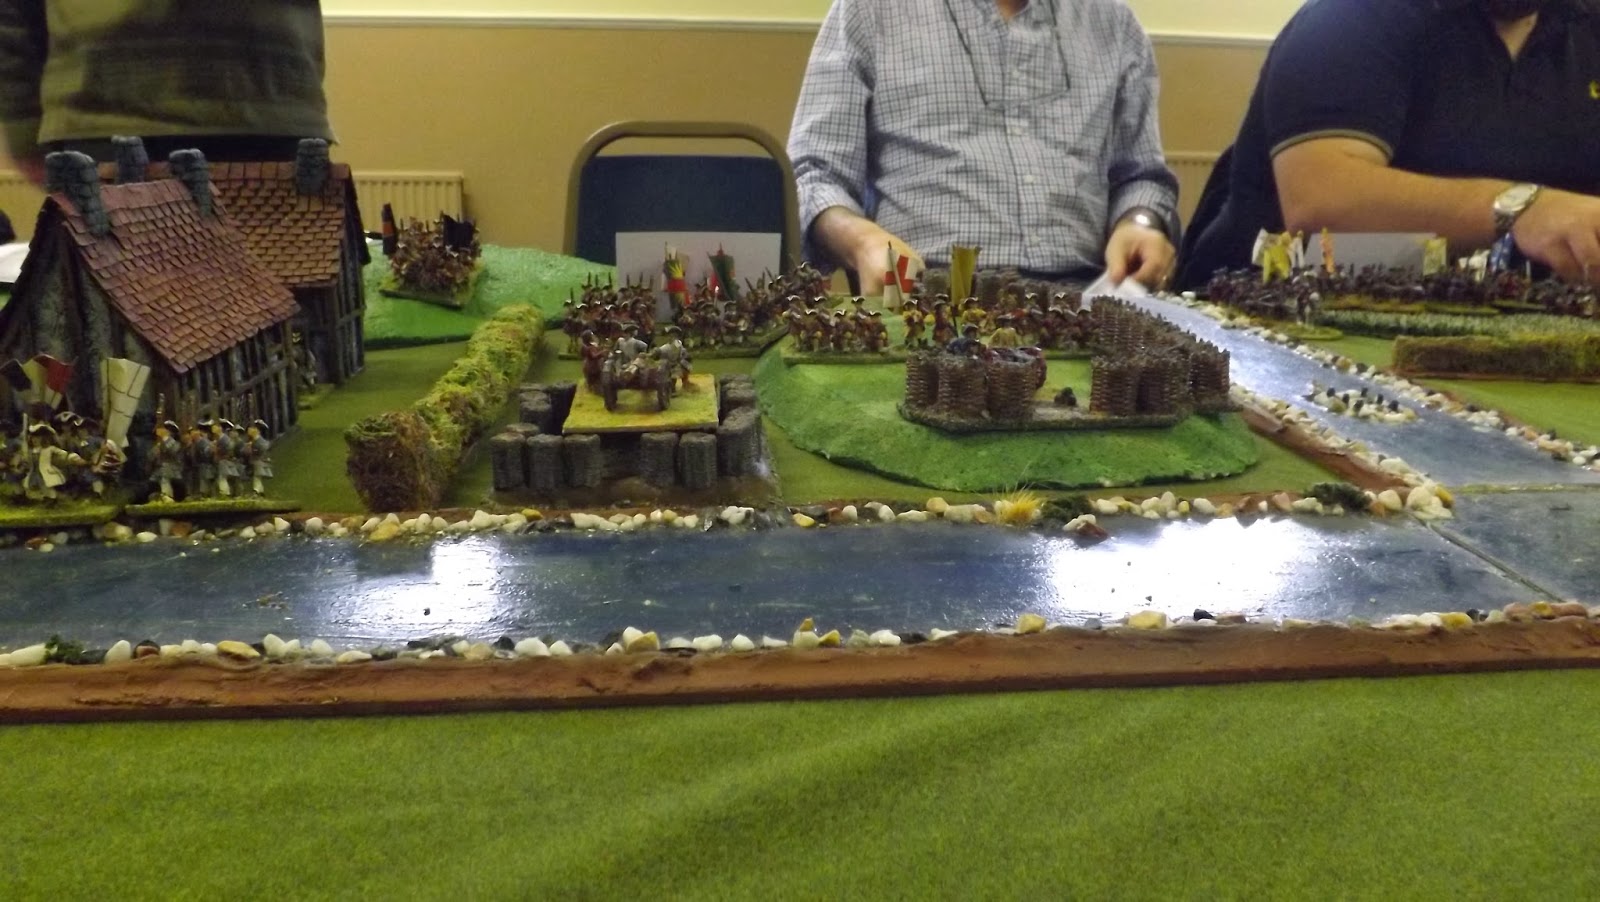
Our forward line was anchored on two hamlets and a fortified village, which were garrisoned by infantry.

The main Allied body deployed from the table edge and moved to cover the gaps round the built up
areas.


Both side's artillery were soon firing and the Allied infantry in the houses were soon glad of the hard
cover. With few Allied guns available to reply, the casualty count was in favour of the French.


French infantry now joined in with musket fire and a Dutch Guard battalion was starting to suffer.
With everyone but Chas agreeing that cavalry couldn't hope to take on fresh infantry, Chas decided to
throw the manual out of the window and charge the British infantry under Nick with cavalry. Slowly
but surely a full cavalry brigade was fed into the meat grinder, blown away by squadron and
consigned to the casualty roster. It looked like everyone else was right.


Undaunted, Chas charged one of the hamlets, bounced, charged again, routed and moved up a fresh
battalion. Rinse and repeat. You get the idea.


Meanwhile, with Eugene's newly arrived battalions moving up, the Dutch Guard battalion was given a Form" order, put into column of march and looked to get the hell out of Dodge. At this point I saw Si had turned over a "Form" order for the mounted dragoons facing my Dutch Guard. I thought, "He's a bloody mind reader. He is going to form a column to avoid the rough terrain and charge me in the
rear. " Seconds later I realised I had over-thought the situation and breathed a sigh of relief as the
dragoons dismounted to fire on me.


I pulled my cavalry off table, to let Eugene's infantry through.


Now the French charged the large village in the centre, got blown away, went back to shooting and
decided this wasn't much fun either.


With Eugene's men moving into the built up areas, the French conceded and withdrew.
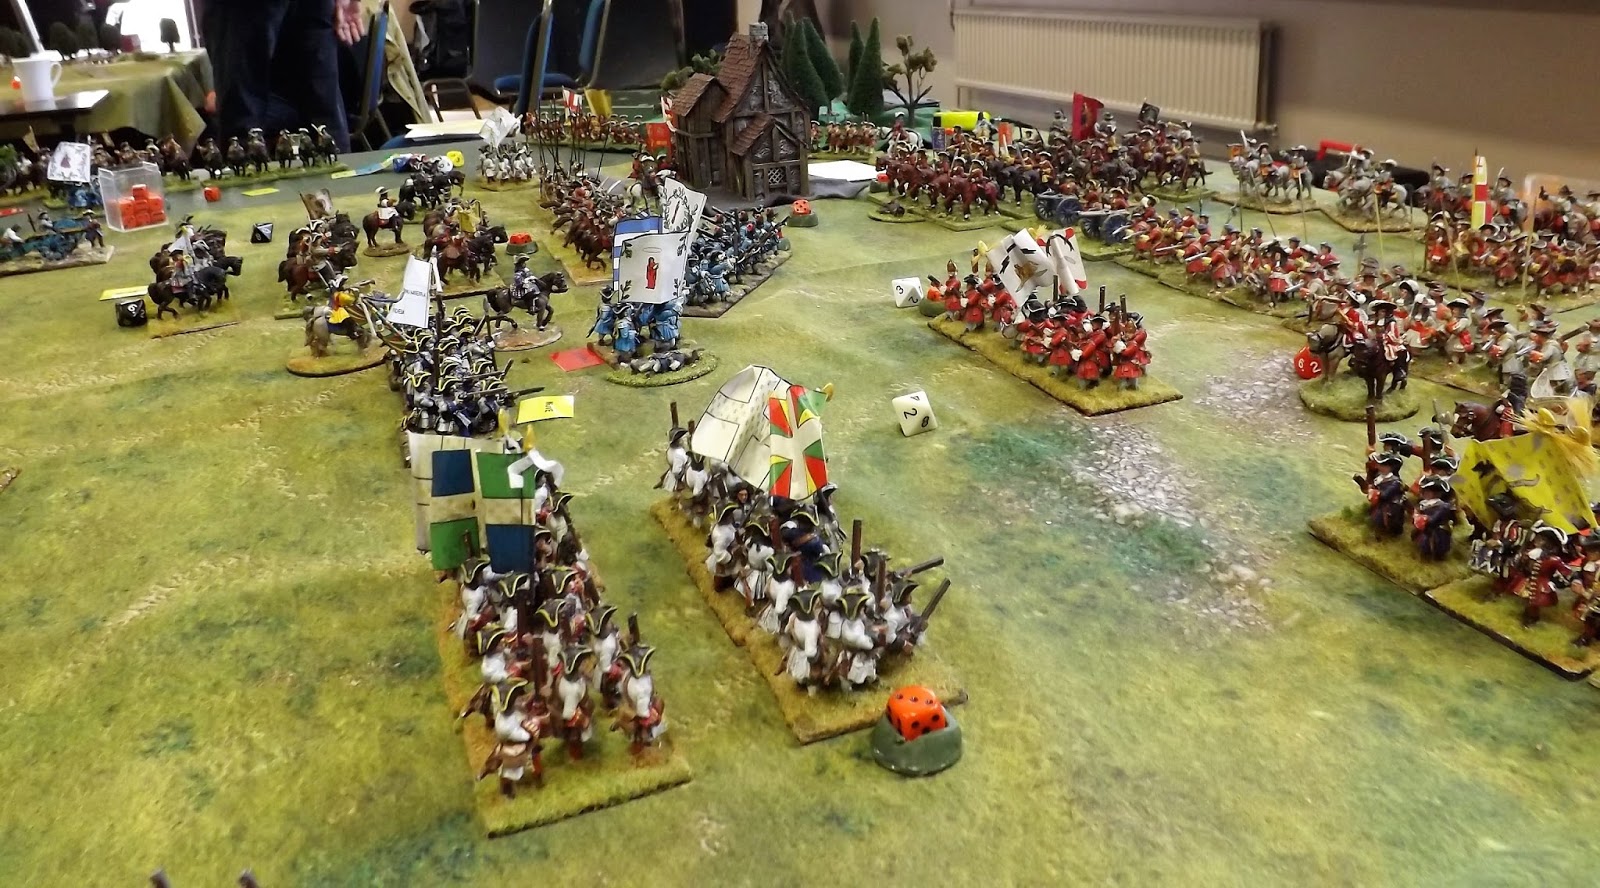

Looks like Vandome and Berwick knew what they were about all those years ago.

Many thanks to Si and Nick for playing in a style that befits gentlemen and to Chas for putting it all
together.

As a first try of version 3 of "Beneath the Lily Banners", things went well, but then I have always liked those rules in their previous incarnations too.

Nice to see all the toys on the table.

Vince

Saturday, 18 February 2017

Battle of Wijnendale 1708 - Beneath the Lilly Banners


Chas took us back in time to his youth in Queen Anne's army, running a recreation of the battle of
Wijnendale, to the excellent "Beneath the Lily Banners - 2nd Edition" rules.


League of Augsburg - Beneath the Lilly Banners

https://en.wikipedia.org/wiki/Battle_of_Wijnendale


In 1708 Marlborough had the city of Lille under siege. He relied on supplies being brought up from the port of Ostend to his siege lines by cart.

A convoy of seven-hundred wagons was en-route with a strong guard of 7500 men, when the screen of dragoons spotted a French army over 20,000 strong marching across open country towards the road. The one hundred and fifty British dragoons aggressively harassed the French, forcing them to deploy. This allowed the convoy guard to form up in three lines between two large woods, in the open fields flanking the road. More infantry was deployed in the woods on either side of the Allied line. The scene was set for the start of our scenario, with the French coming on in force towards the Allied lines, which stood between them and the vital convoy.


Chas and Steve M took the French (boo !), whilst myself and "Lucky" Andy commanded the Allied contingent.


The French gun line fired a volley, before the infantry masked their fire. The first casualties fell on
some luckless Dutch infantry. The French infantry stepped forward, leaving their cavalry on the flanks and rapidly fell to "first fire" from the steady allied ranks. Several French units retired, causing
discomfort and disorder to the successive lines behind them.The next French line re-ordered and
stepped up to take fire, but now the casualties were starting to mount in the Allied first line and the
French pressed on.

The French command looking very happy with their day

Both sides were now struggling to get fresh units into action, without ruining the discipline of their new troops. A melee was fought in the centre and both sides suffered badly, with several French units
routing or retiring. Meanwhile the Allied troops in the woods stared at their opposite numbers, with the Allies unwilling to leave cover and the French unwilling to step into the woods. The Allied right
exchanged fire with their opposite numbers, but on the left both sides sat out of effective range.


The convoy crawled slowly past the scene of carnage.


The second lines of infantry clashed and both sides took losses. Now an Allied unit was cut down and
one retired. Seeing a chance to force the issue, the British dragoons charged a reduced and shaken
French battalion. The French suffered, but stayed locked in combat. Now French horse joined the fray
and musketry rippled along the line. The dragoons broke, as fresh Allied infantry moved from the
woods towards the centre in an effort to support the third line.


Lines of French horse were now visible through the gaps in their infantry line. The Allied third line of foot stood ready, as they eyed the fresh horse and a fresh Allied battalion from the woods fell into line.


There we called it a day. An honourable draw and a very close fought game. The main problem suffered on both sides was that the close terrain made getting shaken troops out of line and fresh ones in, was no easy matter.


Many thanks to Chas for making the refight a balanced contest and to all involved for playing in a
"gentlemanly" style. I let the side down with my dice rolls, but Andy more than made up for it. He
threw a bucket full of sixes at every asking. Last I saw Steve was still inspecting the dice he was
using.


As a footnote, General Wade's Allied force suffered 900 casualties and inflicted 4 or 5,000 on the
French, who quit the field. For his efforts, Wade received the thanks of parliament and the queen.
Some years later he was set aside from command for "being a Scotsman". No one said life is fair.

Vince

Tuesday, 17 December 2013

Battle of Topsham 1689 - Beneath the Lilly Banners


This month was the occasion for our annual Christmas game at the Devon Wargames Group where traditionally we stage just one game that all club members are invited to play. The game is very much intended as a celebration event where the taking part is more important than the result. In addition the members pull out the stops in providing nibbles and beverages to help lubricate the fun on the table.

Our game this year features the 28mm collection of WSS/Glorious Revolution figures owned by Chas and Vince and utilised a great set of rules, "Beneath the Lilly Banners" for a large multi-player game as this was planned to be. In addition our scenario carried on where a previous game staged in January 2012, The Battle of Lavington left off. Thus we have Prince William returning to the shores of England landing in the South West at Topsham nr Exeter gathering new forces to continue the struggle. King James has responded by bringing his army supported by Irish and French contingents to Devon to crush the rebellion before it can get started.

King James II
Our game finds the two armies drawn up for battle between the hamlets of Topsham and Lympstone.

Prince William of Orange
Meanwhile back in the 21st century the Devon Wargames Group prepares to go large and get all the toys out on the table.
Prince William's forces

King James' host
Chas was our gamemeister for the day and following the arranging of forces and terrain gave the players a briefing on the situation. The table below shows the field of battle from King James' lines with Topsham on the left, Exton in the middle and Lympstone on the right.

Chas briefs the teams
Yeah, yeah, let's play!
There was no shortage of provisions with plenty of nibble and festive food, happily consumed during play.

The army marches on its stomach


Forces allotted, it was time to deploy, with cards detailing the possible morale grades for the various brigades which needed to be diced for once set up, including the grade of the commander.

View from the Protestant lines overlooking Lympstone and Lympstone Hill
Additional cards were distributed, some blank, some with special attributes granted to troops under that commander and some indicating the desire to join the other army and betray former comrades, oh dear, I was that traitor to the cause!!!

Looking along Willam's line towards the garrisoned town of Topham (top right)
The little town of Topsham, on the River Exe, was deemed important to both sides as it was the base for all of William's support from the Netherlands, and would be utterly disastrous if it fell into enemy hands. The game result would be shifted in the favour of the side holding the town. Thus a major victory would become minor, minor a draw.

William's troops garrison Topsham
All players selected a brigade, usually of about three to four infantry battalions, some with a cavalry squadron or two attached. I was initially serving with Prince William's army commanding two brigades of cavalry, each of four squadrons. I was placed in the most favourable terrain for cavalry, out on the extreme left flank facing Lympstone. It was here that the battle's deciding action would occur, and unfortunately for Prince William, my two set up cards told me that I was secretly a supporter of King James and would lead one of my brigades over to his cause, testing each squadron individually to see who would follow me. The other card said I would charge an enemy brigade at the first opportunity gaining a +2 advantage in combat in the first round.


With the terrain generally benefiting the infantry the forces matched each other across the table, with William's army strongly garrisoning Topsham and Exton, the latter with Dutch Guard, who I would end up tackling later in the game.


So with forces arrayed both armies advanced on in the centre and the Lympstone flank with James' army masking Topsham with a covering force of infantry. With the bulk of William's cavalry, I advanced on Lympstone sending the loyal brigade on to Lympstone Hill above the village to gain up hill advantage. The other, hopefully disloyal brigade, advanced on Lympstone village, just about to be entered by James' Irish infantry. I immediately attempted to send a courier to these troops commander to advise them of my intentions. However my messenger was intercepted and Prince William was advised of my treachery.


William's horse advance on to Lympstone Hill
With my treachery revealed there was no other option other than to order my brigade to follow me in a wheel and attack our former comrades flank on, on Lympstone hill. Needless to say the Irish brigade in Lympstone were a little surprised to see this move, and given the long range did not open fire.

My treachery revealed, the whole brigade supports my change of side and direction
Lympstone is occupied by James' Army
French Huguenot Infantry in support of the Topsham Garrison


King Jame's Guard lead the attack on Exton
Christmas cake anyone?

The loyalty check complete all four of my squadrons charged up the hill and smashed into William's loyal squadrons. Three of them decided discretion was the better part of valour and withdrew immediately. One however contested the attack and found the +2 advantage to my men was irresistible.

The cavalry battle for Lympstone Hill as William's cavalry fights each other!

The Irish in Lympstone had been preparing to receive cavalry, look on in amazement.
The cavalry battle went back to and fro for a few moves, but in Lilly Banners cavalry squadrons get used up quite quickly and with the balance in favour of James the flank combat shifted towards Exton in the centre tenaciously held by the Dutch.

William's Dutch Guard prepare to shore up his flank by grimly defending Exton
James' Guard meet William's Guard in Exton as the battle for the centre hots up
The battle for Exton became a protracted affair of musketry as the elite infantry of both sides swapped volleys in a battle of attrition where weight of numbers would be the decider. It was James who held the advantage as William had been forced to commit his reserve in a desperate attempt to shore up his left flank.

With volleys being exchanged, James brings up artillery to support the attack

You could almost hear the sigh of resignation as the Franco-Bavarian brigade of King James' reserve deployed in front of Exton and advanced on the badly shot up and depleted Dutch. In three turns it was over and despite a last minute attempt to break out of Topsham, Prince William conceded defeat.

William's Prussian allies were forced to hold their ground with a card directing their reluctance to fight


The remnants of William's cavalry are forced off Lympstone Hill as enemy infantry advance
Much fun was had by all, and many thanks go to particularly Chas who had the job of cat herding for the day as he arranged the scenario, set up the game and got everyone organised about what they should be trying to do.


So another year comes to a close for the club. Next month, January 2014, we are planning some WWII Chain of Command action and some ACW Fire and Fury. In addition there will be some fun with James Bond and characters to report on as we get in some gaming in North Devon at Chas's between Christmas and New Year.

With Lympstone Hill cleared of Williams troops James' army prepare to attack the centre around Exton

The centre ground, Exton from William's lines with Dutch Guard in occupation
The left flank from William's Line, very much in enemy control
Topsham becalmed as events elsewhere determine its fate
French infantry prepare to force the entry of Topsham
The Irish infantry attack William's extreme left flank
As the Irish attack, pressure grows on the Dutch in Exton
Top left, James deploys his reserve (led by yours truly), Bavarian allies move up to finish Dutch resistance in Exton
Suddenly William's centre has gone and James troops claim the high ground
The Franco-Bavarian reserve move on Exton

Too little too late the Topsham garrison attempt a break out