Labels

Showing posts with label Fire and Fury. Show all posts

Saturday, 6 May 2023

15mm BRIGADE FIRE & FURY v2 : Chantilly (Ox Hill)


This game was my take on the Battle of Ox Hill or Chantilly, following the Second Battle of Bull Run or Manassas.

Map of the Battle of Chantilly (also know as Battle of Ox Hill) on September 1st, 1862, depicting events from 5 to 10 PM - U.S. Library of Congress.
 https://en.wikipedia.org/wiki/Battle_of_Chantilly

After the Second battle of Manassas, Union commander, Major General John Pope fell back. General Lee then started his advance pushing Jackson forward. Unusually, Jackson napped, and so his advance was delayed. Because of this the Union troops managed to put up defences. Pope then pushed divisions forward to intercept Jackson. This scenario depicts the union attack on Jackson's forces just as a driving rainstorm hits the area.


The forces arrayed were around 4,500 Union to 6,500 Confederate but the Union did have eight guns whereas Jackson kept his in reserve “JUST IN CASE”.

The game was, 'capture the flag', each side had one and a requirement to inflict as many casualties as possible. This had to be done in ten moves. As an extra problem rain comes in on turn 4. On a D6, 1 – 2 meant no fire. The forces were set up on the table as per the scenario and then I told the commanders to let rip.


The rebels pushed forward through the woods on their left in HUGE attack columns. I want everyone to know that they were HUGE as this important later. At the same time, half a dozen SMALL units advanced to meet them.

On the rebel right they pushed forward into the cornfield to support their skirmishers (I made up some rules to cover this). The Union forces moved forward in strength to cover this. Their guns were arrayed to cover the open ground to the right of the cornfield and their target flag.


With the Rebels moving forward in force the Union plan of advancing and taking the Rebel flanks went to ‘ratpoop’. The Rebel attack columns on their left came up on the Union forces and charged in.

Initially they made good progress managing to push the Union forces back but one of the Rebel columns was repulsed.

On the Rebel right their skirmishers were attacked by a Union brigade and wiped from the field and then there ensued a series of actions which resulted in the Rebels being pushed from the cornfield back into the woods. Matt, the Union commander on the left, managed to do this with of a series of D10 throws of ten. Although this put them into low on ammo it was enough. The Rebels then moved their forces to the left being chased by the Union's troops.
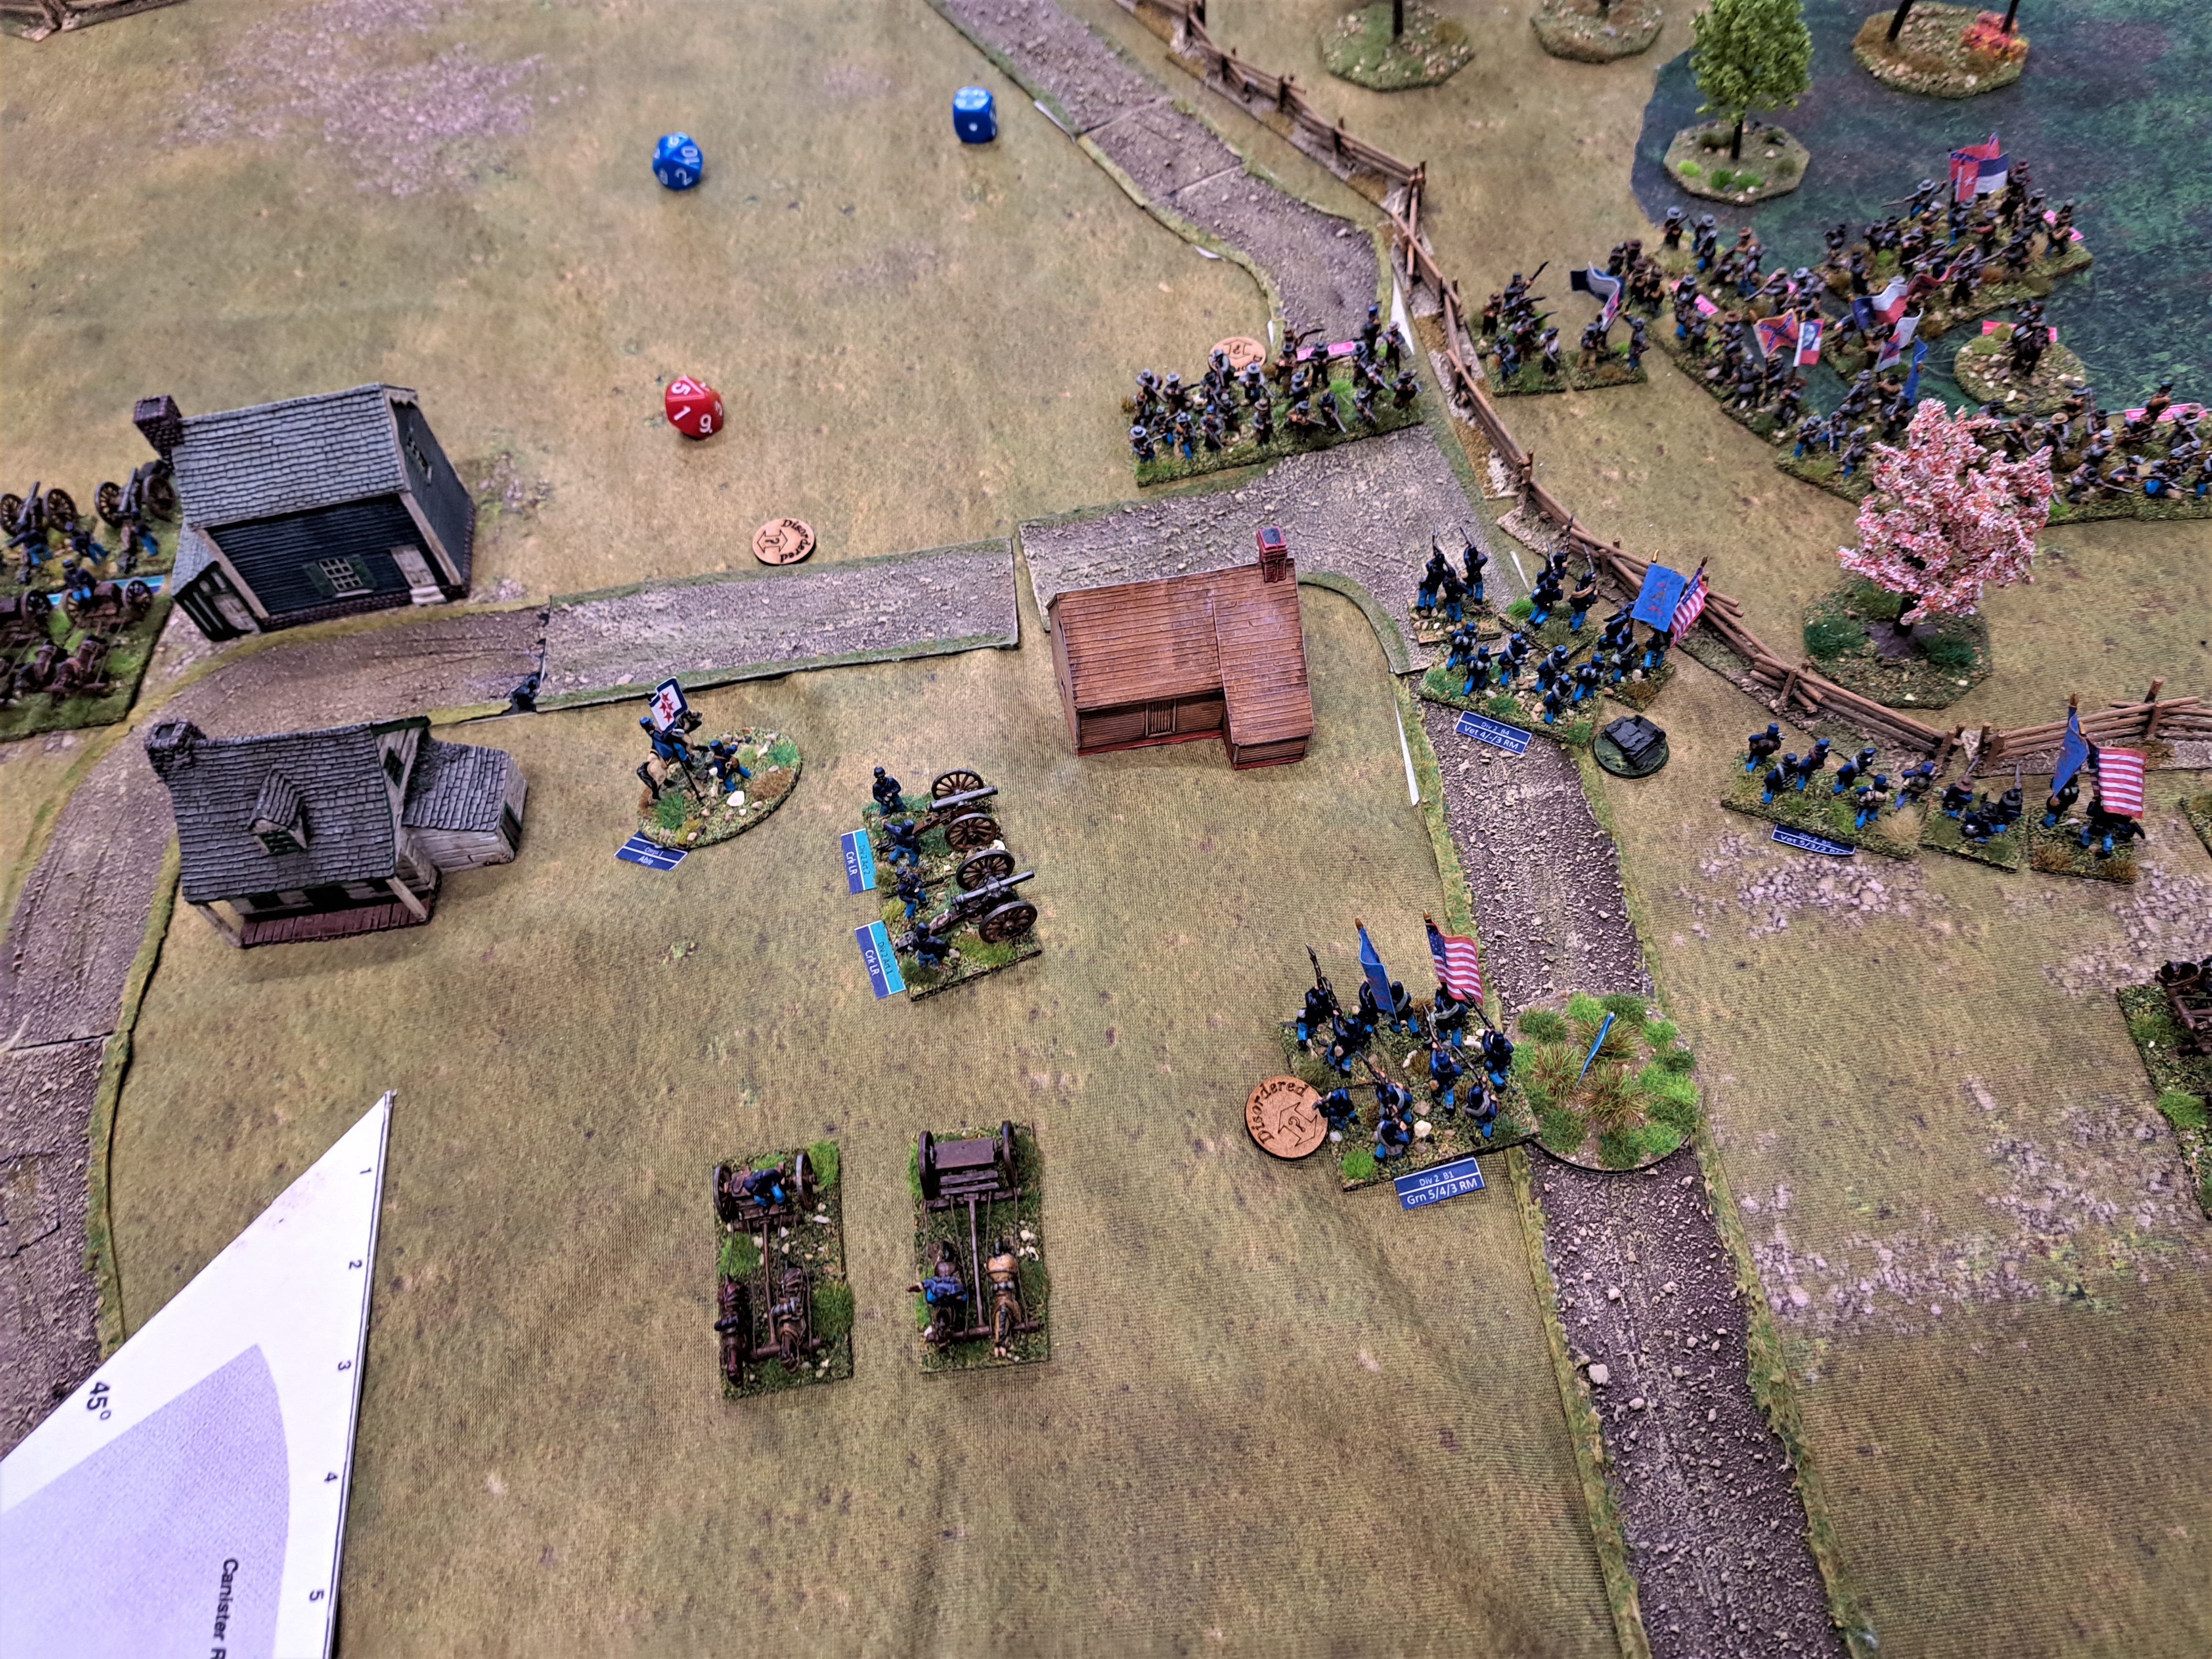

With the refocus of forces the Rebel commander on the left, Nathan, tried to charge again, but he met me. For the second game in a row, we fought tooth and nail. He managed to push me back exposing himself to enfiladed fire from my guns. The charges kept coming but with my, I have to say lucky, and Nathan’s, not so lucky, dice throws he was unable to take my position. Then Rebel reinforcements arrived from their right changing the whole situation.


However, time was running out and despite a lot of charging the Rebels just could not out dice those superior Union commanders. This is, of course, in my completely unbiased opinion. The games ended with a big push from the Rebels, but it just wasn’t quite enough and the games ended in an honourable draw.

So many firing units failed to fire because of the rain and this added a whole new dimension to the game. I liked it.


My thanks to Matt, Mike and Nathan for their company and the comradely banter. It was a fun game to play and umpire.

Table was 6 ft x 4 ft.
Cloth by Tiny wargames
15mm figures a combination of Blue Moon and AB.

Friday, 16 December 2022

Gus Murchie Memorial Christmas Game Part 1 - 15mm Brigade Fire and Fury V2

15mm BRIGADE FIRE & FURY v2 : Stones River

Gus Murchie Christmas Game 


Every December the club normally puts on one massive game for all the members to participate in.  This year as our membership has seen a very healthy increase we decided to put on two large games instead of one massive game.  The decision was to set both games in the American Civil War and the honour of organising the 15mm game went to myself (Steve L) and Mr Steve.   
Sunday, 17 July 2022

The Battle of Dorking 1875 - Action at West Humbel


To set the scene for this classic late 19th century fictional battle, the Dorking Museum's account is quoted;

'The fictional Battle of Dorking took place in 1875. Germany had defeated France and annexed Holland and Denmark. Britain declared war and Germany invaded an ill-prepared Britain. Troops came ashore at Worthing and began moving inland.

The County of Surrey on the South West approaches to London with Dorking seen in its 
central southern area where the battle takes place.

Written by Sir George Chesney, The Battle of Dorking was published anonymously in Blackwood’s Magazine in 1871. In Chesney’s tale, a battle takes place at Dorking between the invaders and British defenders; Dorking occupies a strategically vital point between the troops’ landing point on the south coast and London. Failure to defend the heights of Ranmore and Box Hill on each side of the Mole Gap allows the invaders to pass through to London. Britain is left humiliated, its Empire lost.

The story caught the public imagination. When reprinted it sold 80,000 copies and was translated into a score of languages. There was no immediate military response but in the 1880s forts were erected on Box Hill and Ranmore. Lord Ashcombe, owner of Denbies (now a wine estate and hotel in Dorking), provided the local volunteer force with land and funds for a drill hall.

Though its notoriety arose from the concerns of its time – the army, and the development of new means of transport and communication – the tale had a long life in public consciousness in both Britain and Germany.

In the 1940's a German edition was issued to Hitler’s army under the title ‘Was England Erwartet’: What England Expects.'

Dorking Museum - The Battle of Dorking

Battle of West Humbel (Near Dorking)

Today I can announce to the readers of the London Illustrated News the great British Victory over the Germans (Prussians).

It is well known how the Prussians used their secret weapons to trick the British Fleet away from its Channel Duties and the Prussian Army landed at Worthing. From there they marched onto our proud capital London expecting a quick victory.

However on the North Downs at Box Hill overlooking Dorking assembled a force of our Regular Imperial Army and Volunteers, made up of stout hearted artists and trades people from Surrey.

The Rifle Regiment prepare to defend West Humbel, with Sir Harry Flashman, yet again at the heart of the action, in command

The battle started with Jagers and Uhlans in skirmish order moving across an empty battlefield. However things were soon to change, as the Jagers entered the woods they were stopped in their tracks by Artillery and Volunteers holding the slopes of Brockham Hills. A fierce firefight then ensued

Perhaps the most famous British military hero of the the time, Sir Harry Flashman, hero
of the charge at Balaclava and many more actions- played of course by Malcolm McDowell

On the other flank, West Humbel was being fortified by the crack Rifle Regiment. It was at this time that “Harry Flashman” was awoken from his slumbers and was seen shouting encouragement to the defenders. With this inspiration the Rifles let off a devastating volley that chased off the Uhlans.

Prussian Uhlans advance to skirmish with the Rifles in West Humbel. Note the River Mole that effectively divides the field of battle

British Volunteers supported by Horse Guns contest the advance of the Prissian Jager on to the Brockham Hills

The Prussians now with continental arrogance started a massed bombardment of West Humbel. Two full Regiments of infantry then set off to crush these English upstarts. This was their first big mistake as, unknown to them, on Box Hill were the Grenadier Guards backed up by Household Cavalry.

Prussian guns bombard West Humbel following the repulse of the Uhlans by Sir Harry and his riflemen

The battle now became two separate engagements. The attack on West Humbel was undertaken by Von Carter in a systematic format, forming a firing line that would drive the Rifles out. The English Commander General Vince-Hyland brought out his regulars and prevented the Germans from flanking West Humbel Their longer ranged Martin Henry outgunning the Germans with the Needle Rifles.

Vince-Hyland was also seen helping to improve the moral of the garrison. Flashman although improved
the fighting ability of those with him as he is poor at giving orders.

Von Carter assaults West Humbel on masse as heavy fighting breaks out on the Brockham Hills beyond

On Brockham Hills all hell was let loose. The Jagers retired and three battalions of Prussians crashed into the Volunteers, lead by General Von Huntsman This became a toe to toe fire fight with Prussians charging in only to drive the Volunteers back to another defensive line. Casualties were heavy on both sides.

The Volunteers contest the advance of Von Huntsman and the Prussian Regulars on Brockham Hills

At this time the Germans made a second big mistake, and started to bring the artillery forward. It was now that General Ian-MacDonald (the brains behind the victory). Unleashed the Guards from Box Hill and supported by the Guard Cavalry.

The British Guards are unleashed

The German Uhlans watched on unable the stop the cavalry charge as the River Mole was in the way. However the Prussians were still sure of their superiority were not worried. The target of the charge were formed Jagers, only by throwing a '1' would the charge get through. 

British Valour won through and the Cavalry were in amongst the Jagers. After several rounds of fighting the cavalry were driven off. But the damage was done. The Jagers were unable to support the Infantry being attacked by the Guards.

The battle is won as the British Guards descend from the Brockham Hills in pursuit of the broken Prussian infantry as the Household Cavalry crash into the flanks of the limbered Prussian guns, supported by the Jager screen, attempting to come forward in their support.

The Guards charged into the Prussian open flank with “cold steel” and did what Guards do....... The Prussians generals contemplated an early retirement. You might well ask, what happened to Good Old Flashman. The Rifles were driven out of West Humbel but thanks to his +1 for combat they left in good order. Flashman saves the day again a true English hero.

Technical Stuff
The battle was played using mostly Perry plastics. Prussians were painted as per Franco Prussian War. British used the Afghan, Zulu War Brits for regulars and with mixture of ACW for volunteers. Needless to say there was a lot of head swapping. I found it difficult to to track down volunteers regiment uniforms until I found the Blandford's Infantry Uniforms Book Two.

Rules used were Fire and Fury Regimental with the Optional Rules that can be found on the Web site. Weapons however had to be up graded and new formations such as Company Columns introduced.

Background to the battle needless to say was Battle of Dorking by C T Chesney. In addition I purchased a copy of the board game Dorking 1875 by Mark Wightman this game me a framework to build a scenario. The main source I used to tweak the rules and get a feel for the period were the two books written by Lt Col G F R Henderson on the battles of Spicheren and Worth. These are boarder battles of the FPW but have a similar feel to the hypothetical Dorking Battle.

Finally I must say thank you to Stephen, Ian and Vince for letting me try out this game on them.

Friday, 10 June 2022

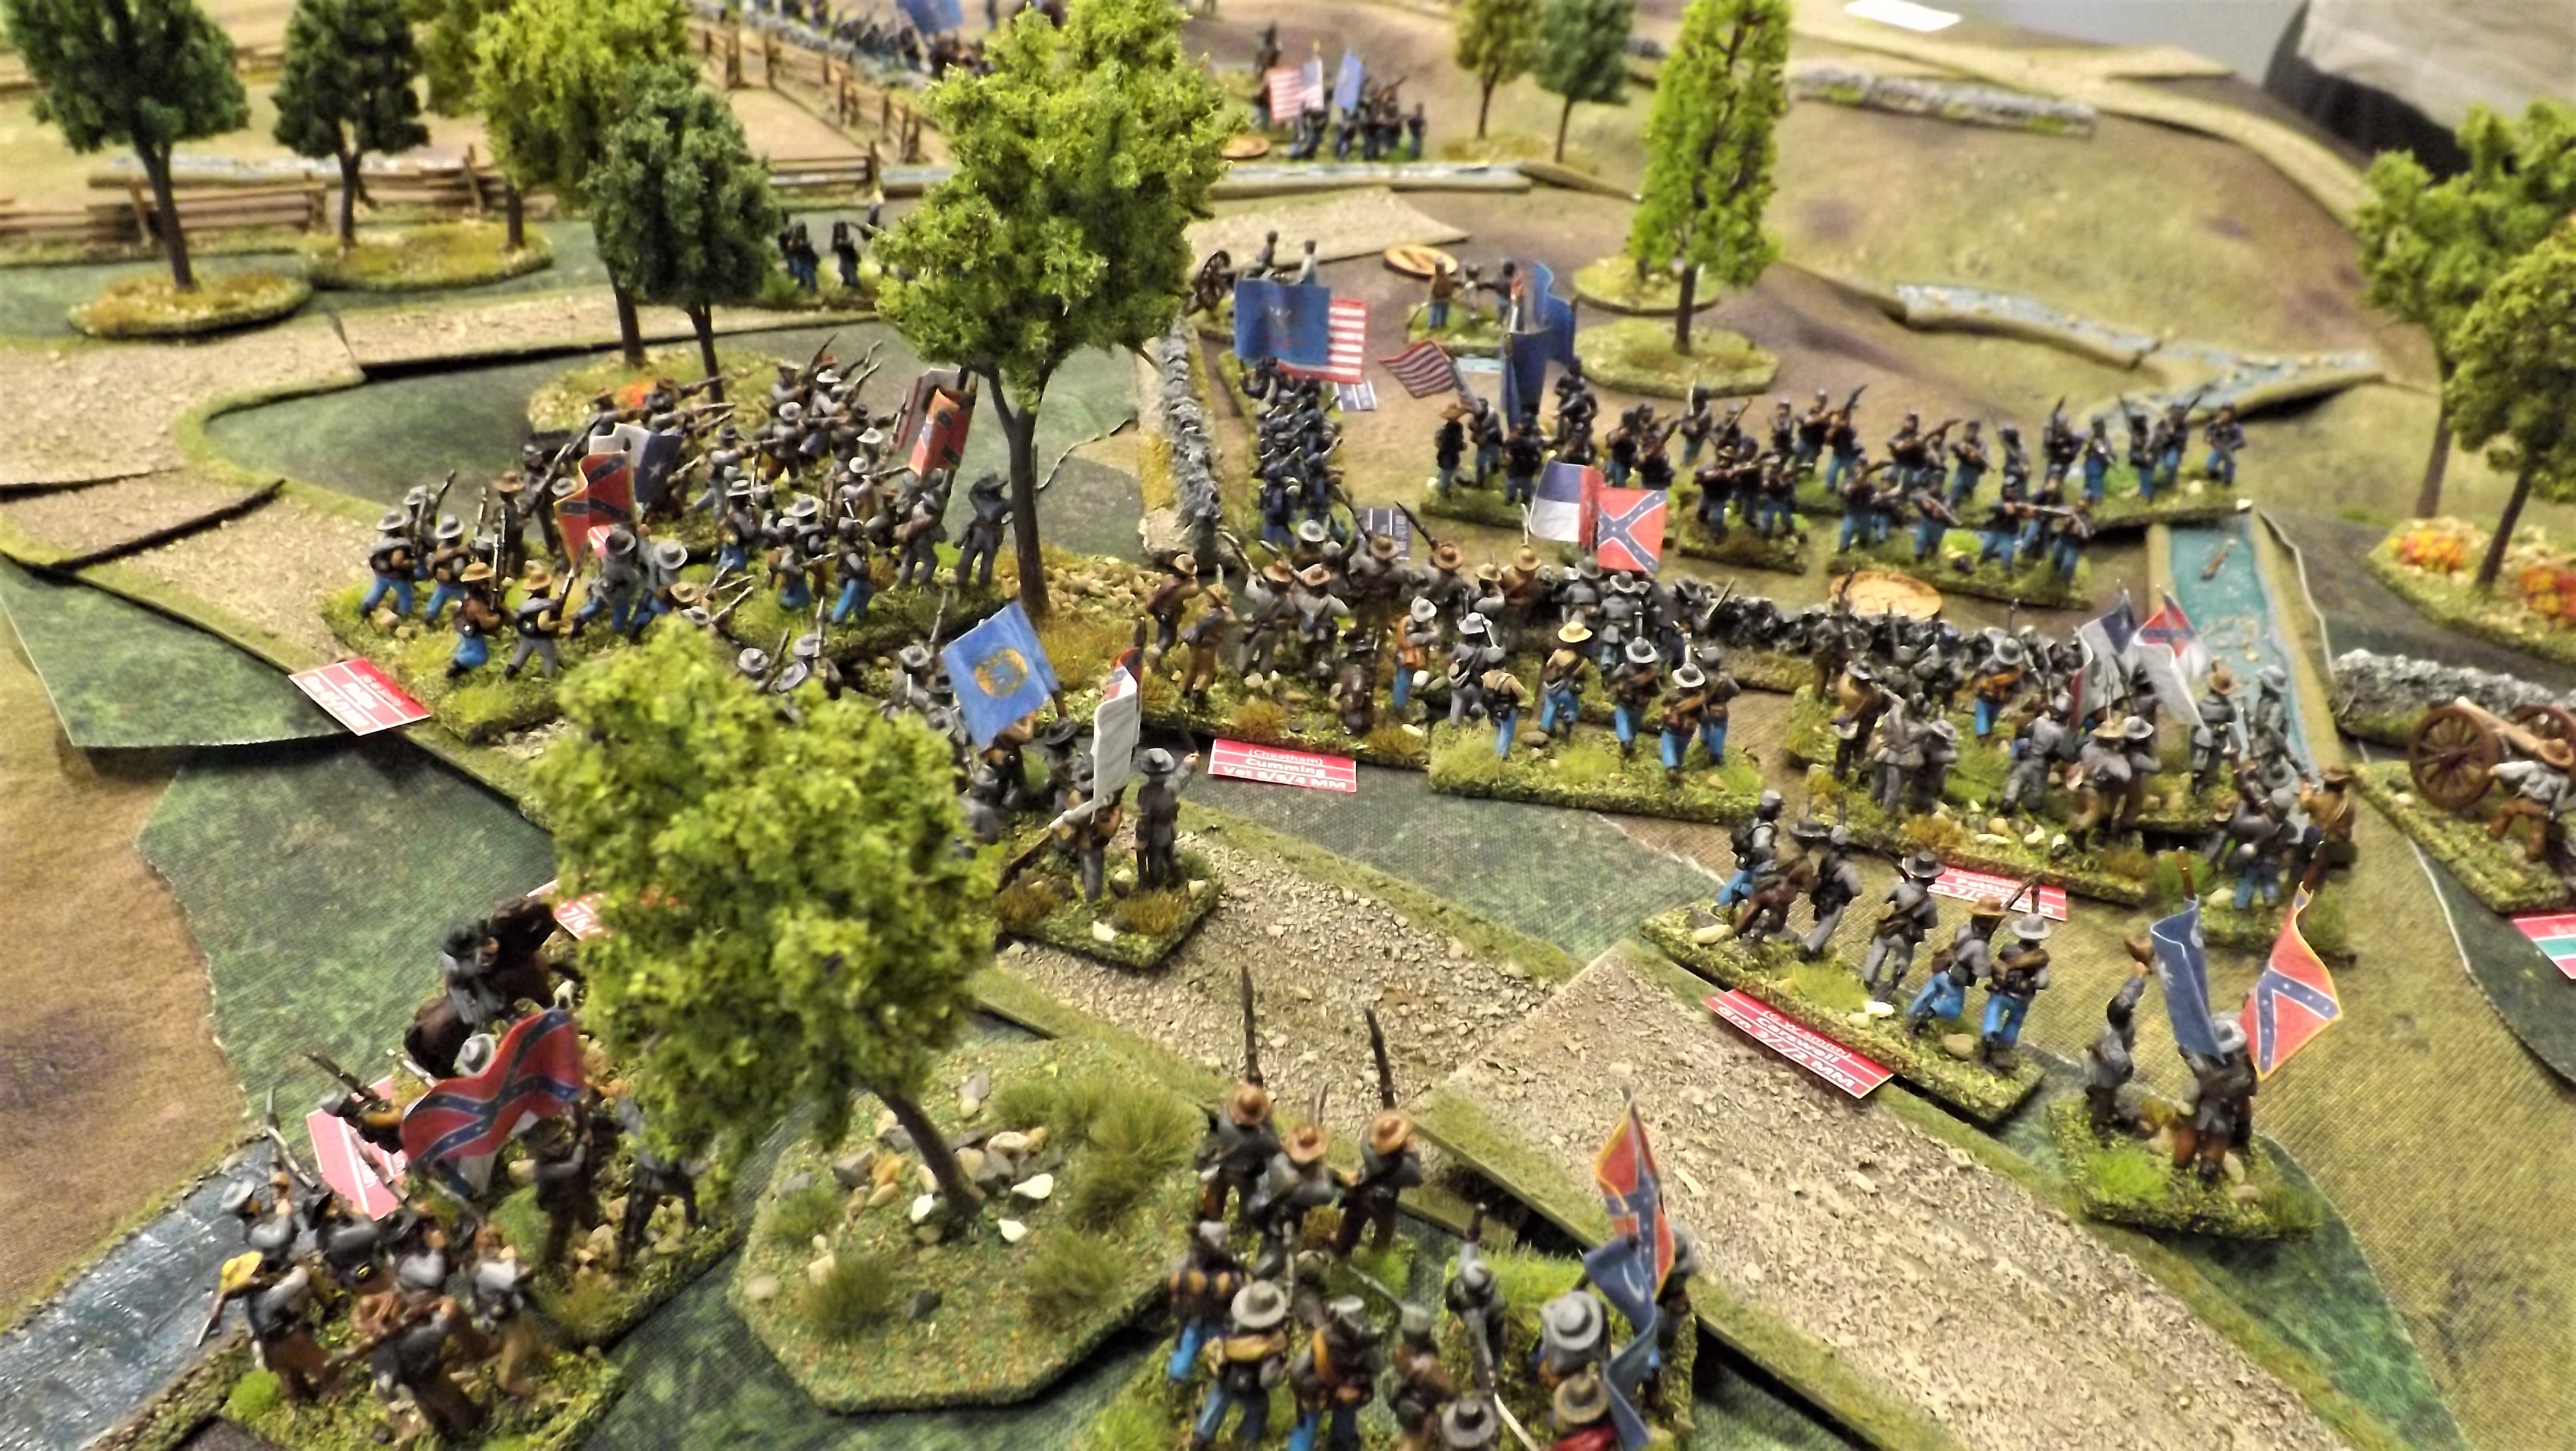
Cheatham Enters the Fray - Brigade Fire & Fury Version Two


This scenario was taken from BFF Great Western Battles Scenario Book. It is the later part of the Battle of Atlanta July 22nd, 1864.


For the purist I apologise for the absence of the railway. I have put it all away pending laying of new track in the future.


Our game started with the Rebels off board and the Union Troops arrayed behind the fortified positions. As the Rebels were attacking, they held the initiative for the entire game. 

Our Union players were Roger on their left flank and Mike on the right. 

For the Rebels, Paul on there right flank and Bob on the left.


The initial moves saw the Rebels advance all along the front and a fair amount of counter battery fire which saw guns on both sides silenced and damaged. As the advance continued the Rebels held back on the left but advanced rapidly through the woods on the right. This gave the impression that they had committed all their forces. In response to this the Union commanders decided to pull their units from behind the second line of defences to reinforce their left.


On spotting the redeployment of Union forces the Rebels committed the rest of their units and pushed forward on the left. On turn three, when the Union reserves arrived, they moved to the right to cover the Rebel advance.


The Union centre was held in position by threatening Rebel units just out of musket range. Meanwhile on the Union left the Rebels burst out the woods to attack the prepared positions. After fierce combat the union units were pushed back, the Rebels moved to the fieldworks, held position, and brought up their only mobile field piece. They now had a foothold on the Union left.


With the Union left held, the Rebels concentrated on the Union right moving up in force and readying to charge the just deploying Union reserves. The Rebel charges went in throwing good dice, a 10 and having lots of plusses, a score of fourteen. The Rebel commander was elated and then the Union leader also threw a 10, not the victory the Rebels were expecting.


On the Rebel right they now arrayed massive fire power at a very silly range and throwing a 10, blew away a complete Union unit. On both flanks the pressure from the Rebels was telling, inflicting heavy casualties and the Union forces reached the magic 30 stands loss. 1 victory point to the rebels. 


Union forces were now forced to pull back to the second line of defences, but it was too late. Rebel pressure on both flanks told and the game was called with an overwhelming Rebel victory. 


As an umpire this was an easy game to adjudicate as only one player had never used the rules. The other players helped, and I didn’t really have to make any decisions. 

My thanks to the guys for making my life easy.

For those who may be interested.
Rule Set – Brigade Fire and Fury Version 2.
ACW troops – AB and Blue Moon figures and I would like to thank Nick S and Mr Steve who painted my figures for me.
Trees were from Buffers near Axminster, Devon, and Amazon.
Roads and Rivers – Search Fat Frank on EBay.
Snake Fences – also on EBay. Search 15mm snake fence.
Walls – I’m pretty sure they came from Pendraken and came ready painted but I can’t remember the link.
Hills – Not seen but were under the cloth were from totalsystemscenic.com.
Battle Cloth – tinywargames.co.uk

Saturday, 4 December 2021

Hardee's Attack, Atlanta, 22 July 1864 - Fire & Fury Brigade ver.2


This club game was based on the Confederate attack on the Union force undertaking the siege of Atlanta. The rules used were Fire and Fury Brigade (ed2), and the figures were 28mm.


The Confederate plan was to turn the flank of the Union force at Bald Hill, which was a crest commanding the eastern approach to the city. Hardee's Corps undertook a night time march and came out of the woods to the south of the Union Force.

https://warfarehistorynetwork.com/2018/12/18/clash-at-bald-hill-atlantas-bloodiest-day/

This is where the game started. The game was fought on an 8' x 4' table, a line of hills along the north edge, Bald Hill situated on the western end and the south side was mainly woods.


The Union force started with G.A Smith's division behind fortifications (facing east and slightly refused at the end) in front of Bald Hill.

Two other divisions, Fuller and Sweeney, were held off table and represented Union forces coming down from the north in support.


The Confederates come steaming on in march columns with artillery at the rear (historically the artillery got held up in the woods). They were safe as most of the Union artillery faced west or covered the woods. They came on in the same formation as the historical battle,  Manley on the left, then Cleburne, Walker and Bate.


The Union response was to re deploy Smith's division to face off the Confederates. In classic F&F, the guns were attached to brigades. Manley and Cleburne formed up and demonstrated at the edge of the wood, while two brigades swung around the fortification to attack the now depleted defences.

In the centre Sweeney started to set up a battle line and Walker went straight for him with artillery giving supporting fire from a hill.


On the right Fuller and Bate also went for each other but Fuller did give support to Sweeney.

The battle was now fought as two separate engagements. On the left, although the Confederates took some casualties, they pinned down Smith's force, at the same time however two brigades swept over the fortifications and rolled up the line. There was a general retreat up to Bald Hill. On the right both sides were attacking and counter attacking in a close range tactical game.


It was however on Bald Hill where the game hung in the balance, Smith, who up to then had been cursed by the dice god came good. He rallied all of his units, silence fell over the Confederates. Their units were now in a bad way and there was no way they could pull off another attack.

The Union Line had held, much like in the real battle.


The rules played well, some players had played the rules before and helped those not familiar to pick them up. After a few turns the game flowed well as the rules are easy to learn. In addition they have a good historical feel and give a good ACW game.


Many thanks to those who played the game and made my umpiring an easy job. Paul (Smith), Nathan (Sweeney) Si (Fuller), Laurence (Bate), Bob (Walker), Tim (Celburne) and Steve M (Manley).

Technical Stuff


Due to a lack of information, I used the Army Generator found at the rear of the rules. With a bit of tweaking of course. Units size was reduced by half to fit the figures available as this meant the unit frontages were half, I decided to play the game using the 15mm scale play sheet. This worked well, however units, especially the Confederates, were more brittle.

Figures used were 28mm mostly Redoubt and Renegade also Celburne brigade was provided by Stephen H, many thanks. 

Abandoned Confederate defensive works in front of Atlanta

Editors Note: The next meeting of the DWG is our annual Gus Murchie Memorial Game when the whole club comes together to play one 'big game' to end our year on and celebrate the seasonal festivities in proper form, and this year we're off to WWII Normandy!

Saturday, 11 April 2020

ACW 15mm using Brigade Fire and Fury 2


Editors Note:
This post covers one of the three games played in early March 2020 and was submitted prior to the announcement that the club has now closed until further notice due to the COVID-19 Lock-down and the prohibition on social gatherings.

We look forward to a resumption of normal life as soon as possible, extend our sincerest condolences to those who have lost friends and family during this time and encourage everyone to stay safe, stay home and protect out National Health Service.

The Scenario


This game was based upon the Battle of Raab. Archduke John of Austria was being pursued by Eugéne de Beauharnais, Napoleon Bonaparte’s stepson . In this game the Austrians were replaced by the Rebels and the Union troops replaced the French.

Battle of Raab, 14th June 1809


The Rebel army was made up of half Veteran and half Experienced and Green units, whilst the Union troops were either Veteran or Crack.


The number of stands was the same for both sides so it was all about using quality against defended positions.


The town counted as full cover and the farm was fortified. The river was fordable but disordered all troops on crossing. Guns could only cross via the two bridges but the horse battery with the cavalry could cross to the right of the fortified area.

The Game


The deployment and first move were made using cards to simulate mist coming off the river. On revealing the units we found the Union deployed on their right with the cavalry division and two crack infantry divisions. The two other divisions were on the left next to the main bridge leaving the centre completely free.


The Rebels deployed in and around the fortified farm and on both hills to gain height for their guns and waited. The rebel guns opened fire on the advancing union columns causing light casualties. As the union forces advanced on their left the rebels surprised their opponents by coming to meet them. Shaking into line both armies clashed exchanging fire and charges. In a very ballsy move a rebel brigade left the farm and crossed the small centre bridge in an attempt to attack the unions in the rear.


On the union right the fast moving cavalry and infantry headed around to attack the rebel left. The rebels held the hill and dished out fire from their guns in the fort and on the hill without slowing them down. Once again the rebels awaited their destiny.


At this point the action was all on the rebel right flank and they managed to force the union forces to
straighten their lines, a euphemism for falling back. These actions had, however caused severe damage to the rebel units as well as to the union. The rebel problem was that their units were not all that good. With that Union attack now seemingly stemmed the rebels sent what spare units they could away to their left to help stem the next onslaught


Eventually the union troops arrived on the confederate left and the cavalry dismounted and started using their machine guns (repeating rifles) to try and pin down the defenders of the fortified farm but they were faced with artillery and infantry and were gradually whittled down. The fast moving union infantry then burst through the woods and attacked the rebels lined up on the hill. The rebels fought bravely but against superior quality troops they were eventually pushed back. However it has to be noted that a rebel brigade did repel a massed attack from three good union brigades before finding themselves suddenly all alone on the hill, whereupon they fell back in good order onto the town.


As this was going on, the union forces on their left now launched a second attack and got to grips with the rebels and forced them back towards the town.


At this point the Confederate leaders gave the order to fall back to the next town down the road and a slight union victory was declared.


I would like to thank all participants for playing the game in such good humour. The scenario was interesting for me because the accepted rule is that the attacking forces should outnumber the defenders. In this case the quality was meant to negate the quantity issues. It did seem to work so I was happy.

This is Steve Land production, generously corrected and added to by Mr Steve. Thanks to you sir.

Figures from AB and Blue Moon. My thanks to Nick and Mr Steve for their efforts in painting them for me. Battle Mat by Tiny Wargames. Buildings by Empires at War. The trees are a mix of Ebay buys and from Buffers Model Railways. The hills were from Total System Scenic (TSS). Roads and rivers are from Fat Frank. The rails fences I got from ebay.