

It was back in March that Martin introduced his lovely 10mm Pendraken Seven Years War collection of figures to the club using Maurice that produced a dramatic game that saw part of the Prussian force fight its way across a river to the front and pursue the Bavarian rearguard, guarding the river crossings and a small hamlet back to the main Austro-Bavarian line in the hills beyond, that left both forces that were engaged exhausted and with the Austrian force morale in particular, seriously depleted, but with both armies with a sizeable force still intact and unscathed.
If you missed the post covering the action that precedes this one then you can pick up on it in the link below.
 |
| Devon Wargames Group - Maurice, Seven Years War, Part One |
With the overall situation still rather undecided despite the Prussian's success in the initial fight, Martin offered another opportunity to pick up from where we left off with the Prussian army now across the river and able to deploy on the road beyond, as its new start line; and with the forces eliminated removed from the respective orders of battle or with remnants reorganised into reformed units, such as the Austrian Grenzers who were reduced to one battalion from the original two, to reflect those losses, recieved last time.
 |
| Martin placing the last few units into the new Prussian jump-off point beyond the river and behind the road as we prepared to renew hostilities using Maurice from Sam Mustafa. |
In addition both armies now had a slight top up to their army morale's to reflect an overnight regrouping and reorganisation in preparation for the next day of fighting but leaving those units caught up in the fighting from the previous day, still carrying significant disruptions that would require rallying off or ignoring and fighting on as they were.
As well as changes to the armies the two command teams were slightly different from the first encounter, with Greg taking over the command from Steve M, missing club for this meeting, but joined by two potential new members, John, involved in his first ever wargame, and Max, both newbies to the delights of Maurice.
 |
| The First Prussian Infantry Attack - After taking a few moves to rally off remaining disruptions the Prussians massed their infantry to attack the Bavarian part of the line, this time with the full force of all their infantry led by the elite grenadiers and fusiliers, with the Austrian command immediately ordering their second line of battalions to form column and march to the aid of the hard pressed Bavarians. |
On the Prussian side I was joined by David who replaced Vince as the other Prussian commander and who brought all his horse and musket expertise to bear on the various command choices that revolved around our card play decisions and helped formulate the Prussian plan to capitalise on the daring attack from the previous battle led by Vince and half the Prussian infantry force.
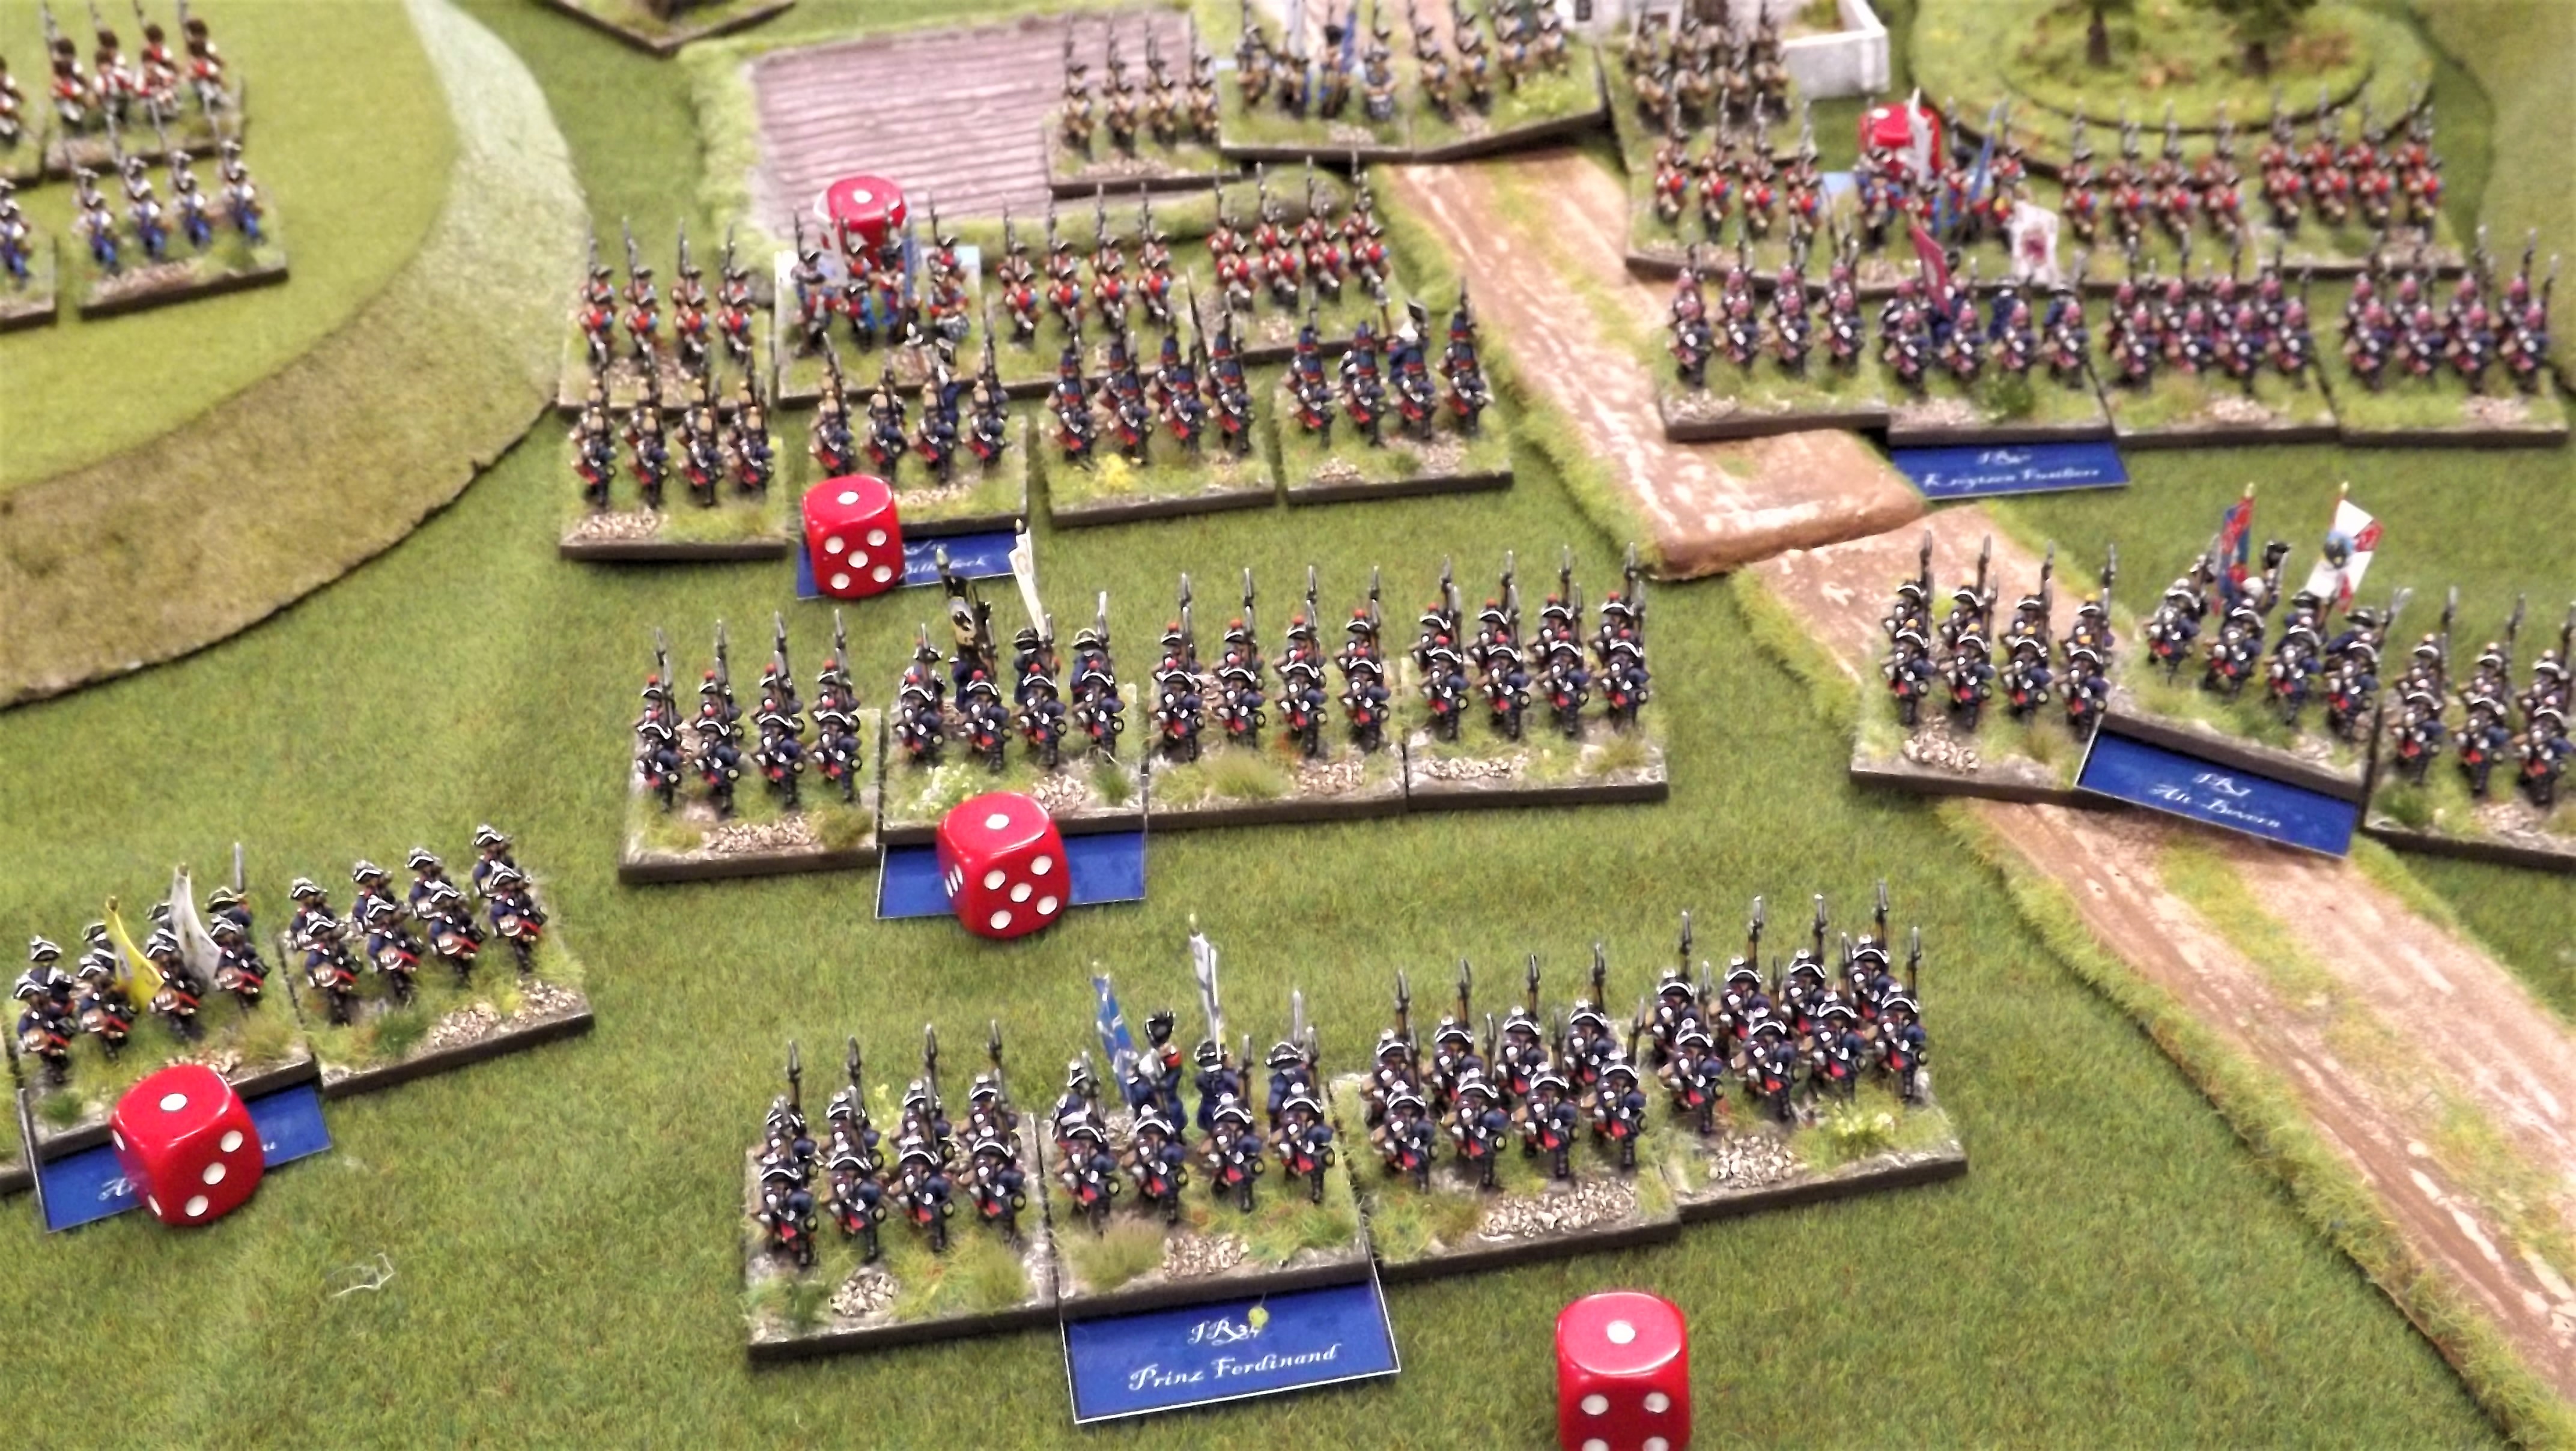 |
| The first Prussian attack spearheaded by elite Grenadiers and Fusiliers, aimed directly at the remaining Bavarians, designed to remove them from the battle and deplete the Austrian will to fight still further. A large number of the Prussian battalions were still carrying significant disruptions from the fight with the Bavarians the day before, made better by the fact that there were fewer Bavarian battalions now before them, but leaving a rallying decision to be made early on before commencing any new advance. |
With the Bavarians now reduced to just three conscript battalions the decision was an easy one to point the spearhead of the Prussian attack right at this weak point in their line as the Prussian Grenadiers and Fusiliers lead the full force of Prussian infantry straight at them, with battalions moving out to the flanks to ward off any interference from those directions as the two foremost Bavarian battalions were quickly dispatched after a fierce little fight and fascinating card play by both sides as each struggled to gain the ascendancy, finished off by a bayonet charge by the Prussians.
 |
| Austrian columns can be seen formed up in the rear of the Austrian line on the hill to the left as they attempt to redeploy and relieve their hard pressed allies. Two Bavarian battalions are in line across the valley with the Austrian CinC behind and the other Bavarian battalion in garrison in the farm buildings behind. |
As the Bavarians dissolved under the Prussian attack and the Austrian force morale reduced still further, the Austrians quickly sealed off the road with their infantry and with the Prussians still carrying disrupts from their fight with the Bavarian infantry, the Grenadiers, Fusiliers and supporting Musketeers pulled back to regroup as fighting flared up on their right, as the Prussian infantry pushed forward against the the Bavarian artillery and light cavalry, prompting a counter attack by the latter that was met by the Prussian light cavalry coming up in support.
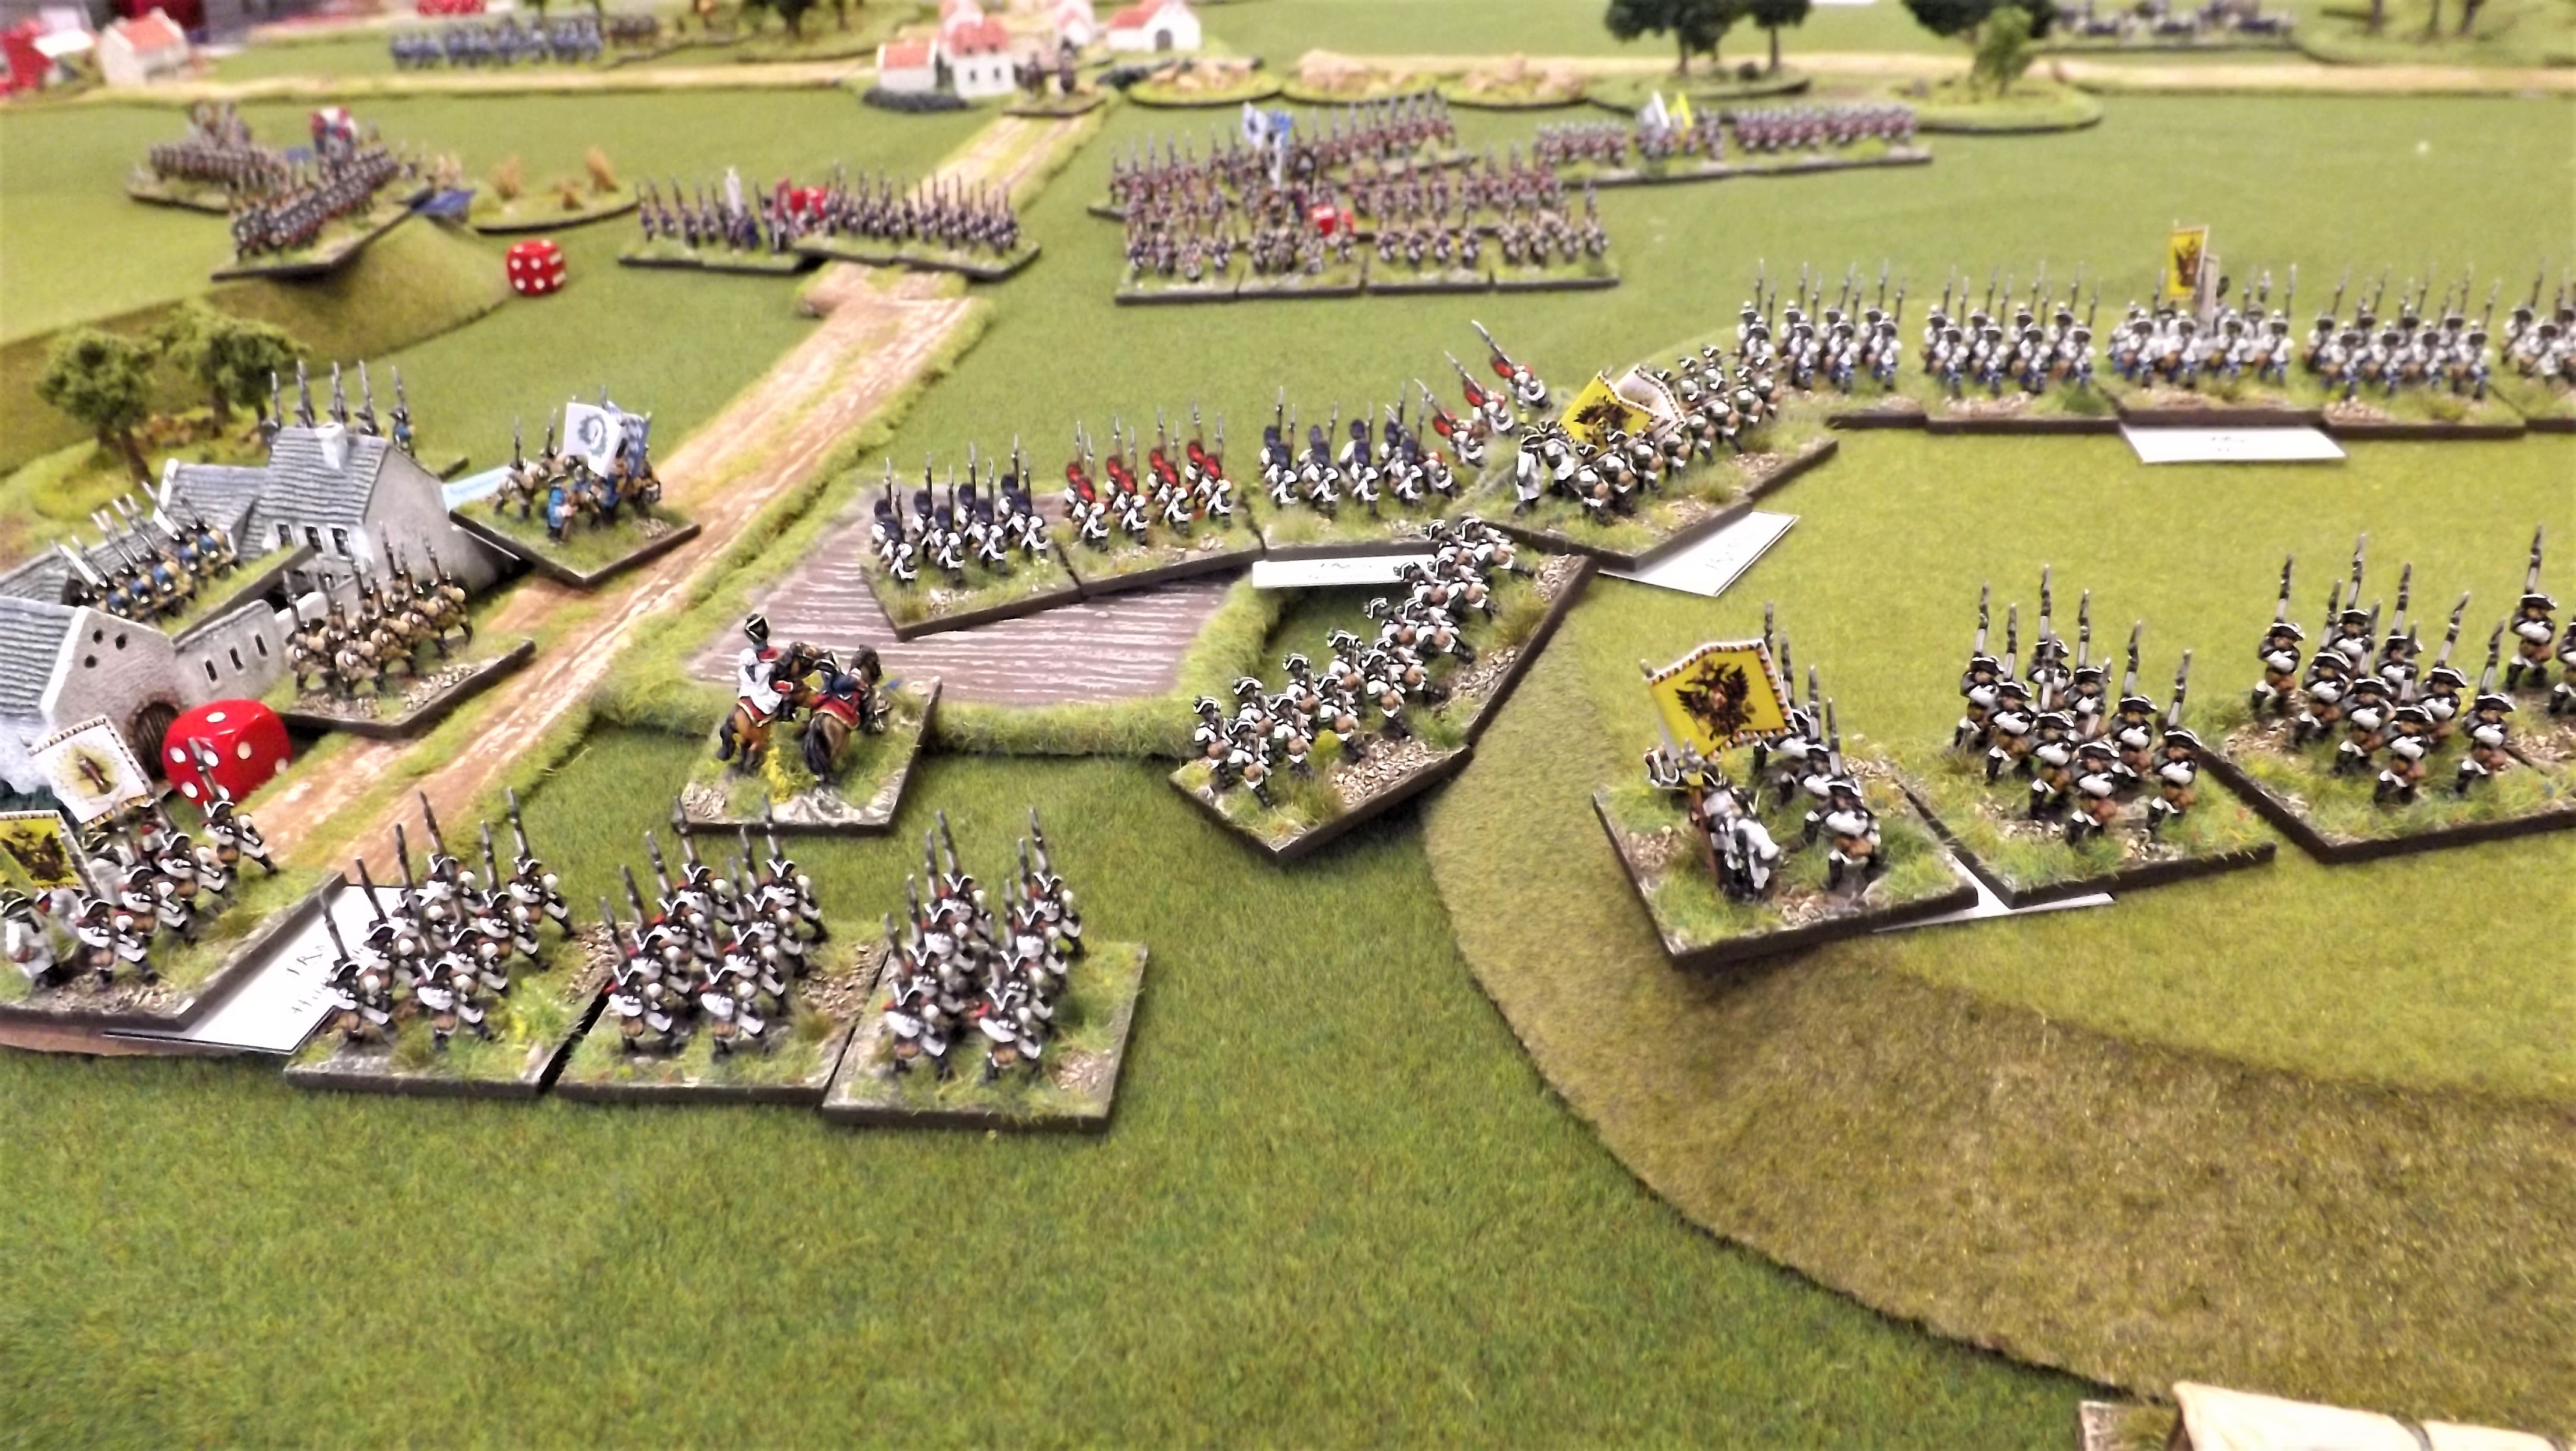 |
| The Bavarians, now reduced to just one battalion holding the farm (left) are replaced by Austrian infantry descending from the hills to the right of the road as the Prussians discreetly pull back to regroup and reorganise. Note the Prussian infantry on the slopes of the other ridge having pushed the Bavarian guns and light cavalry back in support of the main attack. |
The next few moves were spent fighting this bickering little battle as the light cavalry and infantry on both sides, which included the remaining Croatian Grenzers and a Prussian Musketeer battalion, took opportunities to pour in flanking fire on the opposing cavalry lines as they charged and countercharged across their fronts.
 |
| The Austrian light cavalry having been pushed back by the Prussian infantry advance, prepare to counter attack to be met by the Prussian light cavalry across the valley |
It is surprising how the unique card play mechanism in Maurice can cause little fights to interfere with the main battle and the Austrians were very cleverly looking to pull back the initiative and cause problems elsewhere along the line to keep the Prussian burning cards in response rather than conducting the attacks they very much were wanting to pursue.
 |
| The Prussian light cavalry prepare to advance on their opposite numbers, burning up valuable card play in the process as the Prussians got sucked into a little battle within a battle. |
Finally the Prussian command got control of the situation as with their infantry now regrouped and disorders rallied off, the light cavalry was pulled back as the Prussian Musketeer battalion supporting them wheeled to flank the opposing Austrian light cavalry thus dissuading any further musketry from the Austrian Grenz positioned on the flank of the Prussian light cavalry, for fear of reply fire against their own mounted colleagues and thus stymieing this Austrian pinning attack to allow the main Prussian attack to recommence.
 |
| The Prussian Command advance to better coordinate the closing down of the little battle on the Prussian right flank as they prepare orders for the next Prussian infantry attack designed to win the main battle. |
As if sensing the impending attack the Austrian command looked to move Prussian attention elsewhere along the line, by threatening a heavy cavalry advance from their right.
 |
| Austrian heavy cavalry drew their sabres and advanced desperately trying to provoke a response anywhere other than where the Prussians were focussing, namely with another infantry assault. |
The Prussian heavy cavalry in response remained unmoved, happy to let the Austrians use up their cards marching across the valley with Prussian guns close by to help repel any serious advance and so the Austrians resorted to another tactic, as the Prussian command focussed on removing the last disruptions off the infantry preparatory to another assault.
 |
| Getting no response from the Prussian cavalry, the Austrian artillery had a go with some long range bombardment |
With the Austrian heavy cavalry failing to provoke their opposing heavies to advance and meet them, the Austrian heavy guns joined in with a long range bombardment.
Again the Prussian heavy cavalry remained unmoved as the occasional Austrian roundshot ploughed through their serried ranks, until the Austrian commanders recognised their inability to either severely damage this force or cause it to advance, and that the attempts were eating into their card reserve which might easily be needed to deal with the likely upcoming Prussian infantry assault, as the Prussian hand of cards was replenished with rallying and pass moves.
 |
| The Austrian line atop the left most ridge facing the Prussian line appeared a decidedly inviting place to attack as with a reorganised infantry force and a replenished hand of cards the Prussian command prepared to make its decisive final attack. |
The Prussian command was finally ready to launch the attack that would be designed to knock over perhaps another couple of Austrian battalions to finally break their army morale and seal a Prussian victory.
The generals huddled around the command table to decide their moves and consider their options, with David quickly identifying the now weakened Austrian right flank ridge following the redeployment of the second line of battalions to cover the road valley in the wake of the defeat of the Bavarians.
Orders were quickly dispatched to the brigades and the advance began immediately focussing Austrian minds and card play as both sides attempted to cause early disruptions to the opposing infantry forces as the Prussians advanced.
The Austrians relied on their improved rally opportunities with rerolls of failed rally attempts, whilst the Prussians relied on the superior firepower, rerolling failed attempts to cause disruptions from successful musketry hits whilst leading again with the two units of elite Grenadiers and Fusiliers who were harder to disrupt with the Austrians needing fives and sixes as opposed to the four, five or six against the Musketeers.
 |
| The Second Prussian Infantry Attack - Seen from the Austrian left flank, the Prussian infantry goes in against the weakened Austrian line, as the Prussian command (circled) occupies the gap between the infantry and the light cavalry, able to command and keep control of both formations easily with all the infantry in the same formation and within two base widths of each other to ensure coordination as the Prussian infantry's righthand battalions pin the Austro-Bavarian line to its front whilst its left assaults the Austrian centre. |
As the Prussians closed both sides exchanged musketry with the Prussians getting slightly the better of the exchange, and with the rallying attempts broadly similar seeing another round of follow up musketry that left one Austrian unit destroyed by the firing and another teetering on three disruptions facing a Prussian charge in the next turn, and the Austrian team down to their last three cards.
If they had a battle turning card in their hand, now was the time to play it as the Grenadiers prepared to close with the bayonet.
 |
| The view of the Second Prussian Infantry attack from the Prussian left flank, with their heavy cavalry, bottom right carrying the disruption from the Austrian barrage earlier as they stoically refused to engage, leaving matters to the infantry fighting up on the ridge beyond in the Austrian centre |
It was not to be and after the smoke cleared and the lines separated the Austrians were less two battalions and just one point of morale on the Army card when we called the game. The Prussians had suffered no morale loss apart from a last Austrian card play 'Death of a Hero' that on the subsequent die roll only succeeded in knocking one point of the Prussian total of some sixteen remaining points.

This was a classic game of Maurice with loads of drama, frustrations and delight as the card play intertwined with the command decisions and die rolls to decide the results of those decisions in such an intriguing way that frankly left me happily exhausted from the mental work of deciding the next set of moves.
Of course any game is only as good as the players involved and I have to thank Greg, John and Max for getting their heads together around the Austro-Bavarian tactics and really making the Prussians work hard for any success, and to David for bouncing the card play ideas back and forth to come up with the most appropriate options for the Prussians.
Finally a big thanks to Martin for sharing his gorgeous collection of Seven Years War figures from Pendraken, together with his terrain collection that helps set off these exquisitely cast figures to perfection and really added to the aesthetics of our game.
I have really enjoyed getting reacquainted with Maurice in the last three months and would recommend anyone with the slightest interest of playing a lace war horse & musket big game to try them out as they are a really unique and highly entertaining fun set of rules.
JJ
Smart looking game JJ, lots of action, good looking figures and terrain.
ReplyDeleteWillz.
Hi Will, thanks mate, glad you enjoyed the read. We had a lot of fun playing this only enhance by the look of the game. Cheers JJ
Delete