Labels

Tuesday, 17 December 2013

Battle of Topsham 1689 - Beneath the Lilly Banners


This month was the occasion for our annual Christmas game at the Devon Wargames Group where traditionally we stage just one game that all club members are invited to play. The game is very much intended as a celebration event where the taking part is more important than the result. In addition the members pull out the stops in providing nibbles and beverages to help lubricate the fun on the table.

Our game this year features the 28mm collection of WSS/Glorious Revolution figures owned by Chas and Vince and utilised a great set of rules, "Beneath the Lilly Banners" for a large multi-player game as this was planned to be. In addition our scenario carried on where a previous game staged in January 2012, The Battle of Lavington left off. Thus we have Prince William returning to the shores of England landing in the South West at Topsham nr Exeter gathering new forces to continue the struggle. King James has responded by bringing his army supported by Irish and French contingents to Devon to crush the rebellion before it can get started.

King James II
Our game finds the two armies drawn up for battle between the hamlets of Topsham and Lympstone.

Prince William of Orange
Meanwhile back in the 21st century the Devon Wargames Group prepares to go large and get all the toys out on the table.
Prince William's forces

King James' host
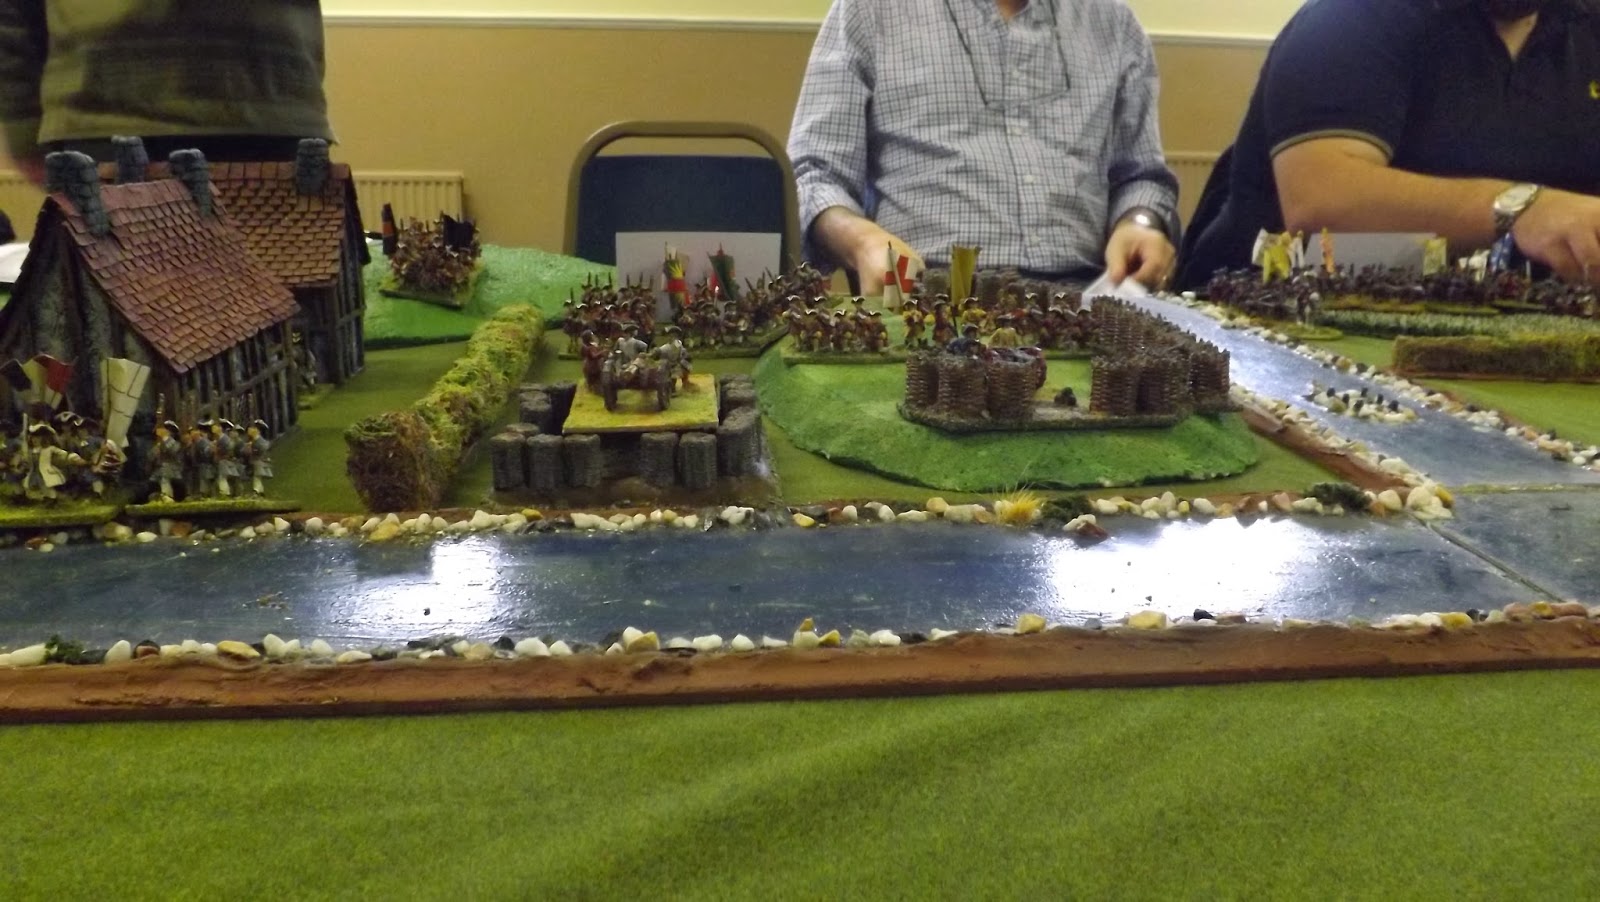
Chas was our gamemeister for the day and following the arranging of forces and terrain gave the players a briefing on the situation. The table below shows the field of battle from King James' lines with Topsham on the left, Exton in the middle and Lympstone on the right.

Chas briefs the teams
Yeah, yeah, let's play!
There was no shortage of provisions with plenty of nibble and festive food, happily consumed during play.

The army marches on its stomach


Forces allotted, it was time to deploy, with cards detailing the possible morale grades for the various brigades which needed to be diced for once set up, including the grade of the commander.

View from the Protestant lines overlooking Lympstone and Lympstone Hill
Additional cards were distributed, some blank, some with special attributes granted to troops under that commander and some indicating the desire to join the other army and betray former comrades, oh dear, I was that traitor to the cause!!!

Looking along Willam's line towards the garrisoned town of Topham (top right)
The little town of Topsham, on the River Exe, was deemed important to both sides as it was the base for all of William's support from the Netherlands, and would be utterly disastrous if it fell into enemy hands. The game result would be shifted in the favour of the side holding the town. Thus a major victory would become minor, minor a draw.

William's troops garrison Topsham
All players selected a brigade, usually of about three to four infantry battalions, some with a cavalry squadron or two attached. I was initially serving with Prince William's army commanding two brigades of cavalry, each of four squadrons. I was placed in the most favourable terrain for cavalry, out on the extreme left flank facing Lympstone. It was here that the battle's deciding action would occur, and unfortunately for Prince William, my two set up cards told me that I was secretly a supporter of King James and would lead one of my brigades over to his cause, testing each squadron individually to see who would follow me. The other card said I would charge an enemy brigade at the first opportunity gaining a +2 advantage in combat in the first round.


With the terrain generally benefiting the infantry the forces matched each other across the table, with William's army strongly garrisoning Topsham and Exton, the latter with Dutch Guard, who I would end up tackling later in the game.


So with forces arrayed both armies advanced on in the centre and the Lympstone flank with James' army masking Topsham with a covering force of infantry. With the bulk of William's cavalry, I advanced on Lympstone sending the loyal brigade on to Lympstone Hill above the village to gain up hill advantage. The other, hopefully disloyal brigade, advanced on Lympstone village, just about to be entered by James' Irish infantry. I immediately attempted to send a courier to these troops commander to advise them of my intentions. However my messenger was intercepted and Prince William was advised of my treachery.


William's horse advance on to Lympstone Hill
With my treachery revealed there was no other option other than to order my brigade to follow me in a wheel and attack our former comrades flank on, on Lympstone hill. Needless to say the Irish brigade in Lympstone were a little surprised to see this move, and given the long range did not open fire.

My treachery revealed, the whole brigade supports my change of side and direction
Lympstone is occupied by James' Army
French Huguenot Infantry in support of the Topsham Garrison


King Jame's Guard lead the attack on Exton
Christmas cake anyone?

The loyalty check complete all four of my squadrons charged up the hill and smashed into William's loyal squadrons. Three of them decided discretion was the better part of valour and withdrew immediately. One however contested the attack and found the +2 advantage to my men was irresistible.

The cavalry battle for Lympstone Hill as William's cavalry fights each other!

The Irish in Lympstone had been preparing to receive cavalry, look on in amazement.
The cavalry battle went back to and fro for a few moves, but in Lilly Banners cavalry squadrons get used up quite quickly and with the balance in favour of James the flank combat shifted towards Exton in the centre tenaciously held by the Dutch.

William's Dutch Guard prepare to shore up his flank by grimly defending Exton
James' Guard meet William's Guard in Exton as the battle for the centre hots up
The battle for Exton became a protracted affair of musketry as the elite infantry of both sides swapped volleys in a battle of attrition where weight of numbers would be the decider. It was James who held the advantage as William had been forced to commit his reserve in a desperate attempt to shore up his left flank.

With volleys being exchanged, James brings up artillery to support the attack

You could almost hear the sigh of resignation as the Franco-Bavarian brigade of King James' reserve deployed in front of Exton and advanced on the badly shot up and depleted Dutch. In three turns it was over and despite a last minute attempt to break out of Topsham, Prince William conceded defeat.

William's Prussian allies were forced to hold their ground with a card directing their reluctance to fight


The remnants of William's cavalry are forced off Lympstone Hill as enemy infantry advance
Much fun was had by all, and many thanks go to particularly Chas who had the job of cat herding for the day as he arranged the scenario, set up the game and got everyone organised about what they should be trying to do.


So another year comes to a close for the club. Next month, January 2014, we are planning some WWII Chain of Command action and some ACW Fire and Fury. In addition there will be some fun with James Bond and characters to report on as we get in some gaming in North Devon at Chas's between Christmas and New Year.

With Lympstone Hill cleared of Williams troops James' army prepare to attack the centre around Exton

The centre ground, Exton from William's lines with Dutch Guard in occupation
The left flank from William's Line, very much in enemy control
Topsham becalmed as events elsewhere determine its fate
French infantry prepare to force the entry of Topsham
The Irish infantry attack William's extreme left flank
As the Irish attack, pressure grows on the Dutch in Exton
Top left, James deploys his reserve (led by yours truly), Bavarian allies move up to finish Dutch resistance in Exton
Suddenly William's centre has gone and James troops claim the high ground
The Franco-Bavarian reserve move on Exton

Too little too late the Topsham garrison attempt a break out

Saturday, 23 November 2013

Deus Vult - First Play


Report by Steve H, Pictures by JJ
Every summer we all put on our best smocks and head north to Barnstaple for the great Summer game . This involves much planning and preparation as we never seem to choose a period for which we already have masses of figures and this year will be no exception as we will be playing a big Crusader game (or whatever we are supposed to call this period now).


So the following activities need to be started in advance:
Buy and paint additional figures on top of any existing stock.
Parcel out painting duties
Learn the relevant rule set.
Get false birth certificates made up to prove that we are all related and this will prevent us being burnt in a wicker frame as outsiders.

Buy beer.

A smaller advance game is also played to try out the said new rules so that we all have plenty of time to forget it all before the big event takes place in June/July.


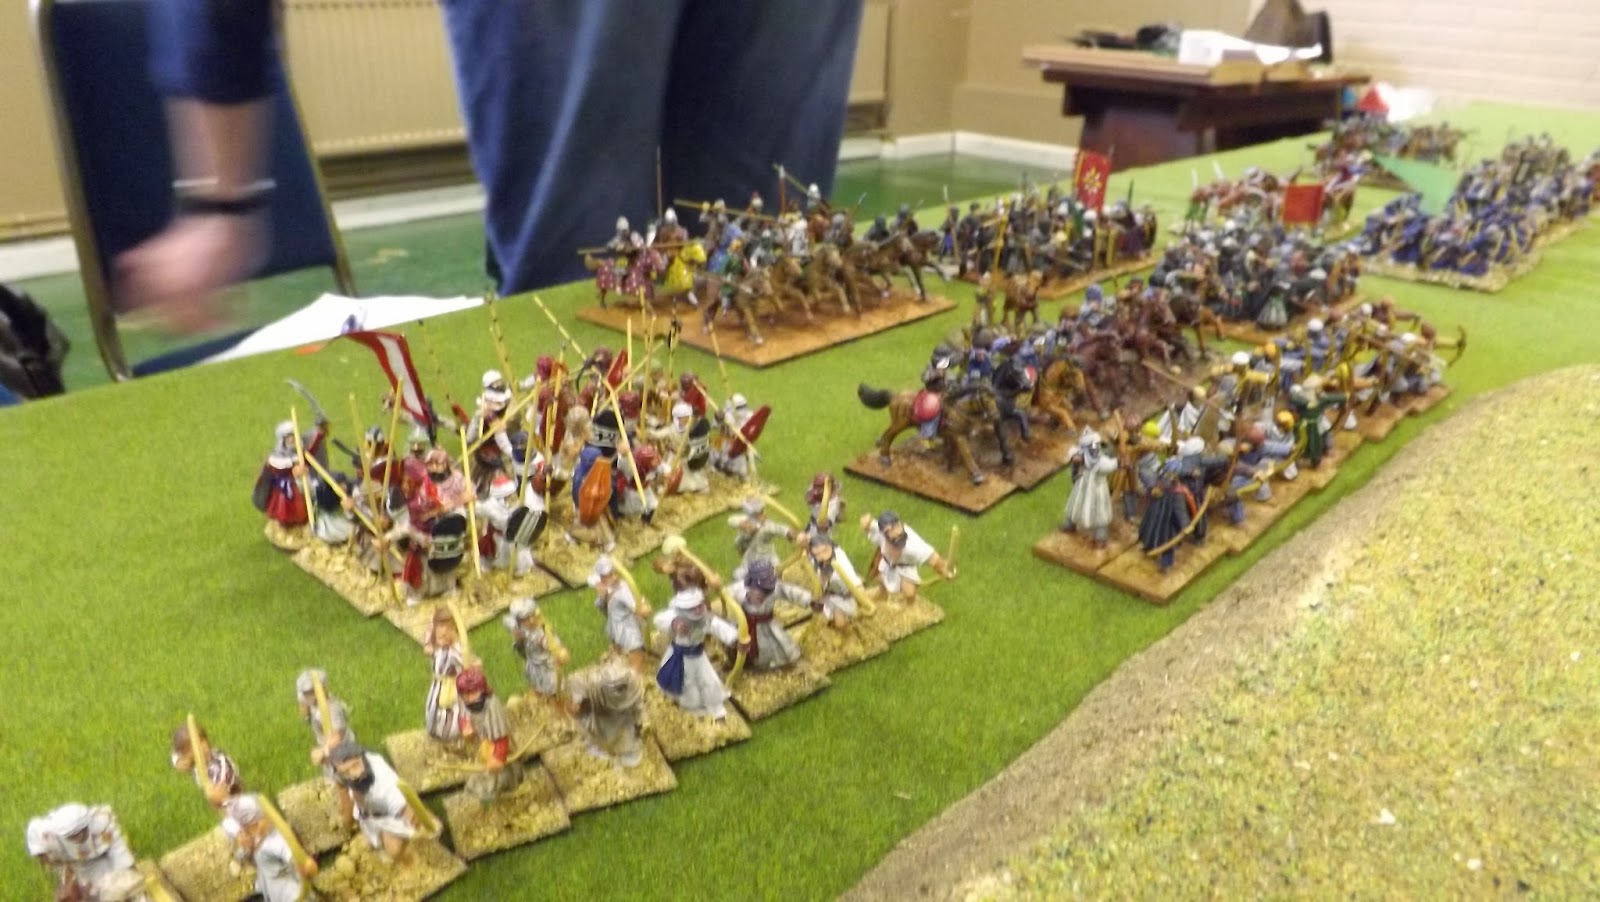
This month Chas bravely put on the trial game using the Deus Vult rules which are aimed at this period. There is no point giving a Battle Report as it was just a trial game where we tried to play out every rule going irrespective of its effect on the battle and also because I got completely wiped out . If you want to know about sequences and stuff then there have been much more complete reviews for Deus Vult on other sites like TMP which I suggest you read. Instead this is going to be a gamers’ first glance. What you get below is my summary of what we learned from the game, intermixed with pictures of the game taken by JJ.


You start by splitting your forces into Divisions, we had five each with four to six units per division and the divisional commanders have various ratings which are rolled for against a table, recorded onto their individual card and these are used as required. 

Each unit also has all the normal stuff you would expect as well, all be it with different names. Discipline is used for movement decisions and Courage for morale (overly simplified by me) but you can on occasions use your Divisional Commanders ratings instead if within the 8” radius.

Then you decide each turn who has the Initiative (Straight roll off) and you stack your Leader Cards in the sequence you wish to move them, each side then moves one division (Initiative Winner decides which side gets to move first) and carries out all shooting and fighting before moving on to the next. 


What did I learn, well obviously not much given my complete lack of survivors but here goes.

Commanders have a Command rating either rolled for as above or historically allocated and this determines how many units in your division you can choose to move each turn. 


Suppose like our reserve your command rating is one and you have four units , well each turn one unit can take actions as normal and you join a second unit for the old follow me type stunt. The other two units must then wait until everyone else has moved and either do nothing, or roll against their Discipline rating to activate.


Now I wish at this point  to add in a common occurrence. Whenever you have to do something like a Discipline Test or Morale/Courage you get to do the 4+ roll . As long as you can score 4+ on a dice you pass, I like this as its simple, no cross referencing multiple lists. Better troops/leaders get to roll more dice but still only need one 4+. So our elite reserve got to throw two dice to try and activate for being out of command and my scummy ill-disciplined horse archers only had one roll which is why I failed my evade dice three times running. 

Ah ha you say, why not use your commanders rating instead, that’s all very well but he was also a one and besides he was underneath piles of dead horse archers.

Failure is punished by going into disorder so think before you roll.


Shooting is ok as well, ranges are quite long but suitable for 28mm and you get two dice per six man infantry base and one dice per two man cavalry base. 6’s are killing hits with 4’s and 5’s being what I call morale hits. First try and save the kills against your armour save and then add all the hits together to see if you have forced a morale/courage roll (the old 4+ again). Usually anything between three to five hits will be enough depending on the troops. You can shoot twice if standing still.


Now hand to hand. This took me a while to absorb, the main point is that you don’t get to fight back until its your turn and this takes a bit of getting used to, plus if they have already moved that division this turn then it is possible, with good luck, to hit them again in the next turn before they get any chance to reply. Hand to hand requires lots of dice. Hits as per shooting above.


Key points I learnt the hard way.

If charged and you have only one dice to roll to try and evade then you might as well counter charge no matter how puny you are .


You see we are now moving on to Disorder, this is heavily punished in Deus Vult.

Never get disordered. If you fail a 4+ roll then you are disordered (there are other ways but that’s the main one). If disordered then all shooting and combat dice are now changed so that a  4/5/6 will kill. Nasty!


In our game a unit of half dead knights, (that’s half dead not undead) being rather miffed about the amount of pointy things coming their way, charged all those responsible and each time my horse archer units got charged they failed the evade roll, becoming disordered and got to lie down in untidy heaps very fast. 

I admit that if I had instead counter charged I would still have had to pass a Disarray test but without the rules I don’t remember if this was as bad. Probably.


Finally each unit has a mass of additional skills like Counter Charge or Manoeuvrable , I think the record for one of our units was nine and these all do various jolly things to liven up the day.
So don’t get disordered, and finish off those weak units (taken off when you lose the next base after 50% e.g. if six bases strong then remove from table when down to two bases).


Obviously it was our first time so we must have made masses of errors, however we did try out as many rules as possible and it looks a promising set of rules suitable for the Summer Game. 

Sunday, 10 November 2013

Battle of Harlem Heights, 16th September 1776 - Maurice


Yesterday at our monthly club meeting I was planning to play my first game of "Chain of Command", but owing to some unfortunate illness amongst our game organisers (get well soon Jason & Nathan) I needed to pull together a game at short notice.


Way back on the 9/10/2011 I staged a game from the board game "Hold the Line", effectively "Command & Colours" for the American War of Independence. The scenario was the Battle of Harlem Heights using figures on a hex mat.
You can read the game report here


I've thought that the scenarios in Hold the Line would translate well into scenarios for Maurice, so here was an opportunity to try out a game.

Table top interpretation of the map from the American positions
View from the British positions
The forces were translated thus
British commanded by General Howe
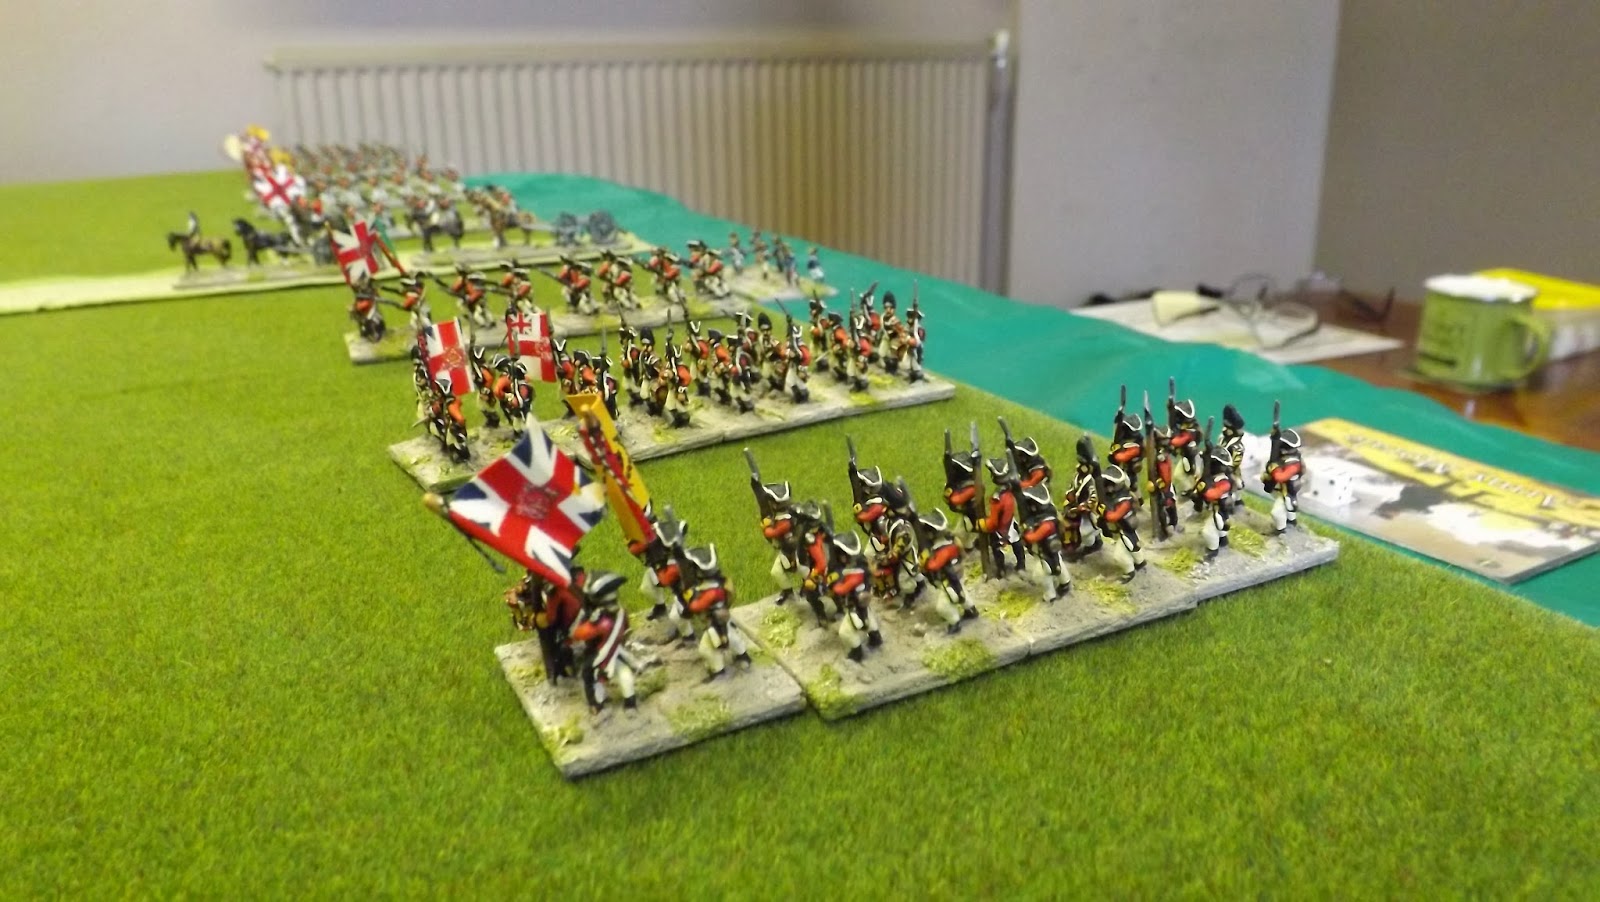
5 Elite Regular battalions (2 x Grenadiers, 2 x Lights & 1 x Highlanders)
9 Trained Regular battalions
2 Artillery

Americans commanded by General Washington
8 Trained Regular battalions (Continentals)
4 Conscript Regular battalions (Militia)
2 Irregular Infantry (Rifles)
1 Artillery

The basic premise of this scenario is that the American army is attempting to ambush the British advance guard (the five elite battalions) and destroy them before the main force under General Howe can come to their aid. I should say that this game was experimental in that I now know stuff that I didn't when we started. Thus the objective (the gathering of waggons and ammo carts behind the British advance guard) needed to be closer to the American positions than where we placed it in our game. It was simply too far away for the Americans to have a chance of occupying before the British main force turned up (hey, this was a put together game and we wanted to start playing, thus the pre-planning was minimal - if you play this, you will know different!).We put a chance card in the deck to indicate when the British main force showed up (Maurice is a card driven game with the deck determining what players can do and if neither force breaks when the game ends) and selected "Steady Lads", "Oblique Order" and "Lethal Volleys" for the British, and "Steady Lads" for the American Continentals, to represent the qualitative difference between the two armies at this stage of the war (National Advantage cards allow you to tailor a force to match an historical profile of that army) .

General Howe's main force waiting to advance up the table
So to the battle, cards shuffled, hands drawn, eight for the Americans (attacking), five for the British (defending) off we went.

As the American commander it was obvious I had to get in quick and do as much damage as I could before Howe could intervene, and so the American continentals advanced from the woods, with the emphasis placed on the American left where the British line was left hanging and the extended tree line gave me an opportunity to use my irregular riflemen to protect my flank should the need arise.

The objective markers
The British advance guard of elite regulars
As the two lines met, the American artillery opened up with an initial round of bombardment on the British Grenadiers and promptly missed, oh dear, never mind!

The continentals advance out of the tree line
There are top tips contained in the Maurice rule book, with one of them about the fact that this period is about linear warfare, with lines supporting lines. My grade six American Continentals were up against grade eight British elite regulars and I needed to be careful to attack when they were disrupted and to attack with supported lines.

Fortunately my British opponent (Ian) was feeling bold and relieved me of some of the pressure over who would strike first. After some desultory musketry between the two lines his 71st Highlanders charged into my lead continental line, hoping to take advantage of my disruptions. However due to combination of poor die rolls on his part, my line held and the Highlanders fell back with more disruption. Now it was my turn and, after an heroic rally which cleared all my disrupts, I used weight of numbers to get two units in on the highlanders destroying them in the first melee and knocking off two morale points on the British Army Morale.

Washington oversees the attack on the flank of the British advance guard
This attack was swiftly followed up by a second on the next British unit in the line, the Grenadiers, who shot up and unable to rally off their three disruptions dissolved under the attack of three continental battalions that had passed through the ranks of the leading units (using an appropriate card) without disruption. This caused another morale point loss (sadly only one) and General Washington had destroyed the right flank of the British advance guard. However one continental unit also carrying three disrupts was destroyed in this attack also with the loss of two morale points to the Americans army morale. 
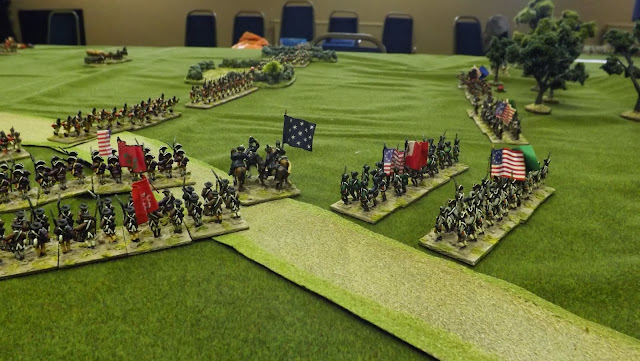
The two lines close
It was then that two things happened, the British got their reinforcement card, and the Americans started to appreciate just how far away that objective marker was. Oh well, nothing for it, but to carry on and extract the best from a tricky situation.

American artillery on the road
With the approach of the British main force the game changed and, as the American commander, I felt I now needed to change tack and prepare for the onslaught. (on reflection I am thinking that the British reinforcement card should not go into the deck until after the first deck has been played. This keeps things interesting for the Americans and extends the period from when they would have to change role from attacker to defender).

The first deck of cards was used up with the British marching to close up on the American line and the Americans shaking off their disrupts from the first combats to prepare for their arrival.

British Army Morale after the first hand - looking good
American Army Morale after the first hand - looking not so good
The morale state of the two armies was very much in favour of the British and, with the Americans now on the defence, they would have to be far more cautious in their attacks.

The American left flank prepares to greet the British main force
Interestingly the British chose to send half the main force to occupy and secure the objective, with the artillery advancing up the centre on the road and the other half of the force, five battalions of regulars advancing on the American left flank.

As the American commander, I sensed a slight opportunity here, as I had no real strength to assault the forces protecting the objective (four battalions of militia staying close to the tree line for obvious reasons), but I did have sufficient force to take on the British approaching my left flank.
The problem was that if the British suddenly changed their assault to my right flank I could find my army being rolled up, with my left flank engaged in a struggle of their own.

The British advance guard feeling more confident with the arrival of reinforcements 
Deciding that discretion was the better part of valour I decided to see where the British were going, and it became obvious that my left flank was the target. I thus prepared an ambush in the form of  "Not on the Map" that allowed me to place an area of concealed marsh in front of my continentals nearest to the tree line, thus restricting the area of assault to about two units. This was placed as the British were a move away from attacking my line. I then moved my riflemen along the treeline and proceeded to shoot up the British regulars.

General Washington re orders his lines
The plan worked quite well in that the fire from two irregular rifle units destroyed one regular battalion forcing another to close assault in the tree line using a "Caught" card to stop my riflemen evading and thus bayoneting them in the process. They however were caught in the flank by the second rifle unit and broken themselves. Thus one irregular rifle unit in exchange for two line battalions. However Ian kept up his good fortune on the morale loss only suffering one point for each battalion, whilst I lost two for the rifles, doh!

The British main force closes in on the American position - fox out in the open!

Continental infantry, bloodied but not cowed.
With the light outside fading, the pub beckoned and we ended the game half way through the final deck, so we were well on the way to a British victory, though possibly a marginal one.

We had a lot of fun playing Maurice and I can honestly say that that is true for every game of Maurice I have played. I also think that the Hold the Line scenarios have a lot of potential for conversion to Maurice.

Thanks to Ian for a very entertaining afternoon of action in the former colonies