

The Russian Civil War is an attractive period to wargame for those interested in the First World War and its immediate aftermath.
Battles are not trench bound slogs for a few yards of mud and blood; instead there is the sweep of the battlefield, new weaponry and some exotic troops too. The scenario selected for our club meeting comes from “The Miniature Adventures of Dunsterforce 1918” by Robert Giglio.
 |
| The scenario book and guide from Partizan Press |
You can further read the Adventures of Duster Force here:
https://www.yumpu.com/en/document/read/13288409/the-adventures-of-dunsterforce
The Ottoman Turks and their Aziri allies are marching towards Baku and its oil reserves, by the Caspian Sea. Britain has sent a small force under General Dunsterville, to assist in the defence of Baku, where the Bolsheviks have a fractious hold over the city.


Not all Russian troops have gone over to the Bolsheviks and a powerful force of Cossacks and Armenians, under Colonel Bicherkov, is still prosecuting the war against the Ottoman Turks. If these Cossacks can make it to Baku, the likelihood of defending the city would be greatly improved.


Some British armoured cars and support units have been sent to help the Cossacks, but little else can be done unless the Cossacks can make it to Baku. Both the Cossack and Ottoman forces need to cross the River Kura to continue their march towards Baku.


There is only one suitable bridge north of the town of Yeldakh, so both armies are racing to seize the bridge which is defended by a force of entrenched Bolsheviks, who do not favour either side very much – all the ingredients for an exciting wargame.

The terrain is open with some woodland and ditches and a single farm building. Both armies start where their route-march road enters the table heading towards the bridge. Both have the option to hold back two units to arrive anywhere along their own table edge later in the game, depending on a D6 roll.

The Turks take this option, but the Cossacks do not. The Cossacks start by pushing their armoured cars and cavalry down the road as fast as possible, to secure the bridge. The Turks adopt a different strategy by advancing their Aziri contingent directly towards the Cassock line of march and using their pre-planned artillery barrages to hit areas where they anticipated Cossack and Bolshevik units might be.

The Bolshevik bridge defenders soon realise that today will not be just another quite one and start to consider their options. The scenario requires the two Bolsheviks infantry units to roll a D6 each turn, to determine what they might do; go on strike, defend the bridge valiantly or remember there is political rally to attend back in Yeldakh?

With a squadron of British armoured cars stationed between the Bolsheviks and the Turks, the Bolsheviks are resolute defenders. But soon the Turkish infantry supported by their Maxim guns, are advancing determinedly towards the bridge. Another unit of Turkish infantry, supported by a Maxim gun, suddenly appear much closer to the Bolsheviks than expected (these are the two Turkish units held off-table). A serious tussle for the approach to the bridge begins.

The Cossack cavalry arrive at the bridge, half cross-over towards Baku and the other half charge and scatter the first wave of advancing Turkish infantry. The Turks meanwhile, have concentrated their Maxim guns on the British armoured cars, slowly accumulating enough damage to drive them off. At this moment the most hotly engaged Bolshevik unit decides to reconsider its options and goes on strike.

If the Bolsheviks hoped that by not shooting, the Turks would reciprocate they are mistaken. The Turks attack the trench line killing several Bolsheviks and getting into the earthworks. With ever more units reaching the approach to the bridge, the fighting became more furious.

Now it is the turn of the mounted Turkish lancers to charge a unit of Cossack infantry advancing rapidly down the road towards the bridge. The outcome is predictably poor for the infantry, but now isolated from their own supporting troops the Turkish lancers are cut down by a Bolshevik Maxim gun.

At this moment the on-striking and hard-pressed Bolshevik unit remembers the political rally in Yeldakh and headed off to town, leaving their defences to the Turks, who quickly reinforced the newly-won position. The Bolshevik Commissar realises that "all Russians are in it together" and orders the remaining Bolsheviks to retake the lost position, but his comrades were not convinced and
go one strike!


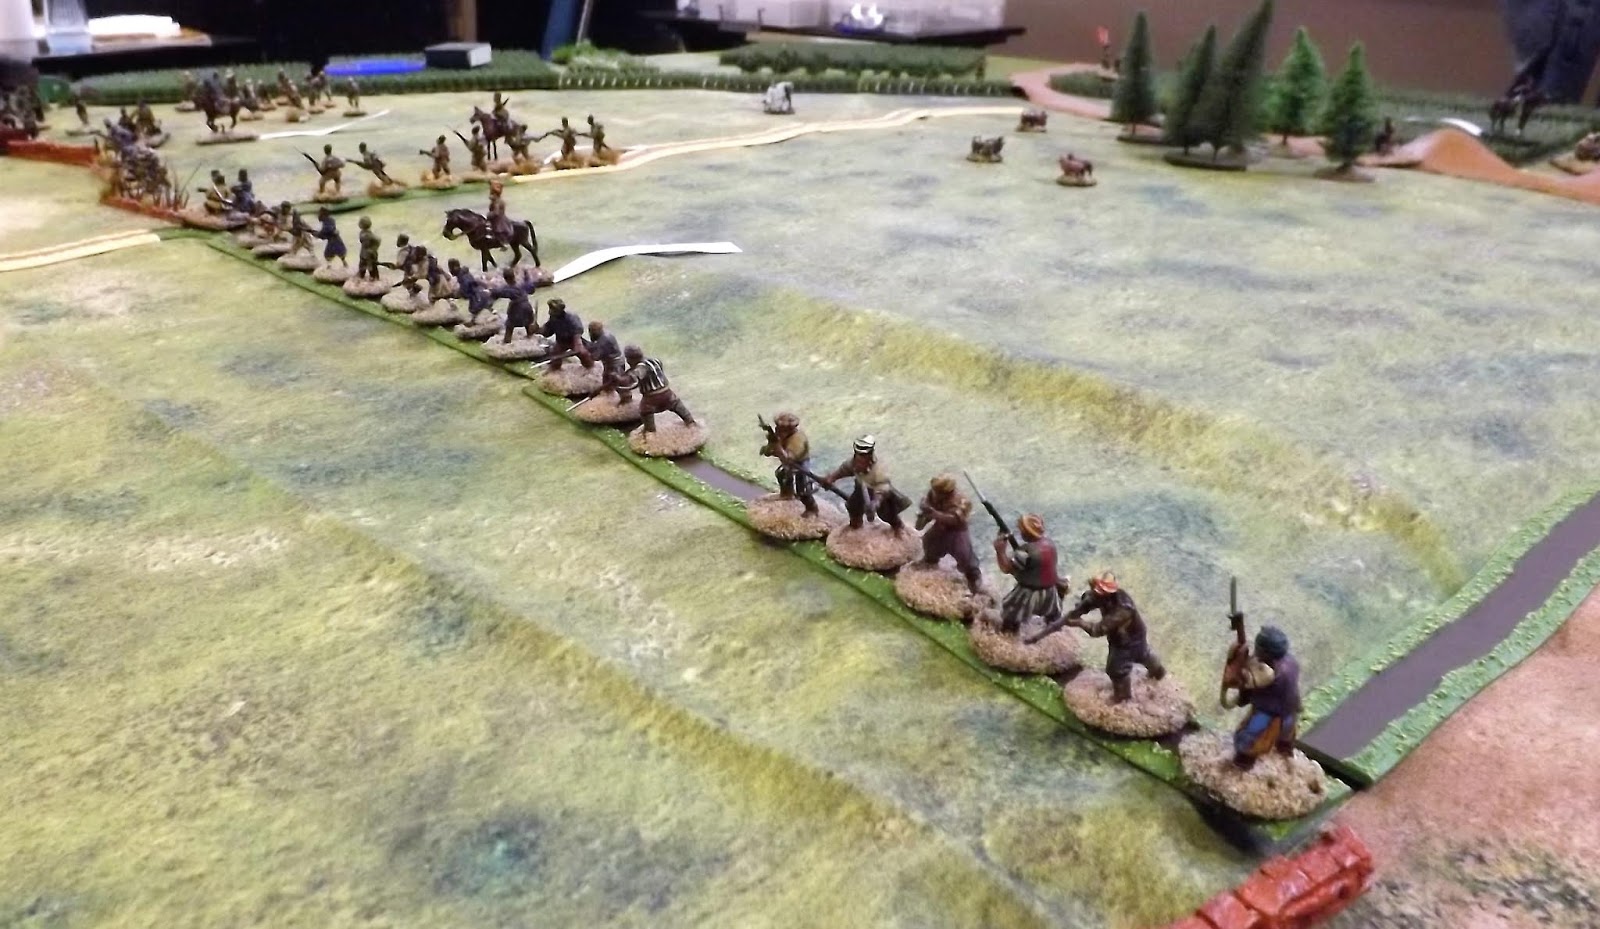
By now the Cossack baggage train and its Persian handlers is on the road heading slowly towards the bridge. For the Aziri infantry the prospect of loot is just too much. The Aziris leap to their feet heading towards the baggage, regardless of determined Armenian rifle fire, supported by Cossack Maxim and light artillery guns. At this stage Col. Bicherakov, in consultation with his Armenian counterpart, Col. Srvandztyan, concludes that any further attempt to get their forces over the bridge is futile and a fighting withdrawal is ordered.


That evening Col. Bicherakov met up with British Lt-Col. Clutterbuck and asked him to write to General Dunsterville, firmly laying the blame on the Bolshevik Commissar Petrov.

The Turkish – Aziri forces continued their advance to Baku under the able command of Colonel Mursel Bey and Lt. Col Rustamov Pasha.
Thanks to Lawrence and Paul for commanding the Turks and Aziris so successfully and commiserations to Chas and Steve “the hat” who did their very best with a force of Cossack, Bolsheviks, Armenians, Persians and British.
Stephen Huntsman
Great article, nice miniatures and table setup. My wife got me Setting the East Ablaze 2nd ed and all the scenario books for Christmas last year. She also picked up the Anzac starter force from Gripping Beast as well. I do like the look of this game.
ReplyDelete